Agree to Terms of Services
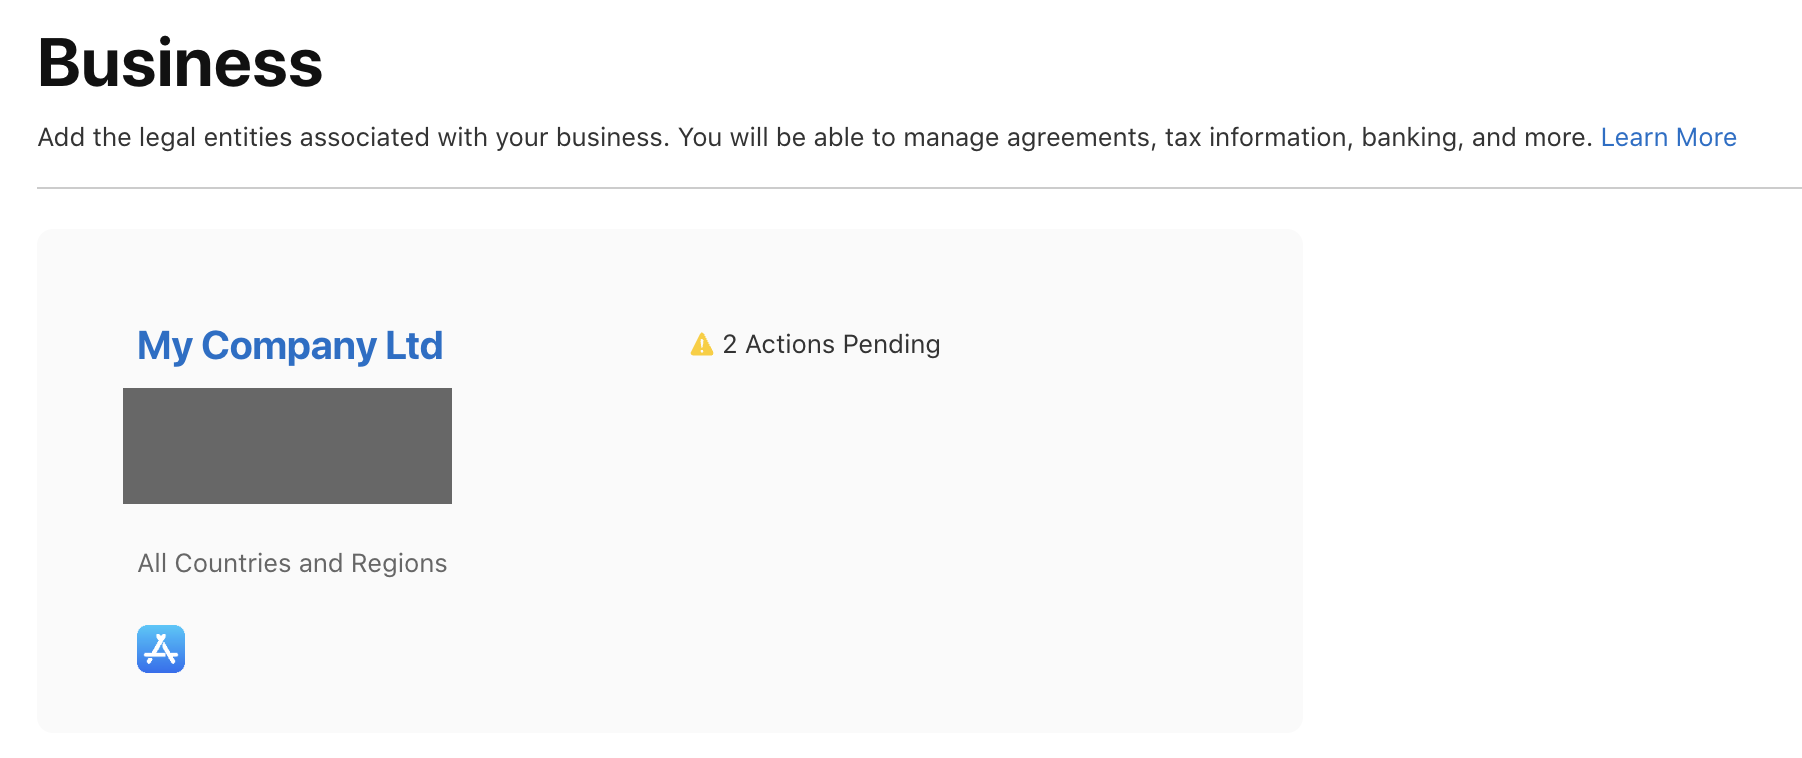
Finally, you need to agree to some additional Terms of Services. Go to https://appstoreconnect.apple.com/ and sign in with your Apple ID, and go to page "Business". You should see your company name with "2 Actions Pending". Click the name of the company.
Business Details
On the top of the next screen, you should see this banner below. Click "Edit Legal Entity"

A popup appears with your company details. Confirm they are all correct, and save. If your country does not have States, add "N/A" to the field State. After saving, the banner should have disappeared.
Paid Apps Agreement
Now you should see another banner on top of the page (see below). Click "Sign the Paid Apps Agreement". In the actual app, we are not using payment channels by default, but the app is built on top of a framework that contains the capability to allow payment processing.

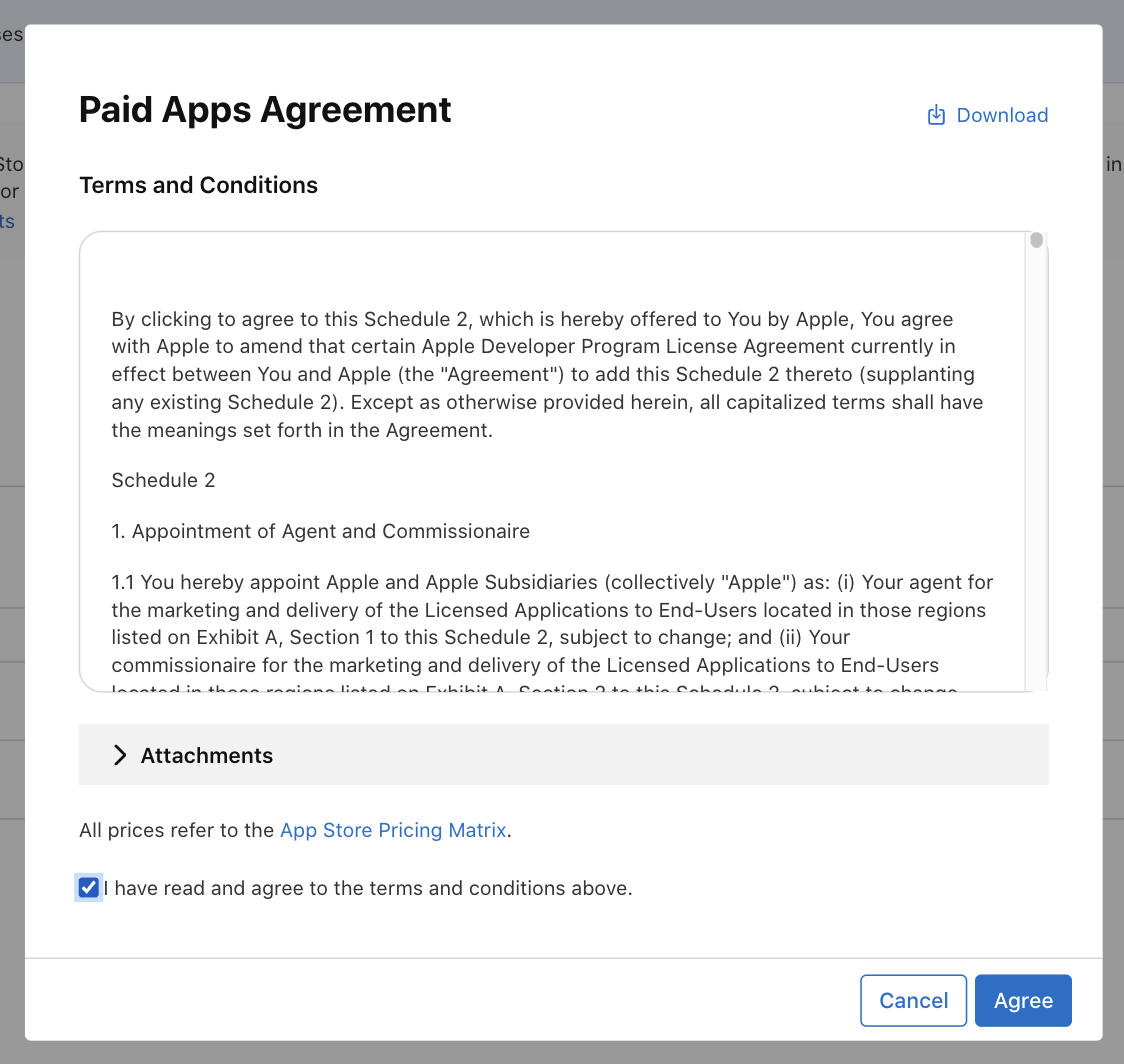
A popup will appear. After reading the terms and conditions, tick the checkbox and click "Agree":
Next, the page will reload, and you will see a new box on the bottom of the page. Click "Add Bank Account".
NOTE! Your bank account number is not used in any way by the app that Trainero provides, but Apple requires it to be entered in part of this process.
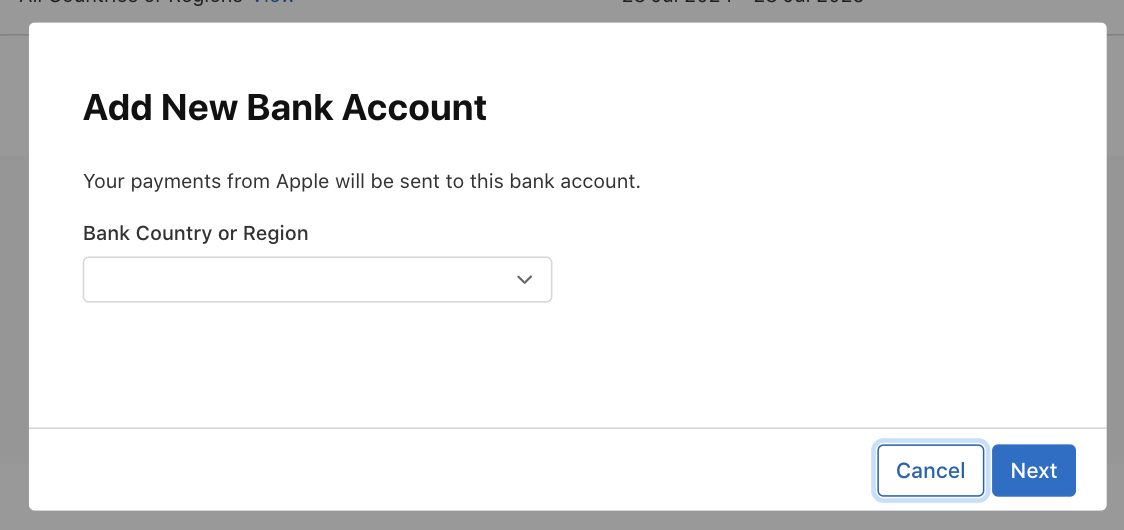
Select country of your bank:
Then you need to fill out details of the bank account. The following popup content might differ depending on your selected country.
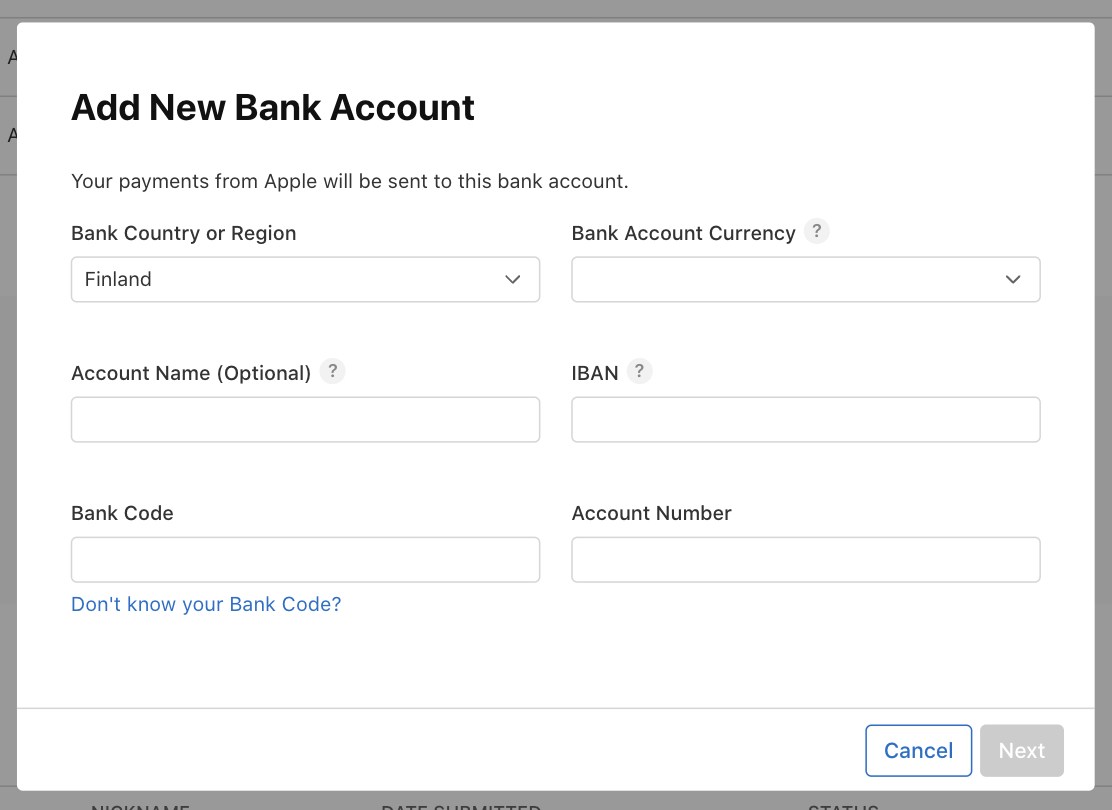
There are some important notes:
- Account Name = Enter your company name
- Bank Code = click ”Don’t know your Bank Code?” and search your company’s bank from the list. If you find multiple items, select the first one.
- IBAN = IBAN number without spaces
- Account Number = same than IBAN, but remove the first 4 characters (first 2 letters, and next 2 numbers)
- Other fields: fill as requested, but don’t use other letters than A to Z. For example, if your address contains ä or ö, replace them with a and o
Click "Next", and then fill out the account holder's details, which are most likely same than your company, so you tick the "Same as Legal Entity"
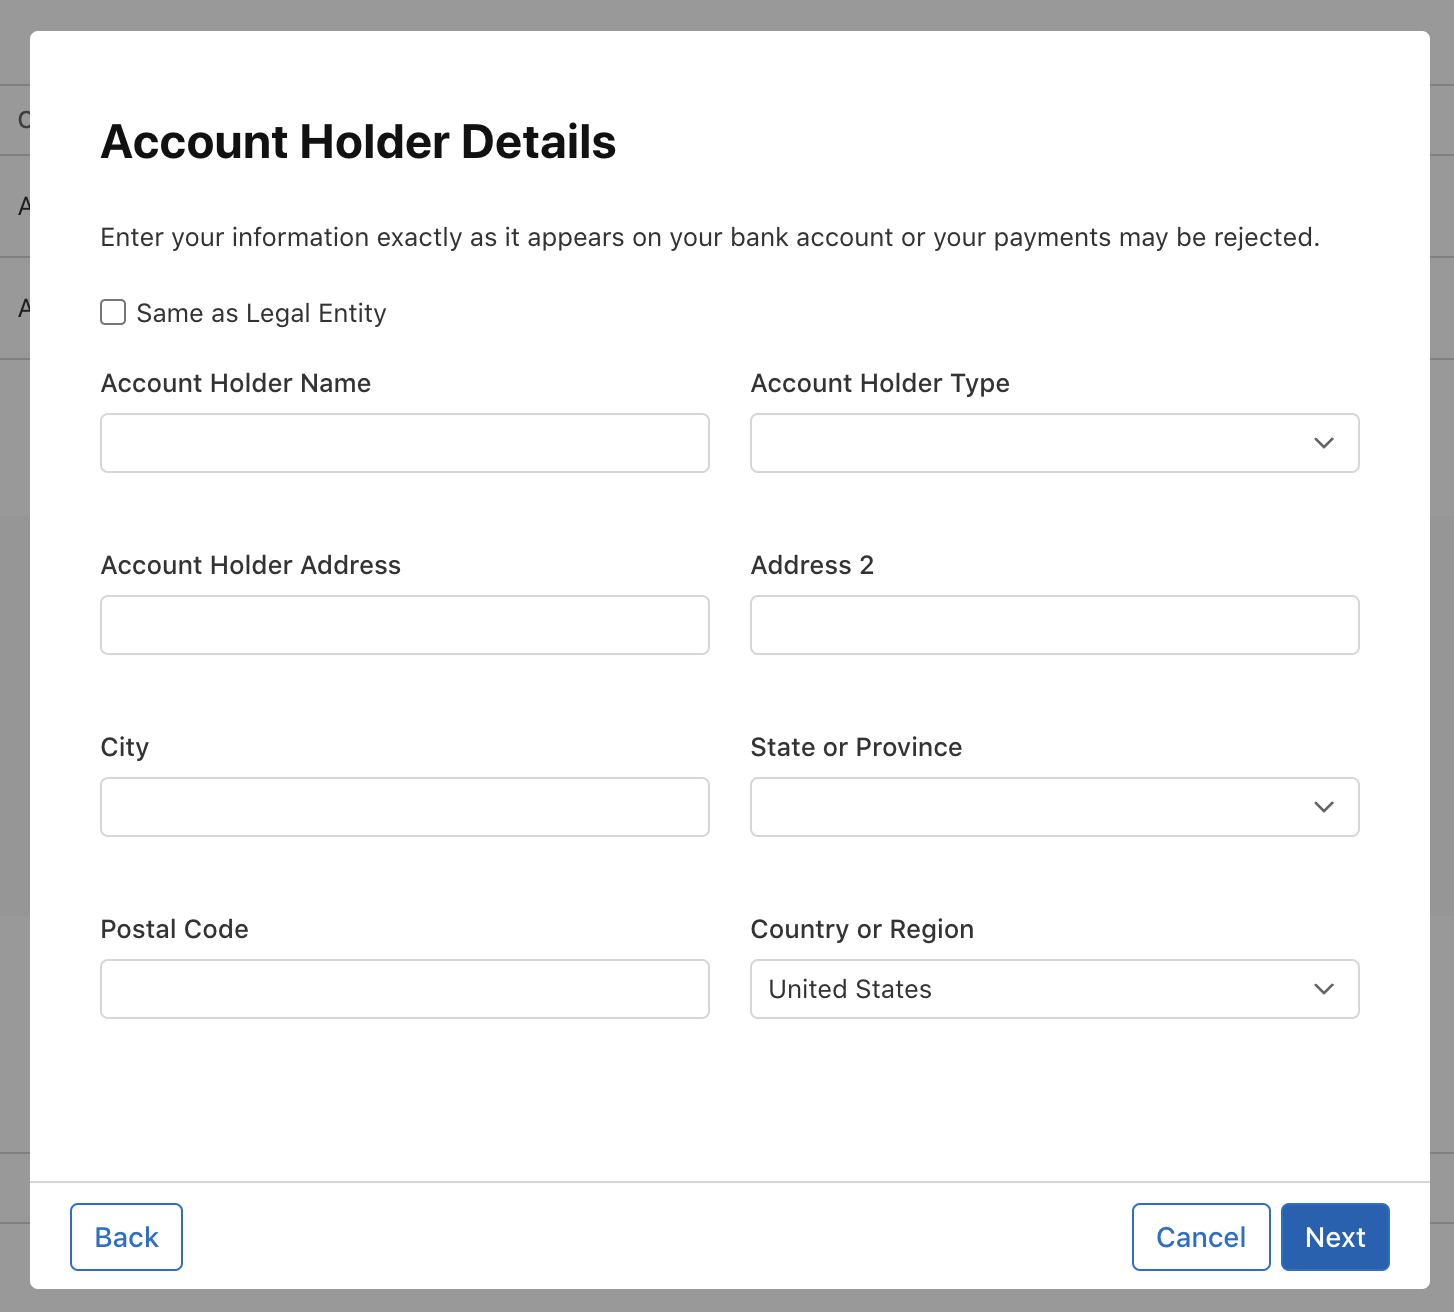
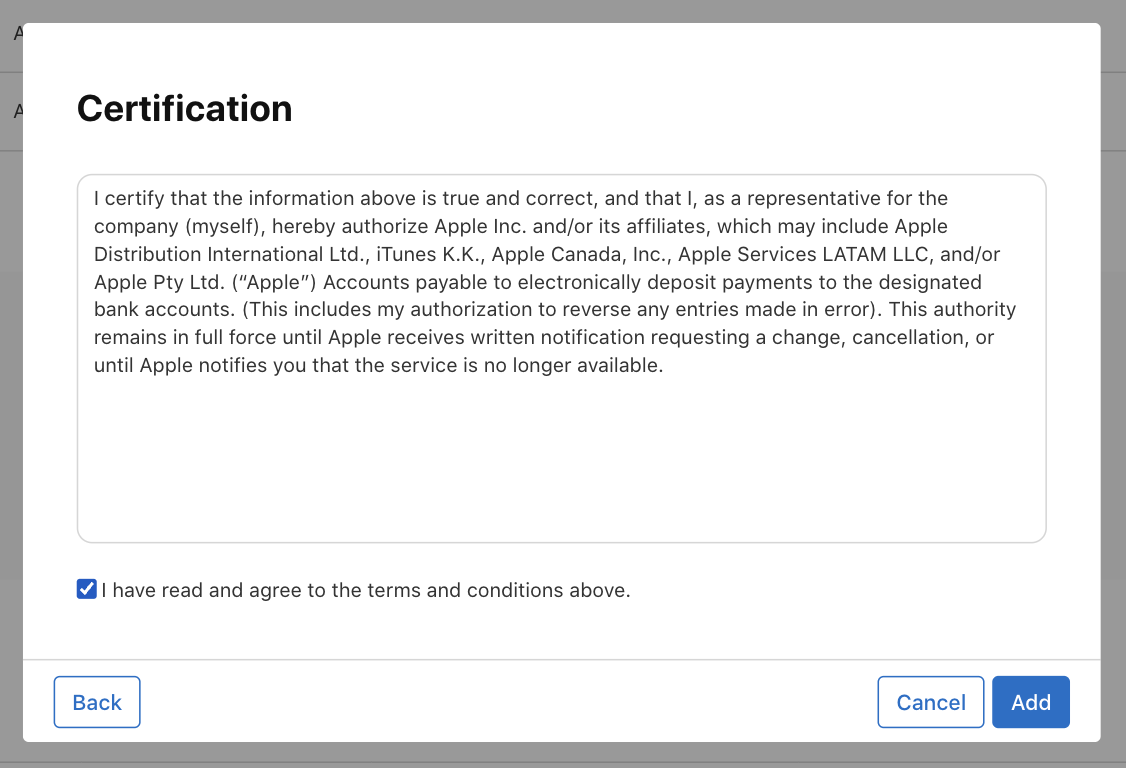
Finally, click "Next", and on the next popup, click "Add"
Add Tax Info
When you return to the previous page, scroll to bottom to see the Tax Info section, and click "Add Tax Info". This section provides Apple the information about your company's U.S tax eligibility.
IMPORTANT! The following instructions primarily apply to non-U.S. companies. If you are a U.S. company, your tax information should be straightforward to fill out. Additionally, these instructions cover the most basic scenario. If you have any doubts about your tax eligibility, please consult your accountant or tax advisor. You can fill out these forms later, but at latest when the White Label app is to be released.

On the next popup, select Yes or No, depending on your status.
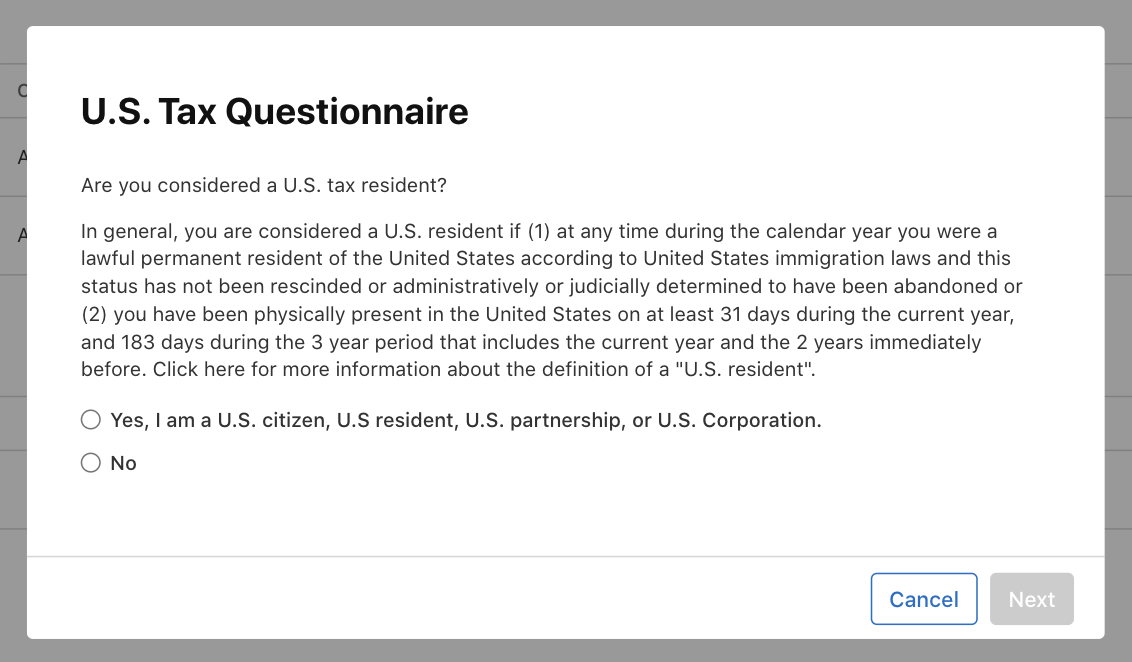
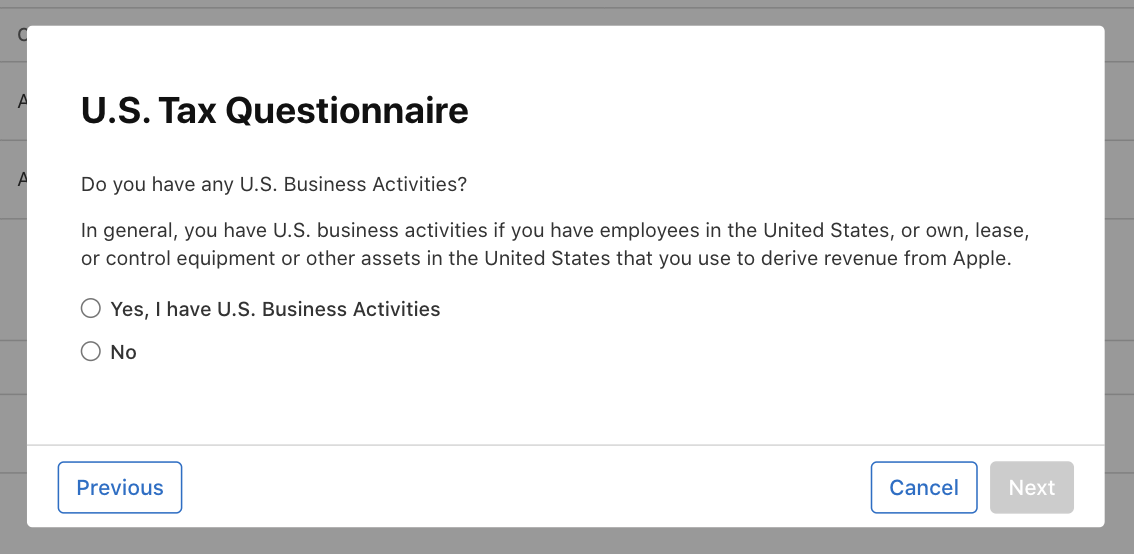
Next, select Yes or No, depending on whether you have business activities in the U.S. Read the definition carefully. The following steps apply primarily if you answer No.
Now the popup closes, and you should see two new lines in the Tax Info section:

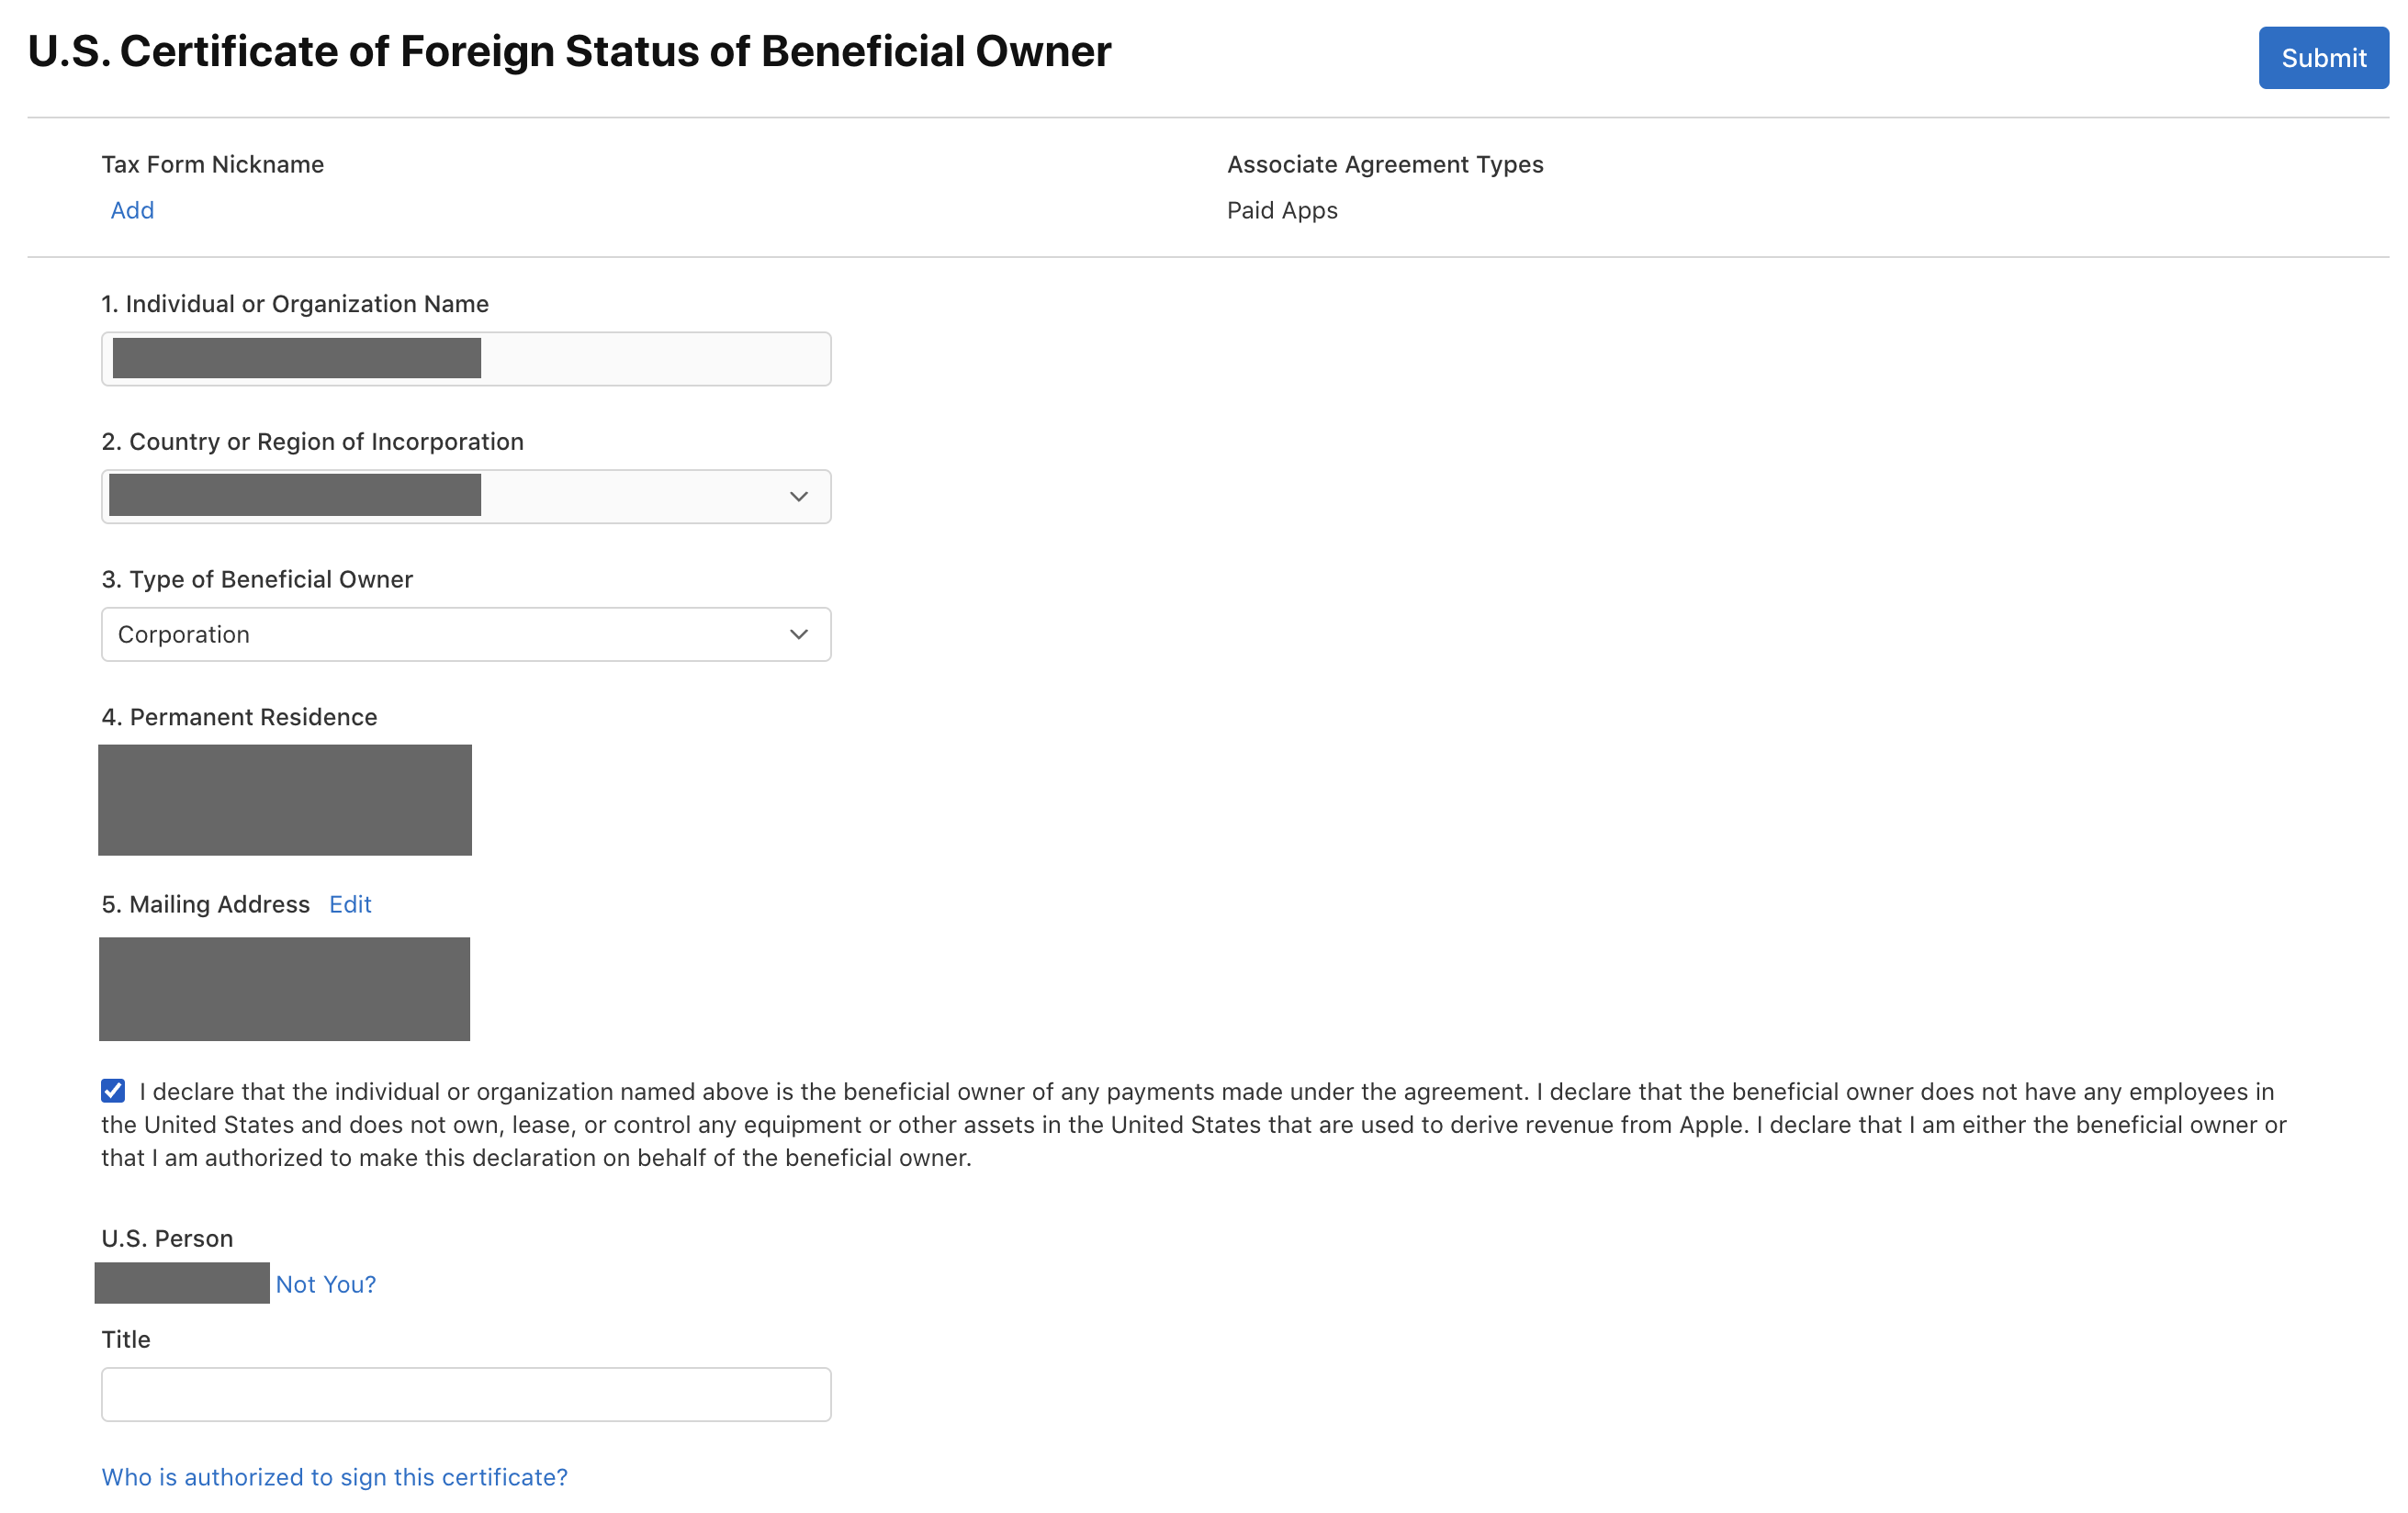
Click the three dots on right of the first line "U.S. Certificate of Foreign Status of Beneficial Owner" and select "Add Tax Info".
On next page, fill out the information. Here you confirm to Apple that your entity is non-U.S. but does not business activity in U.S. Select Corporation as a Type of Beneficial Owner (unless you have something else). Add your job title to the "Title" field, and click "Submit"
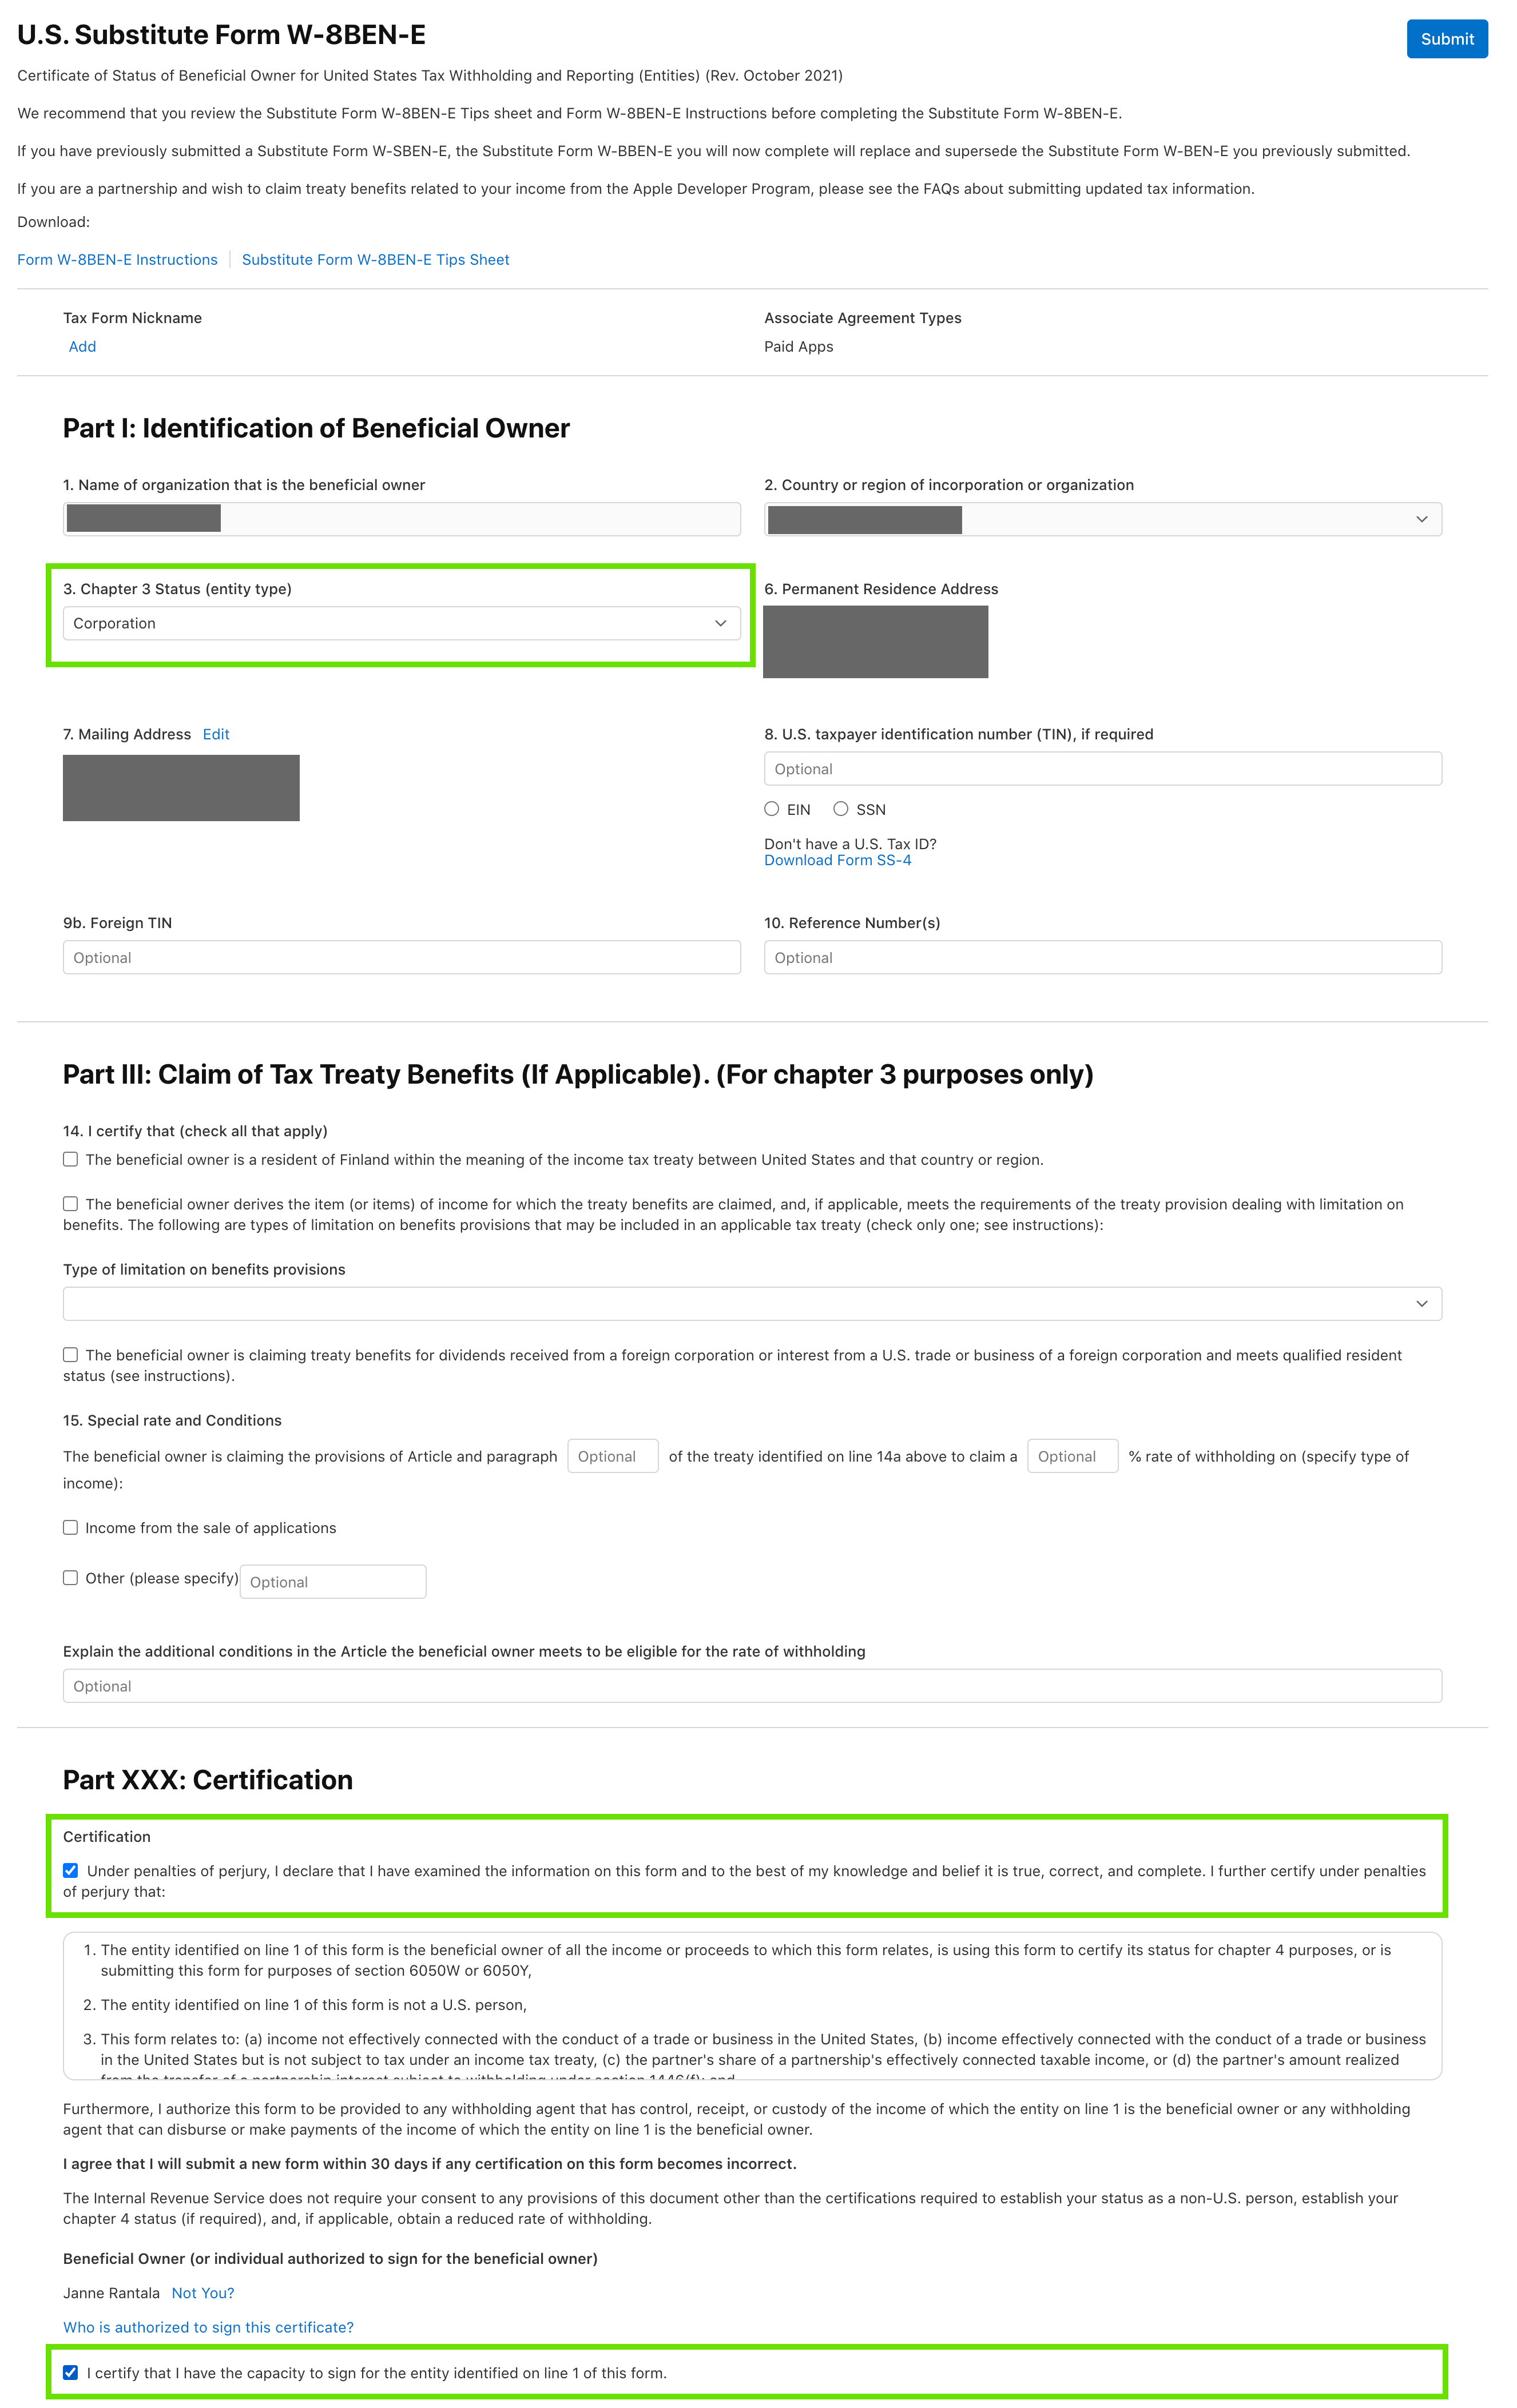
Now you should get back to the page where you see the Tax Info section in the bottom. Click the three dots on right of "U.S. Substitute Form W-8BEN-E" and select "Add Tax Info". The next page has a large form, but at minimum, you only need to fill three points (see green marks in the picture). When ready, click "Submit"
Digital Services Act Compliance
Final step is filling out the DSA-related information. You are directed back to the "Business" main page, and you should see this box below. Click "Complete Compliance Requirements"

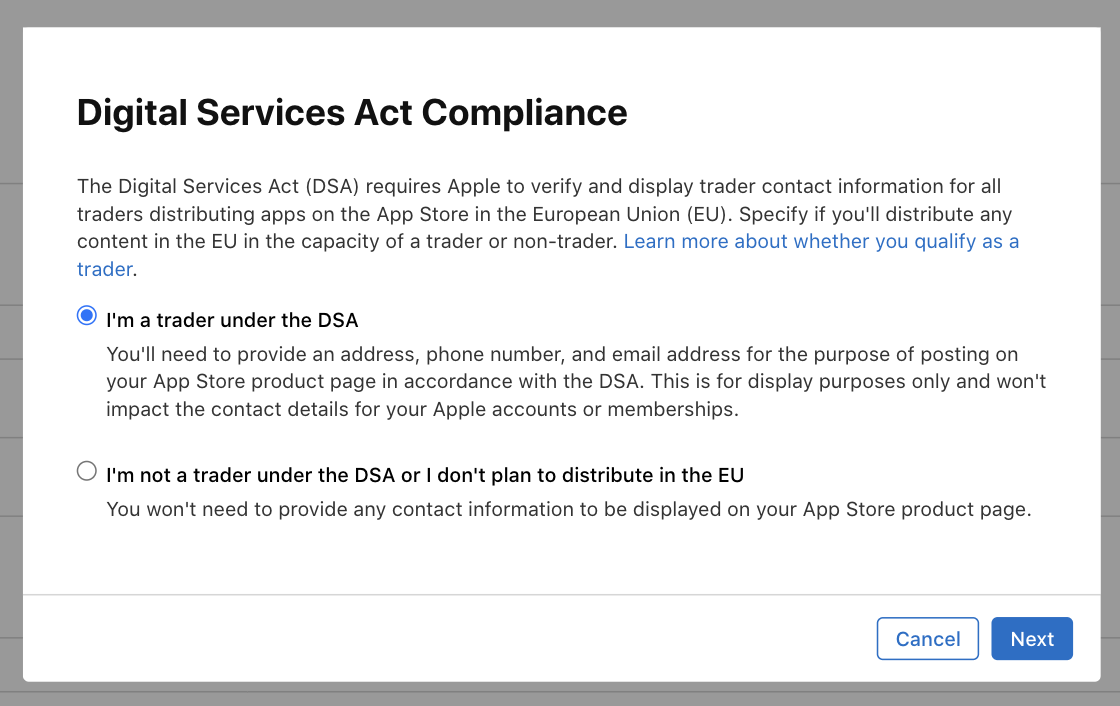
Next, a popup will appear. Select the option that is more relevant to you. Most likely, it is the first one.
Next you are asked once more to confirm your business details. You also need to fill out and verify both contact telephone number and an email address, that are required by the Digital Service Act.
After these procedures, the Apple Developer account should be ready to be used!

