Timeline: Automate Workflows
The Timeline feature allows coaches and trainers to establish a predetermined amount of time as a plan for the future. To this timeline, you can add workouts, meals, progress-tracking measurement points, automatic emails, and other miscellaneous tasks.
Video Tutorial
This is a comprehensive video tutorial of all the features of the Timeline and how it can be used to automate your workflow, thereby, reducing your workload. Alternatively, follow the instructions below for the same information.
Overview
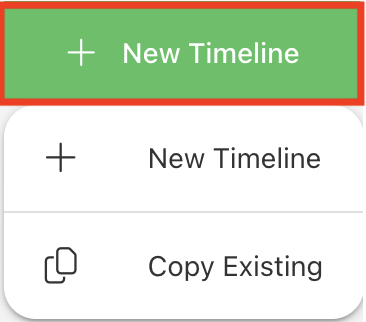
Navigate to the Timeline feature by accessing a client or group profile page. If the client or group profile you have accessed does not have an existing timeline, you will be presented with an empty window and must select 'New Timeline'.

You can choose to create a new timeline from scratch, or copy an existing timeline from another client or group account.
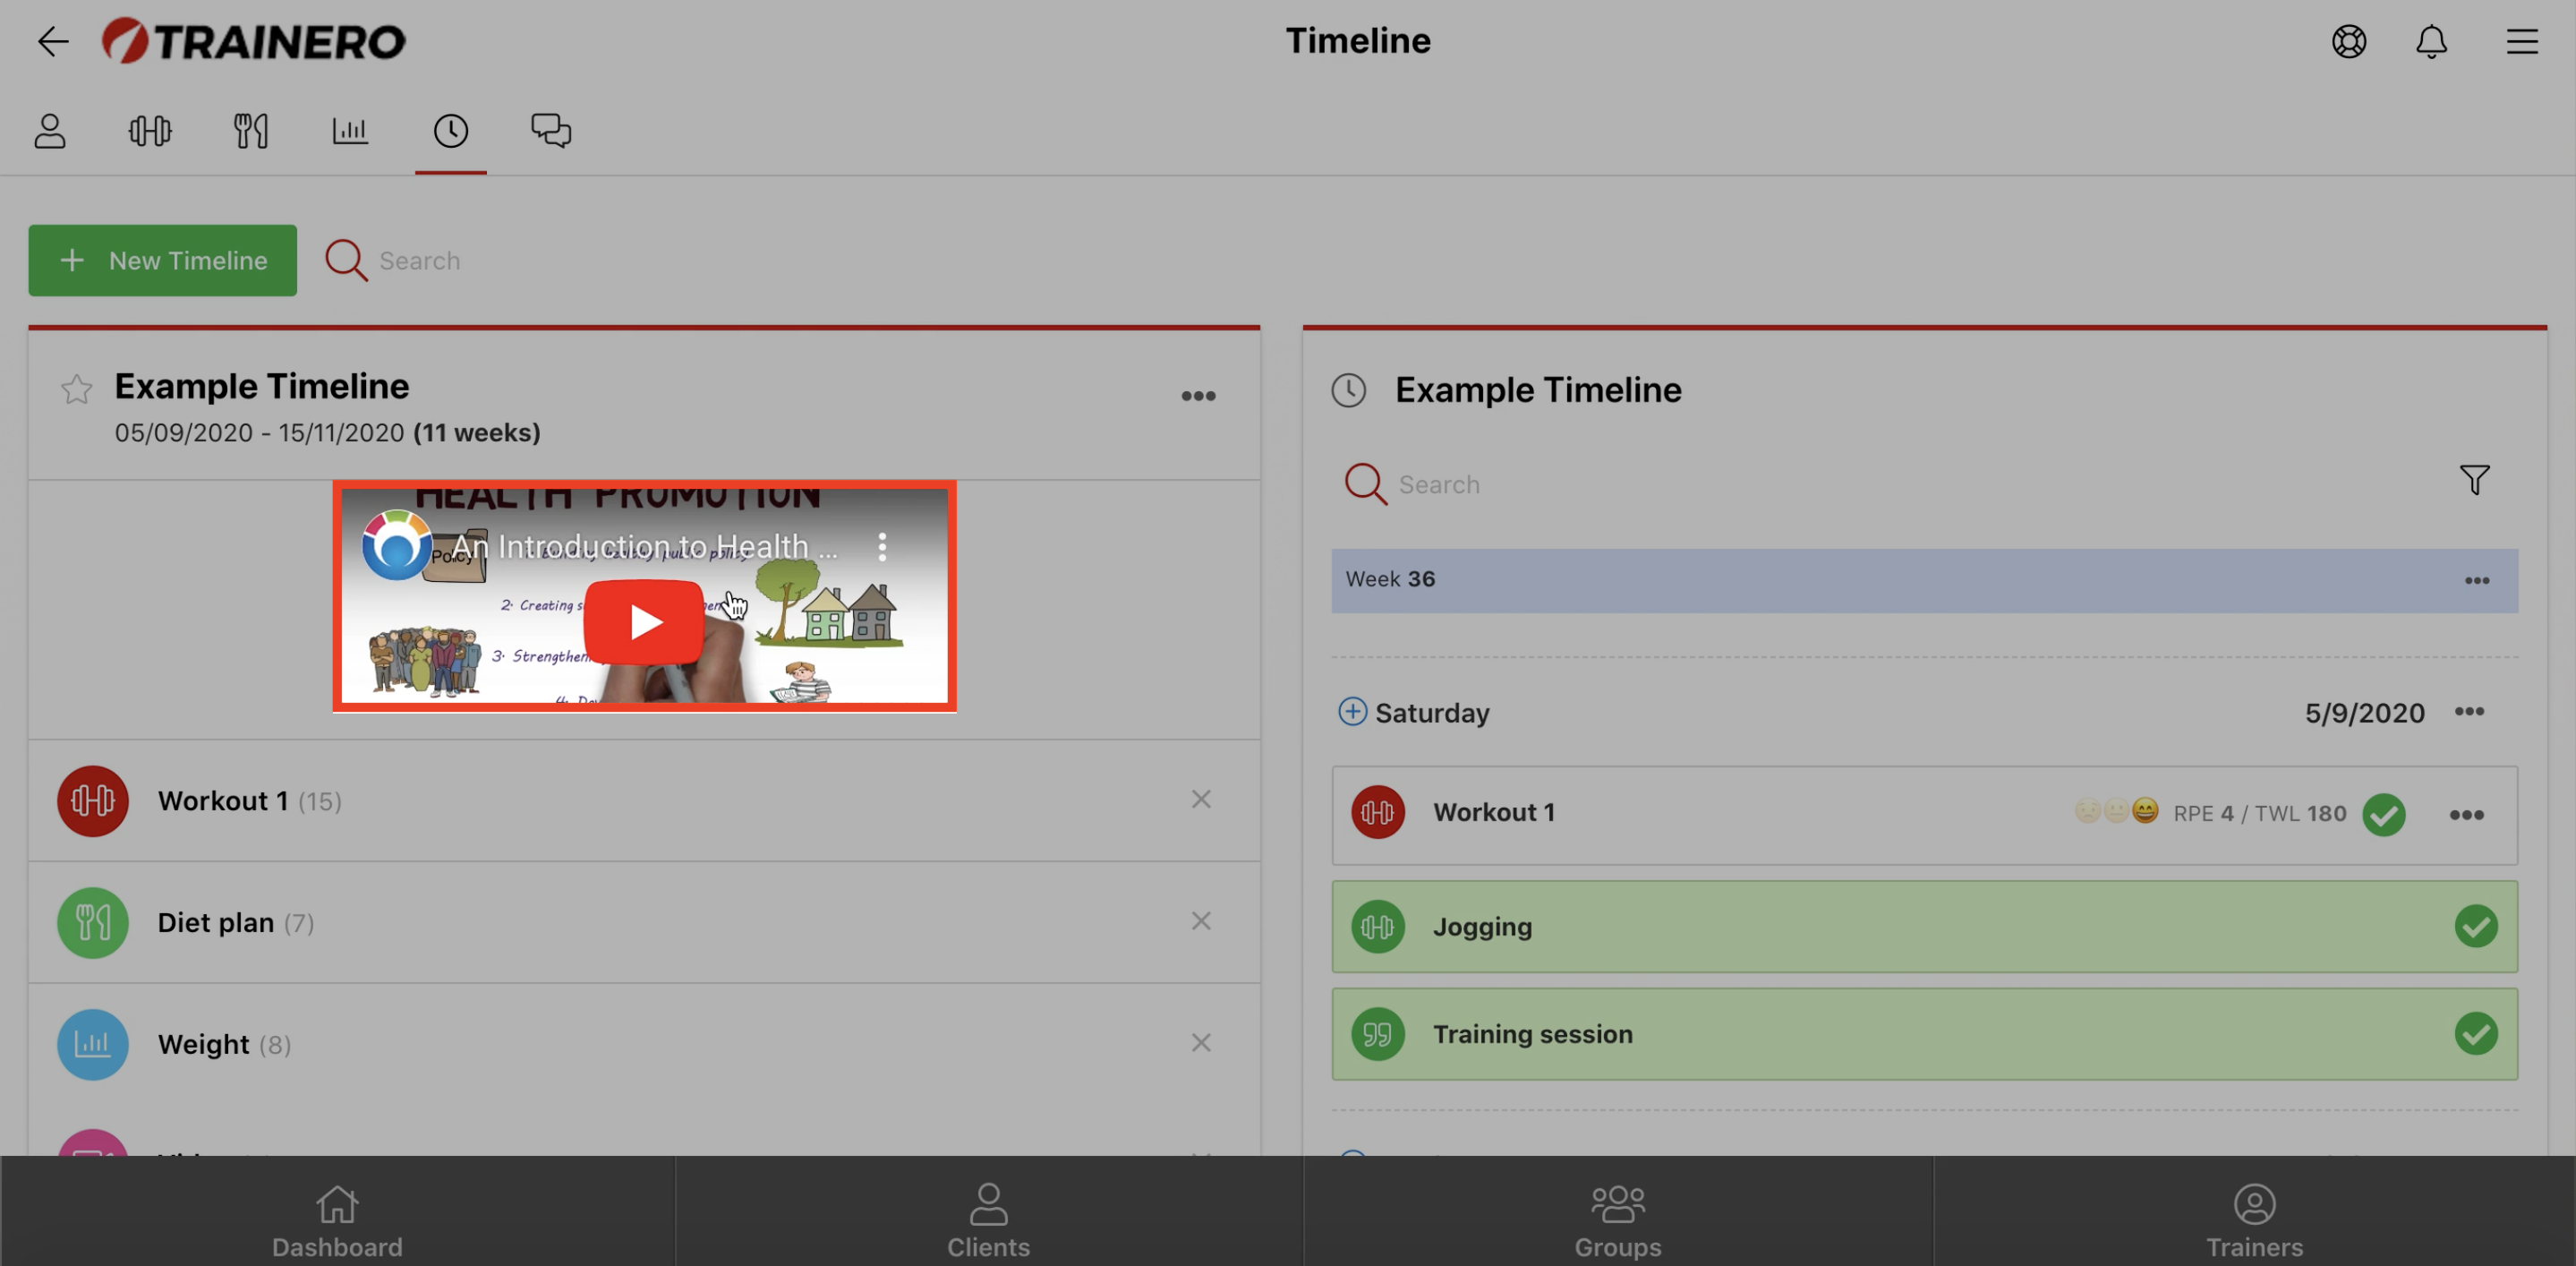
You can add media to the cover of the timeline as a banner to introduce the timeline to all of its users. This is an extremely convenient feature because you can have more personal initial contact with the clients who have bought the timeline (e.g. from the Online Store).
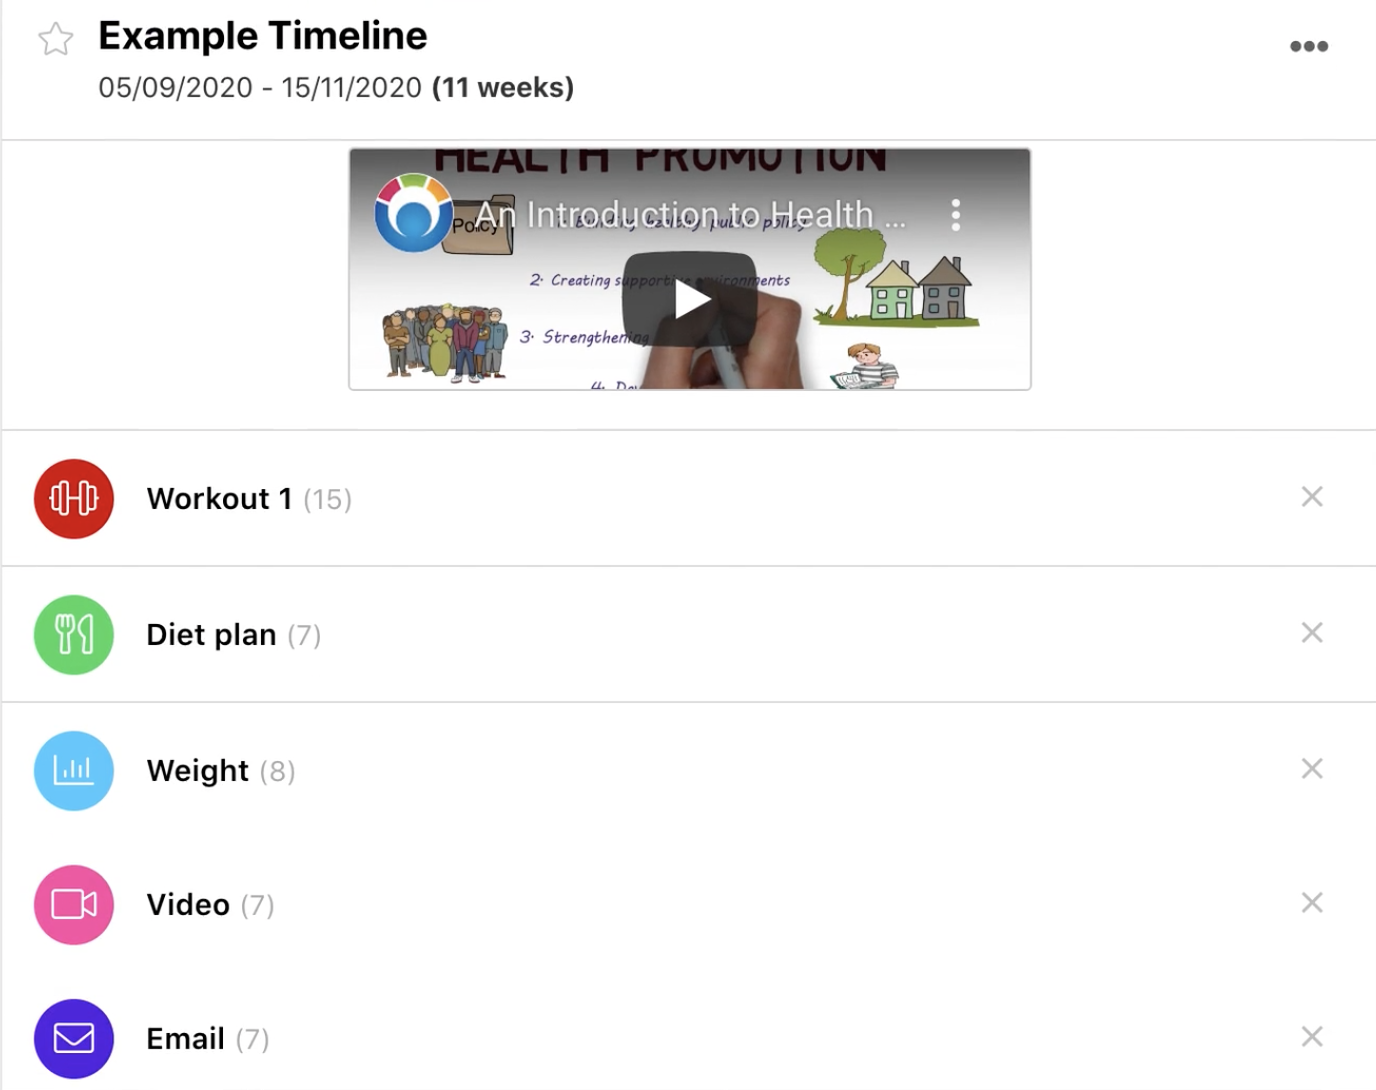
The left side of the timeline editor summarizes all the content that the timeline consists of.
The timeline itself is on the right side of the editor. You can search for events by name. Edit the instructions, copy, or remove the respective week from the timeline using the three-dot dropdown menu. You can also copy and paste a single day or an individual event using the three-dot dropdown menu next to the respective component. Trainero's Timeline allows you to copy content from one timeline to another.
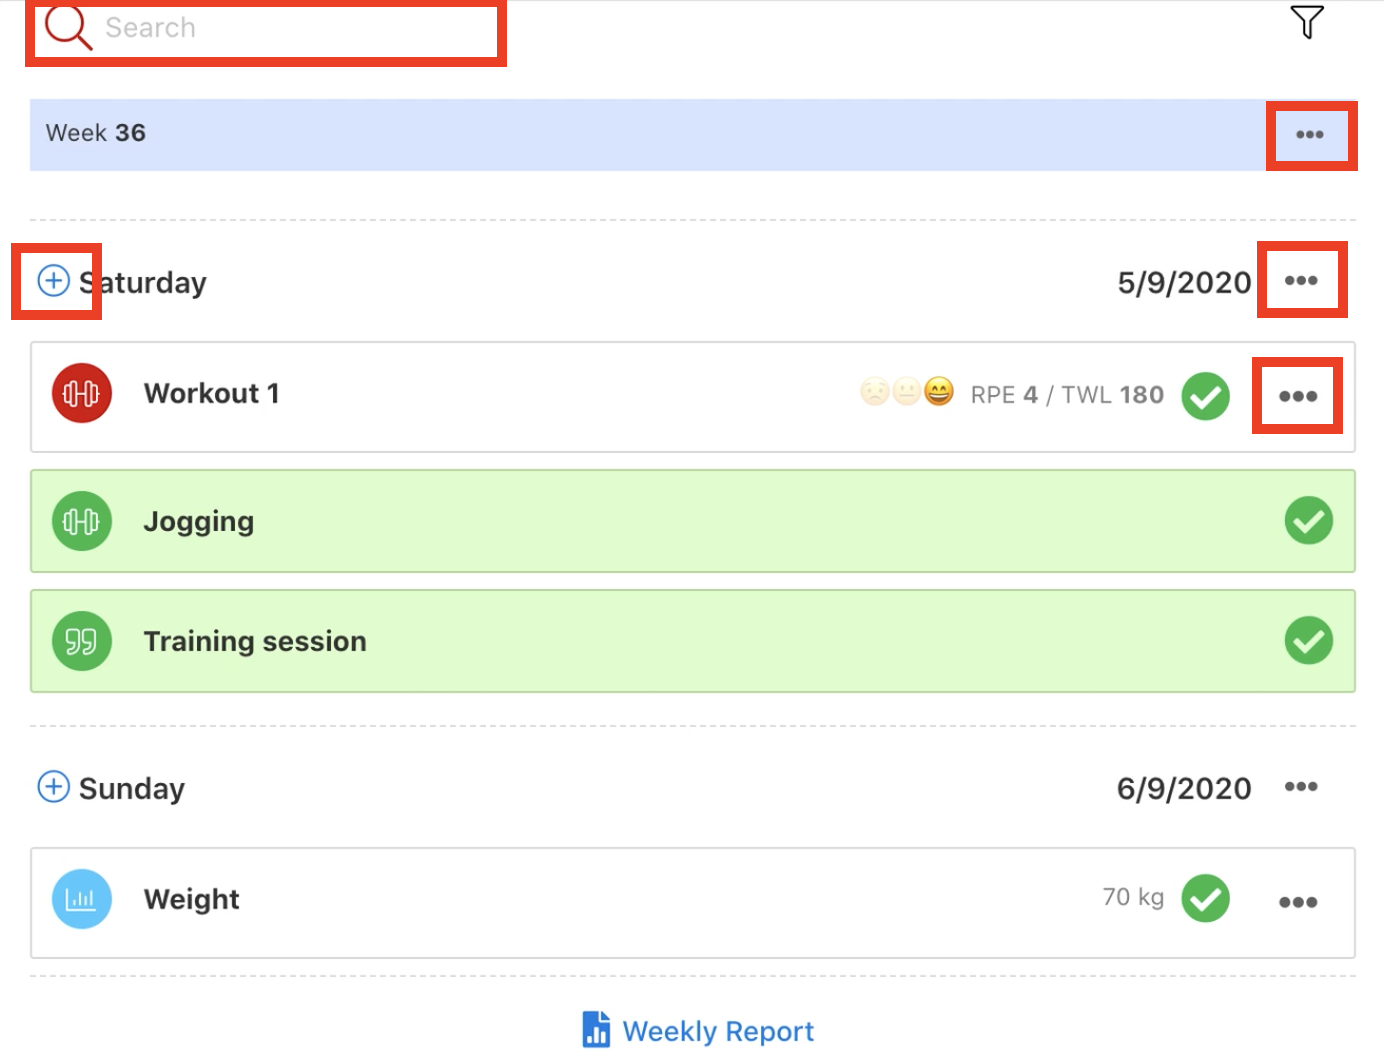
Use the plus button left of the weekdays to add an unrestricted amount of events to the timeline from the choice of bubbles as seen below.
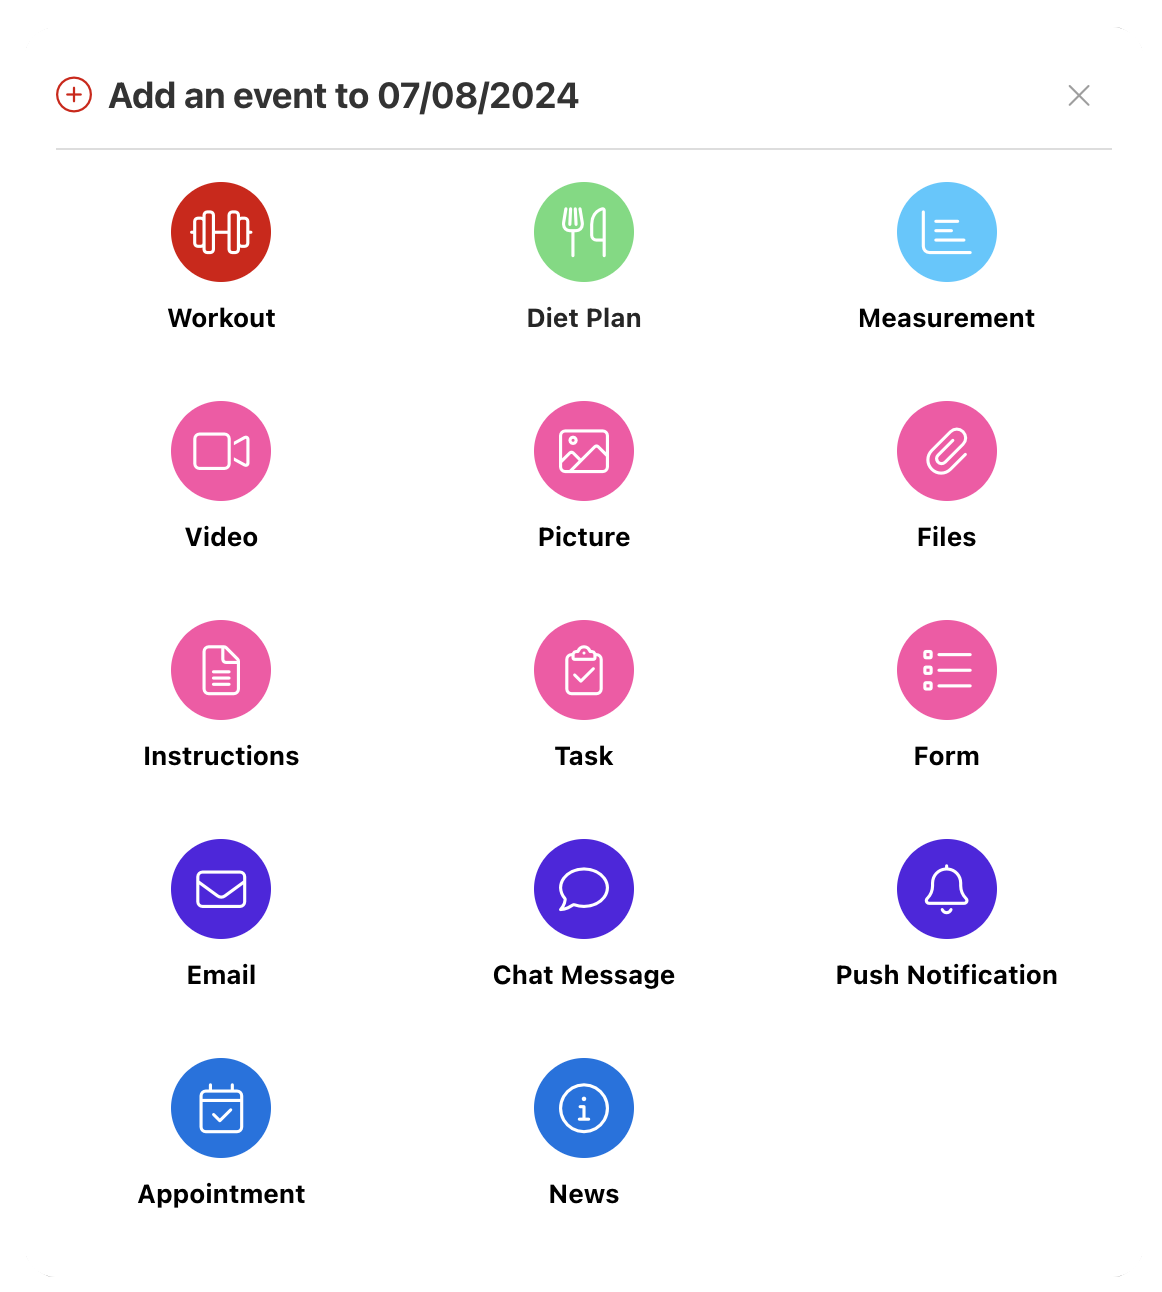
The procedure of adding any form of content to the timeline is identical to how the same features function outside of the timeline. In other words, creating a workout, diet plan or a progress tracking metric for the timeline follows the same process explained in their respective help articles.
