Client Progress Tracking
You can track a client's progress using built-in metrics and charts; alternatively, you can customize and create your metrics and charts.
Video Tutorial
The following tutorial video details how to track clients' progress using built-in metrics or customizing and creating new metrics. Alternatively, follow the instructions below for the same information.
Navigation
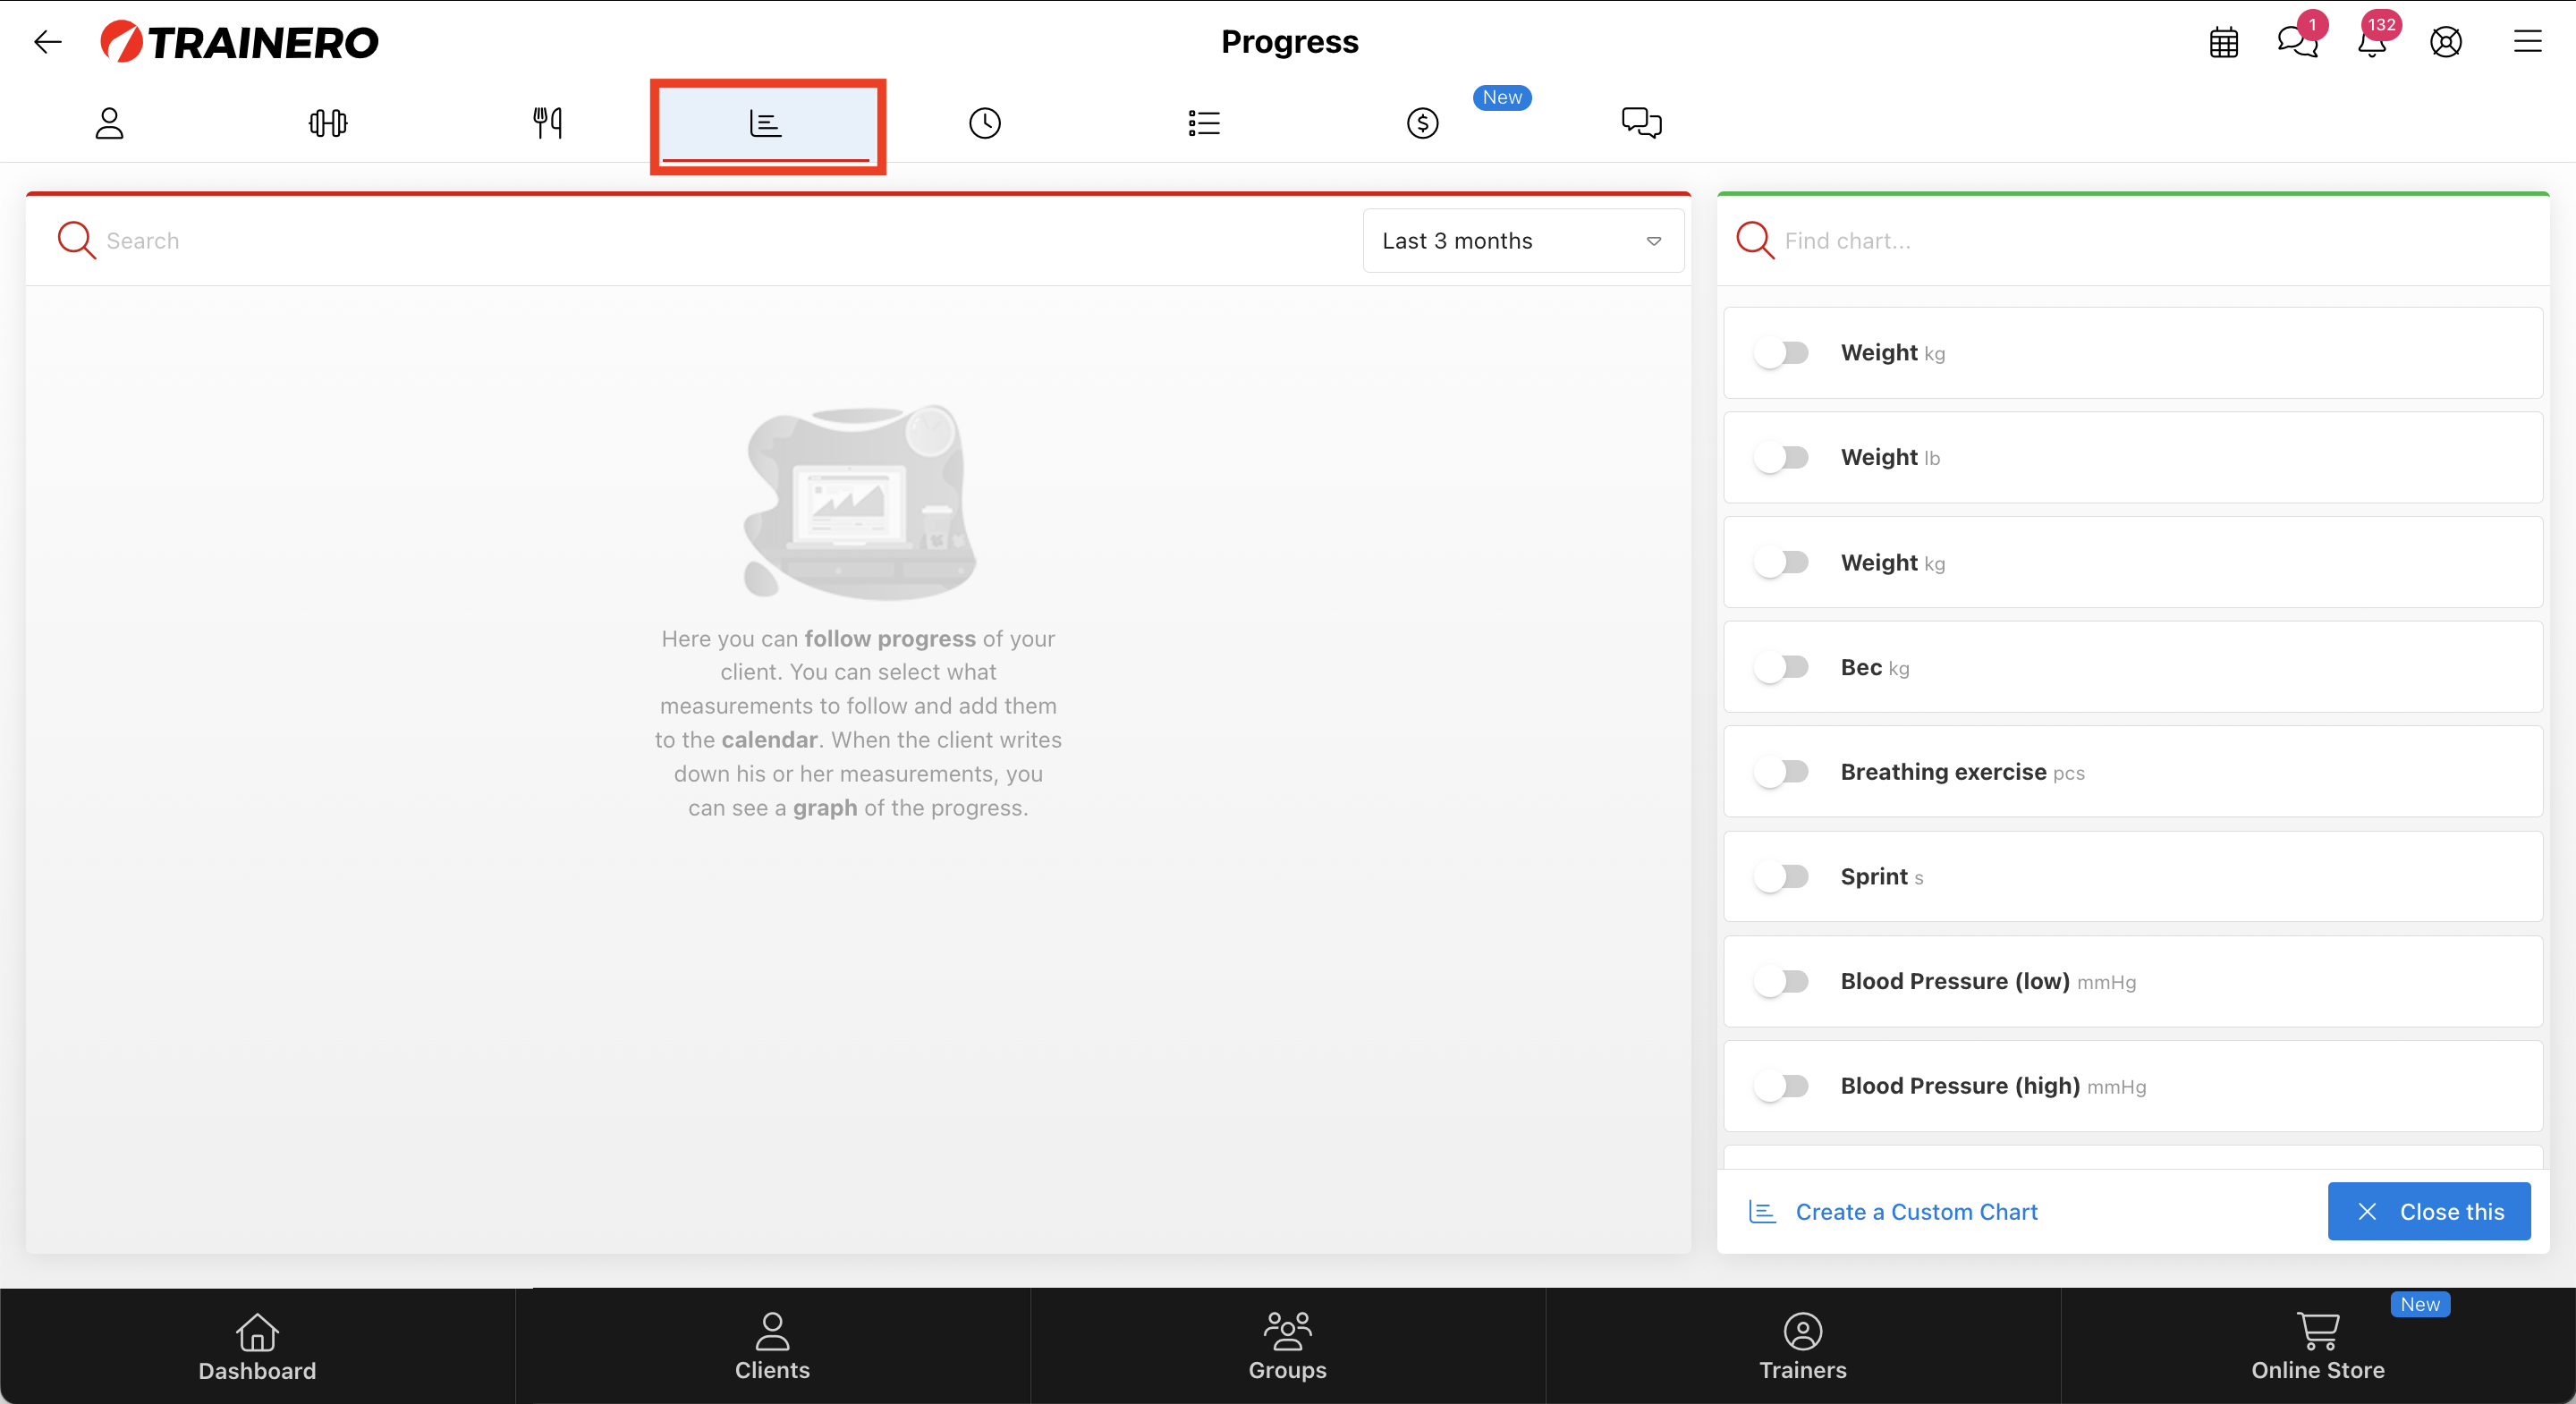
Start tracking a client's progress by navigating to the desired client's profile and selecting the 'Progress' tab.
Built-in Metrics & Charts
After you have navigated to the 'Progress' tab, you are presented with a list of built-in progress-tracking metrics that can be visualized graphically.
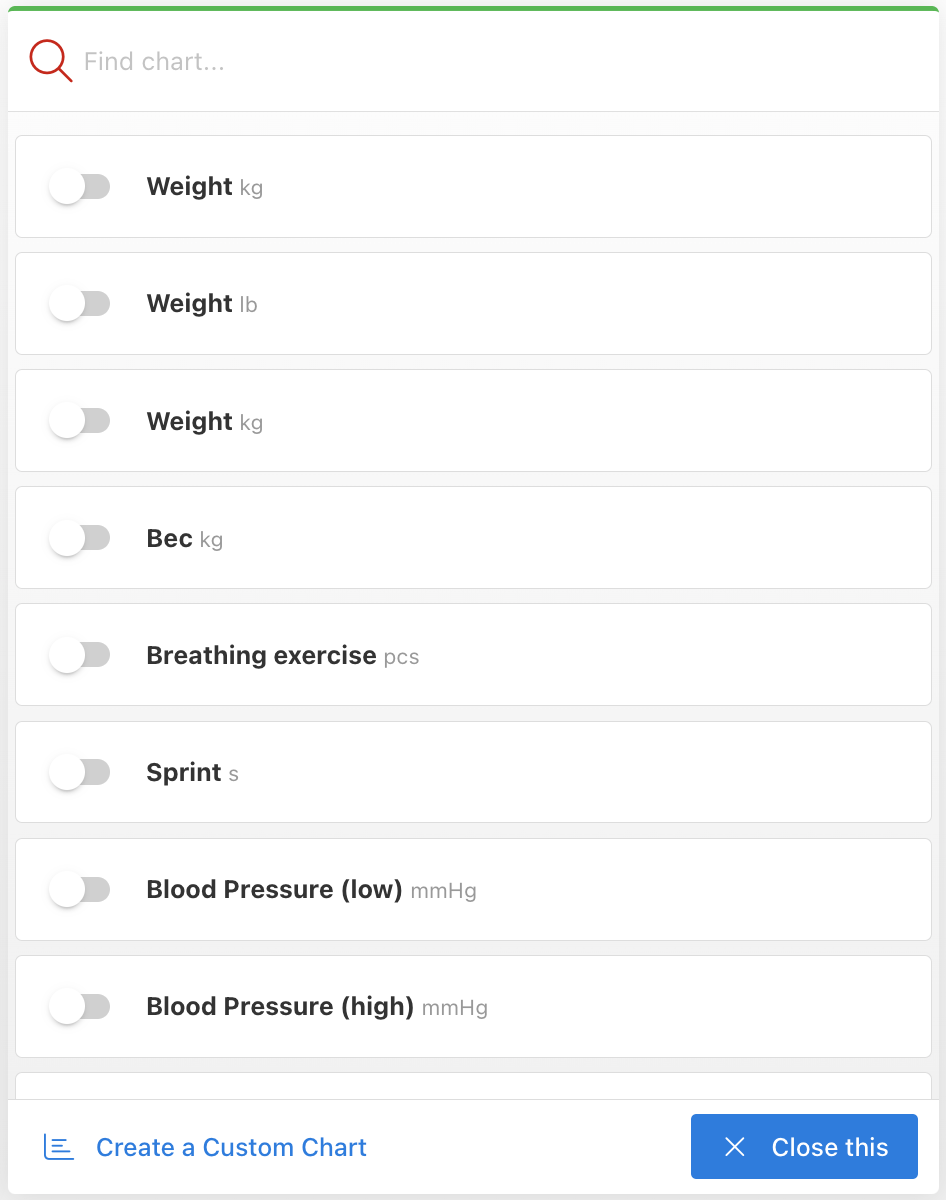
Once you select a metric for tracking, you are prompted to describe and give instructions for the progress tracking and assign the days for measurement. Select 'Save'.
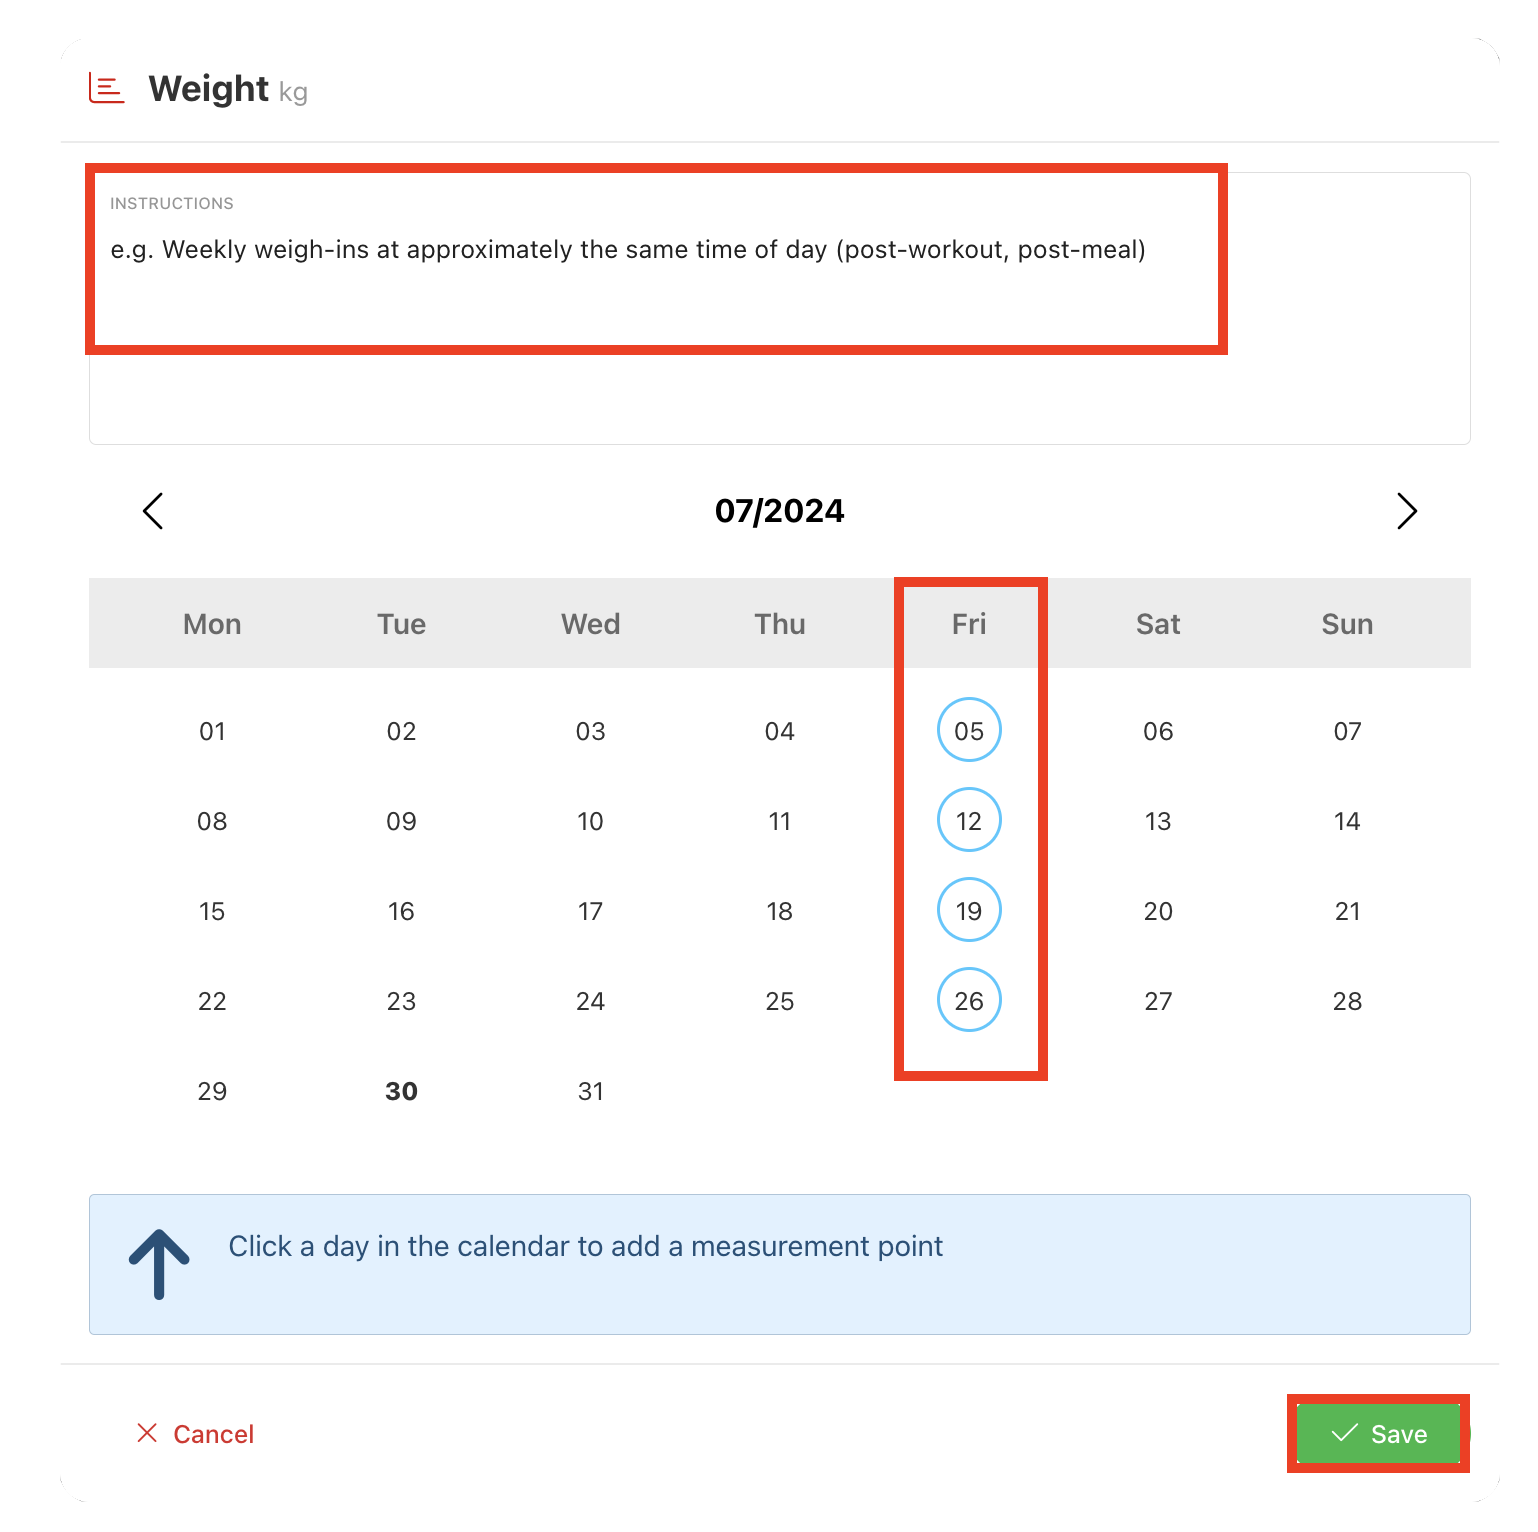
After you have assigned days for measuring your progress metric as seen with the blue circles above, the metric shows up as an event on the client's calendar. The image below shows that after navigating to the client's profile's starting page, the weigh-in to keep up with the weight progress tracking can be seen under 'Friday'.
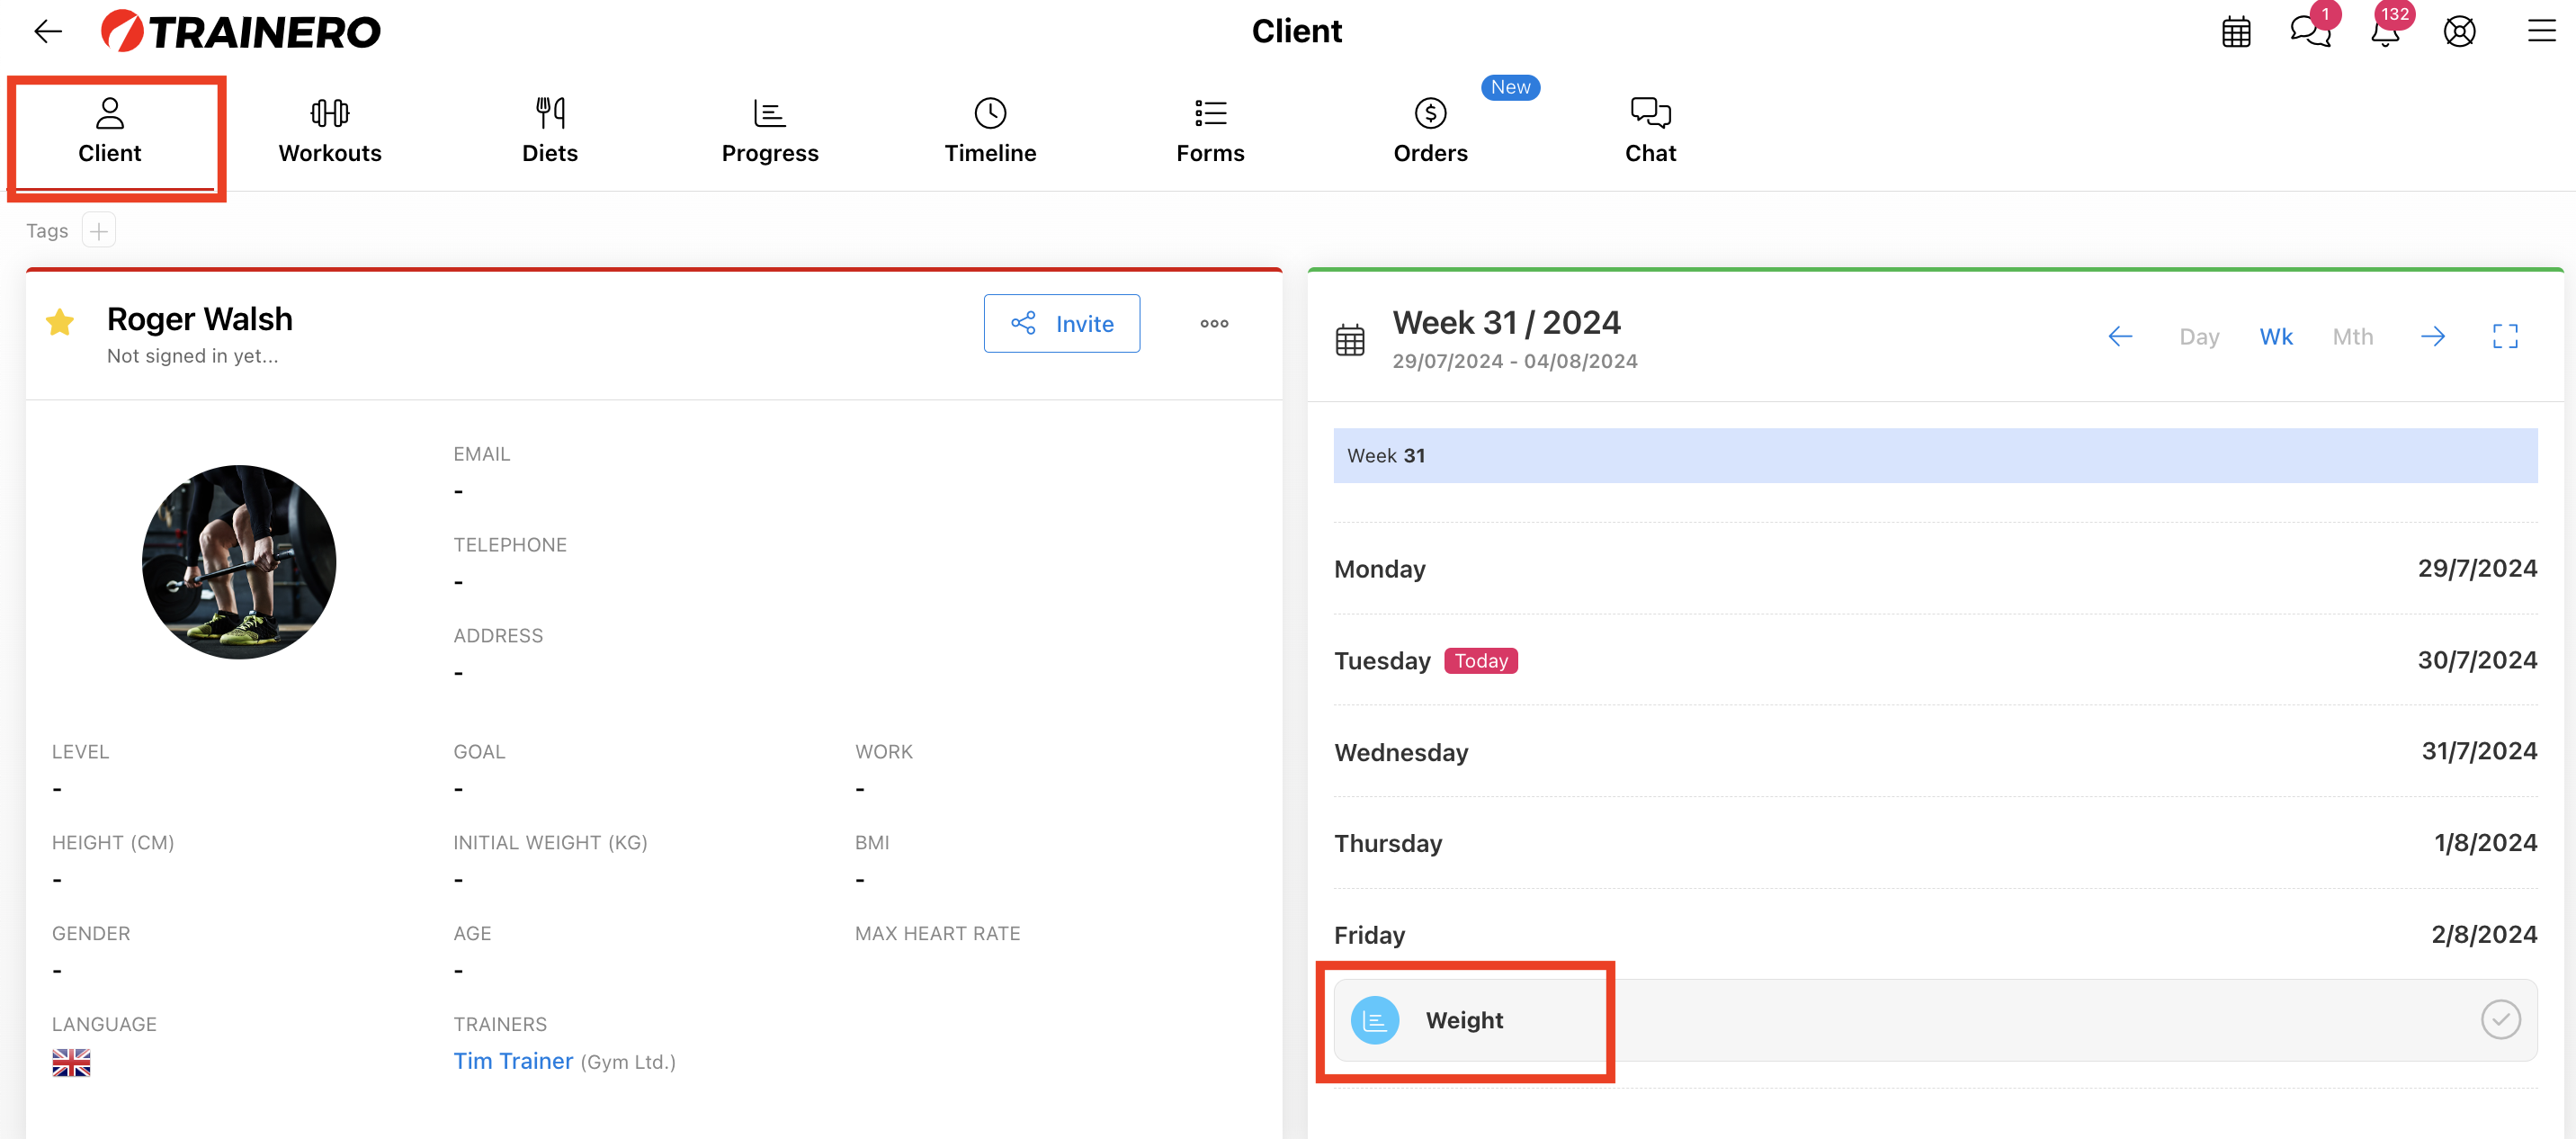
Both the trainer and the client can fill in progress tracking information. Select the tracking metric and submit the necessary measurement, timestamp, instructions, and notes. You can attach media to your progress report, and view your latest progress visually either from the chart in this instance of entering measurements or see all progress tracking back on the 'Progress' tab of the client's profile.
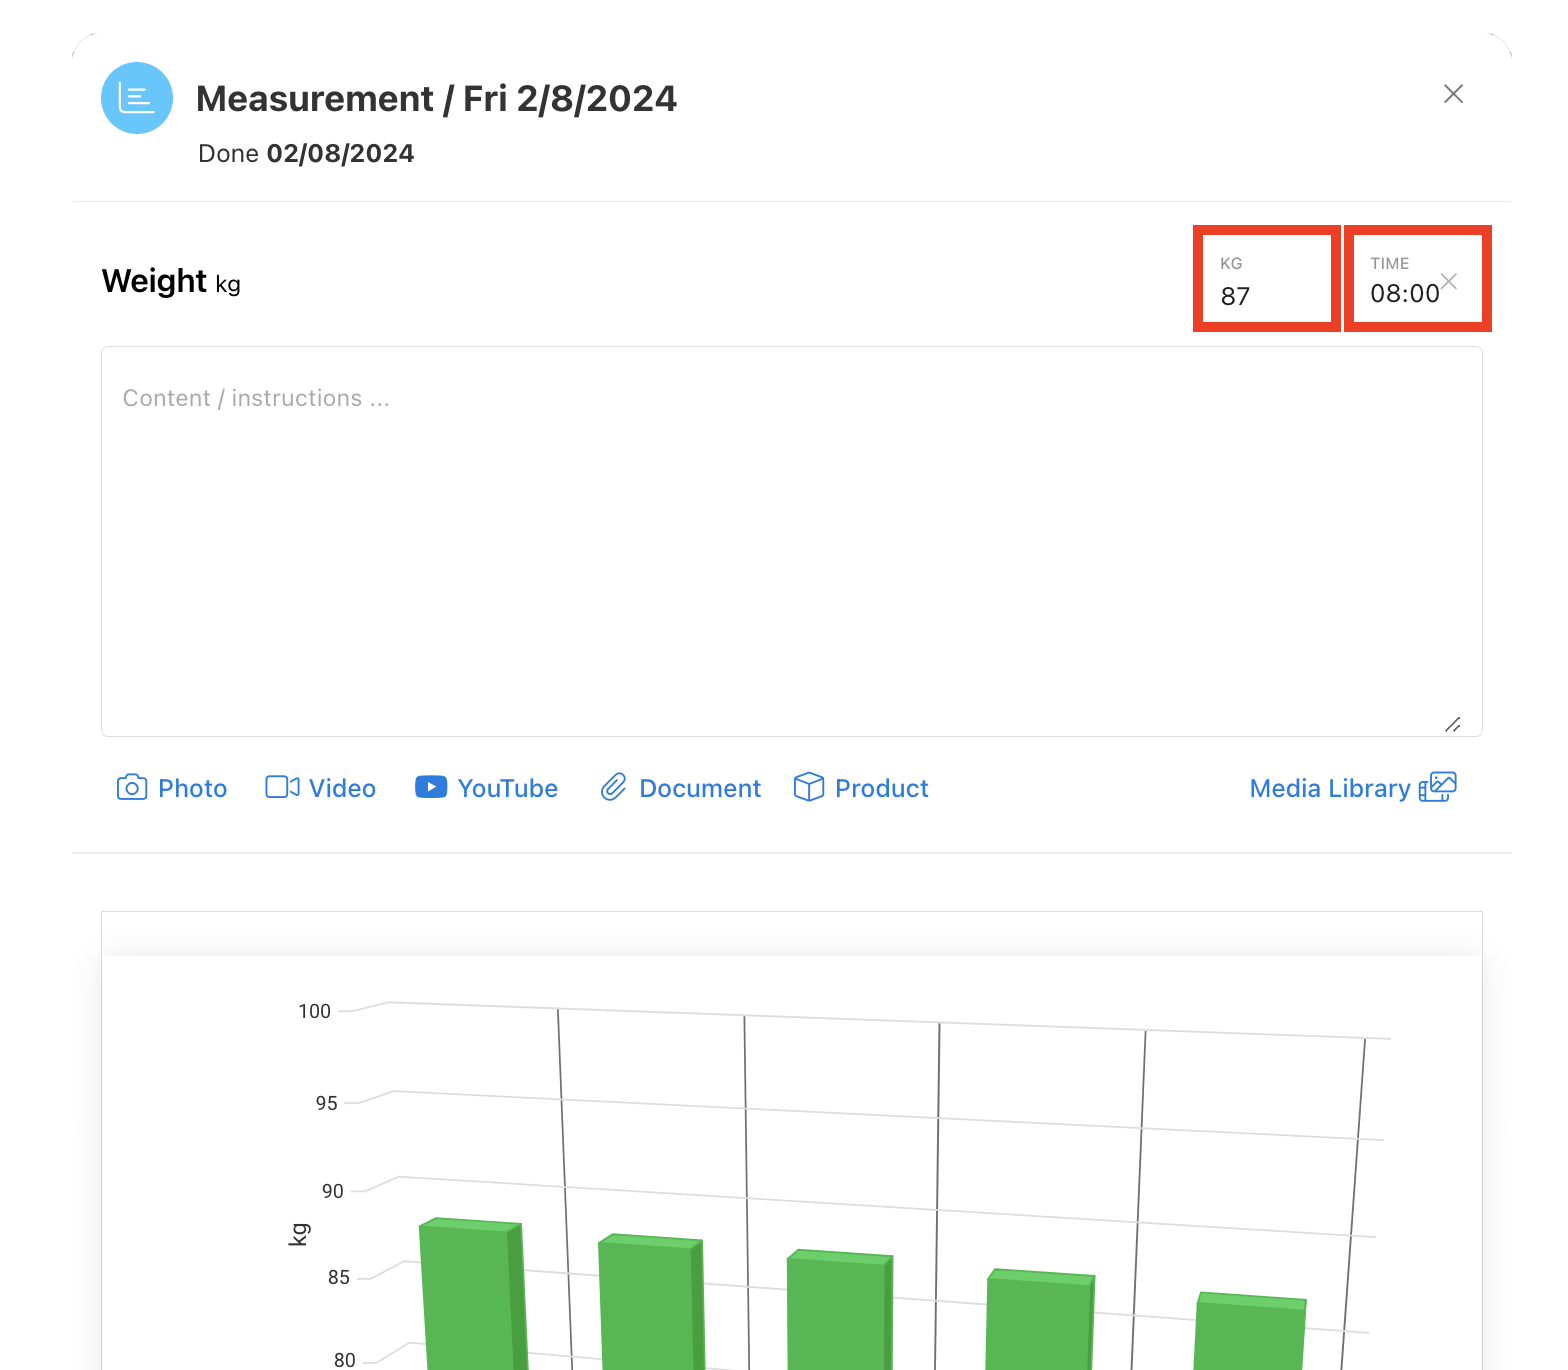
Remember to select 'Save'!
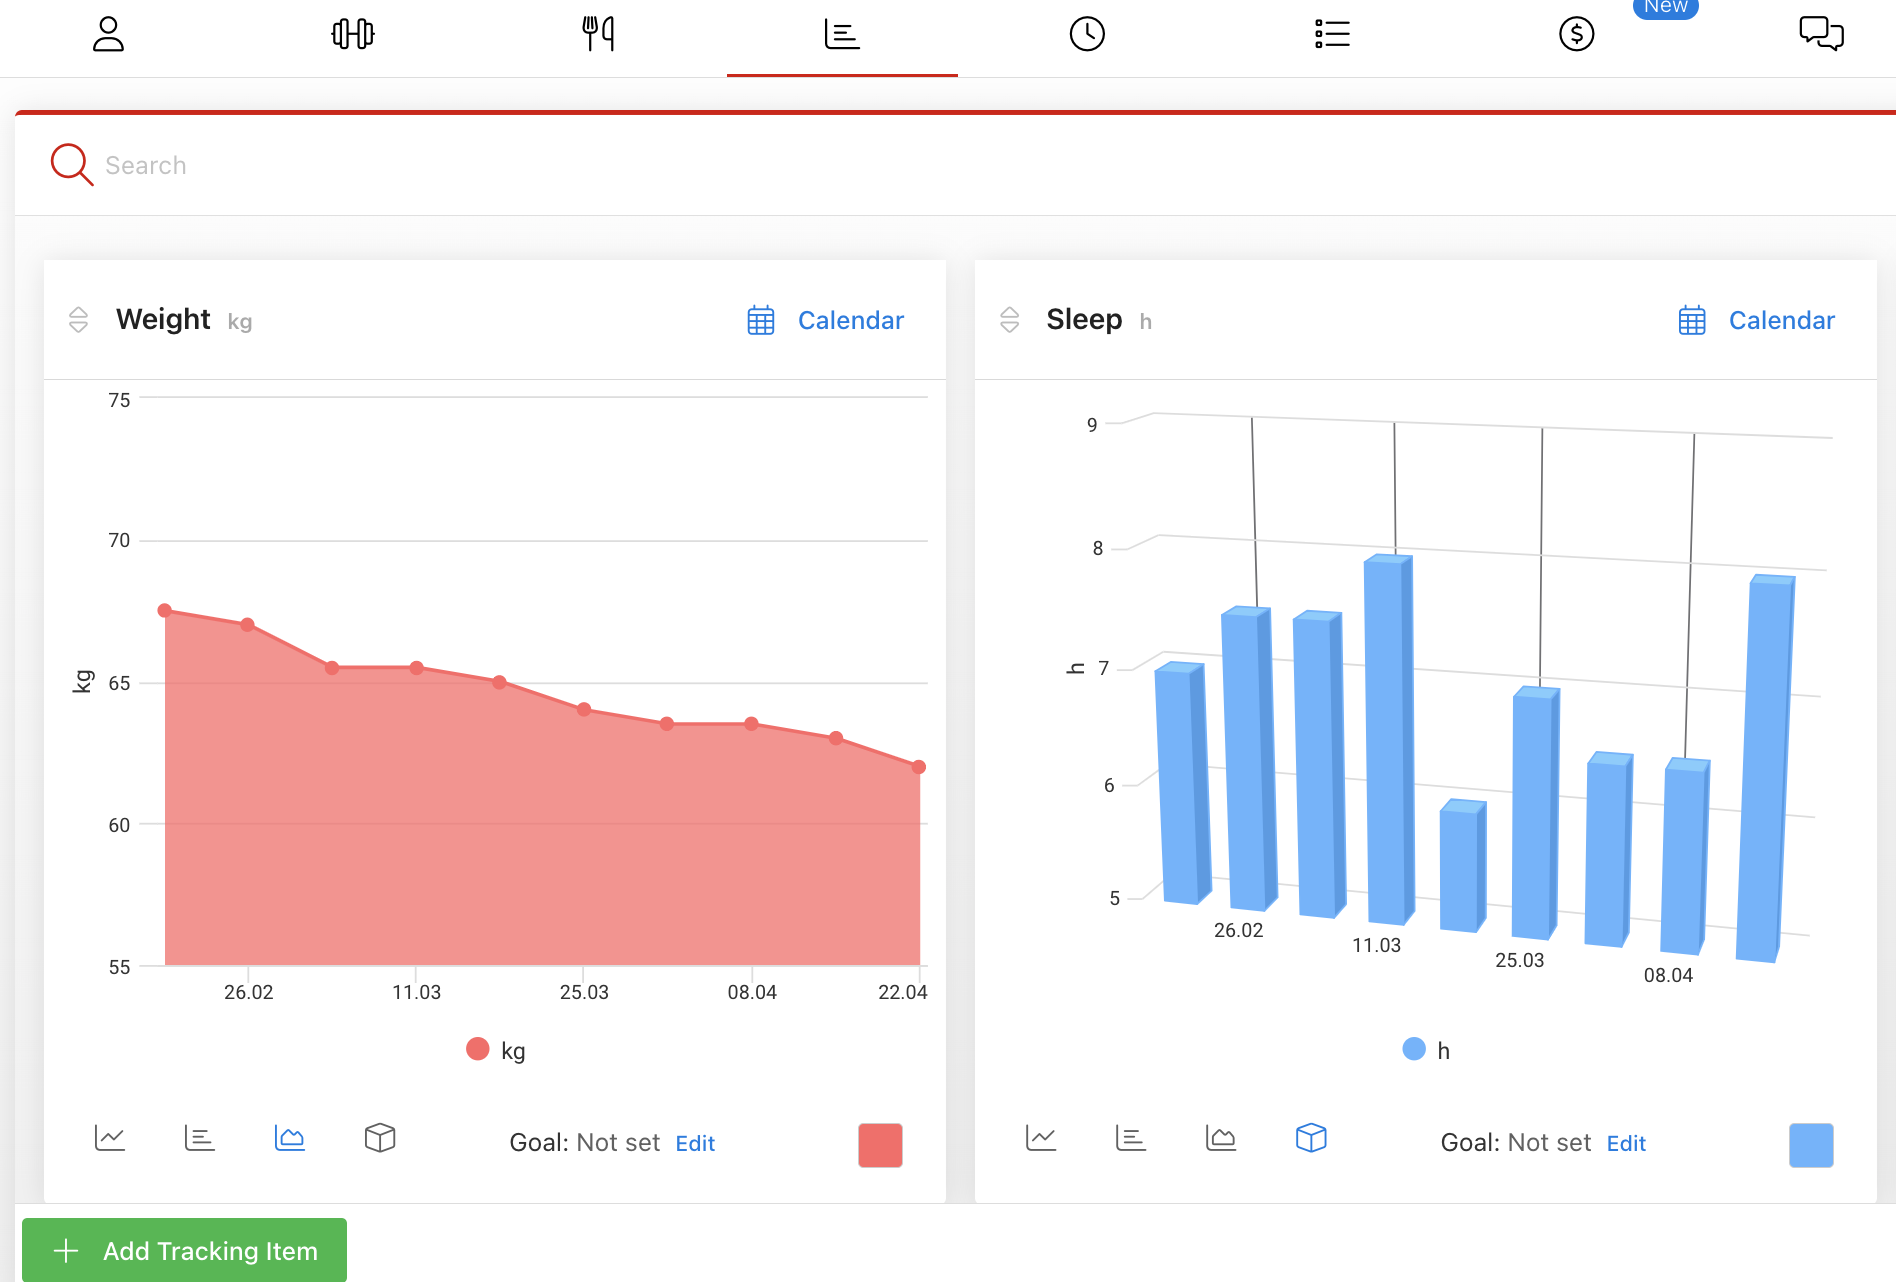
Customize & Create Metrics & Charts
After you have navigated to the 'Progress' tab of the client's profile, if you do not see a list of built-in progress-tracking metrics on the right of the screen, select 'Add Tracking Item'.

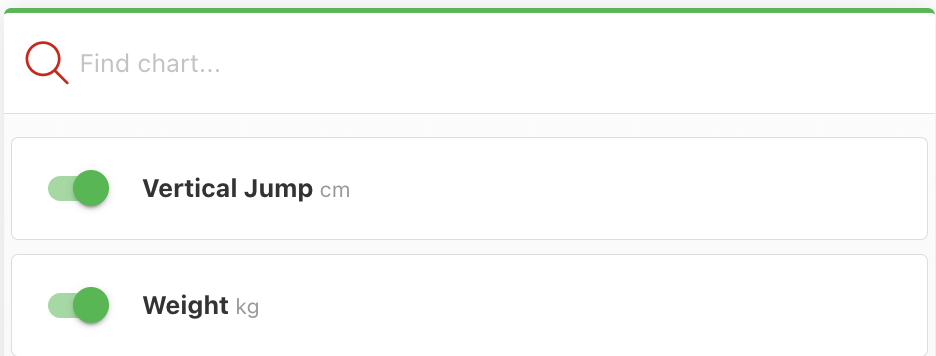
At the bottom of the list of built-in progress-tracking metrics, you can select 'Create a Custom Chart' to track any custom metrics absent from the list.

Fill in the name of the metric, the unit of measurement, and the instructions for measurement in the popup window.
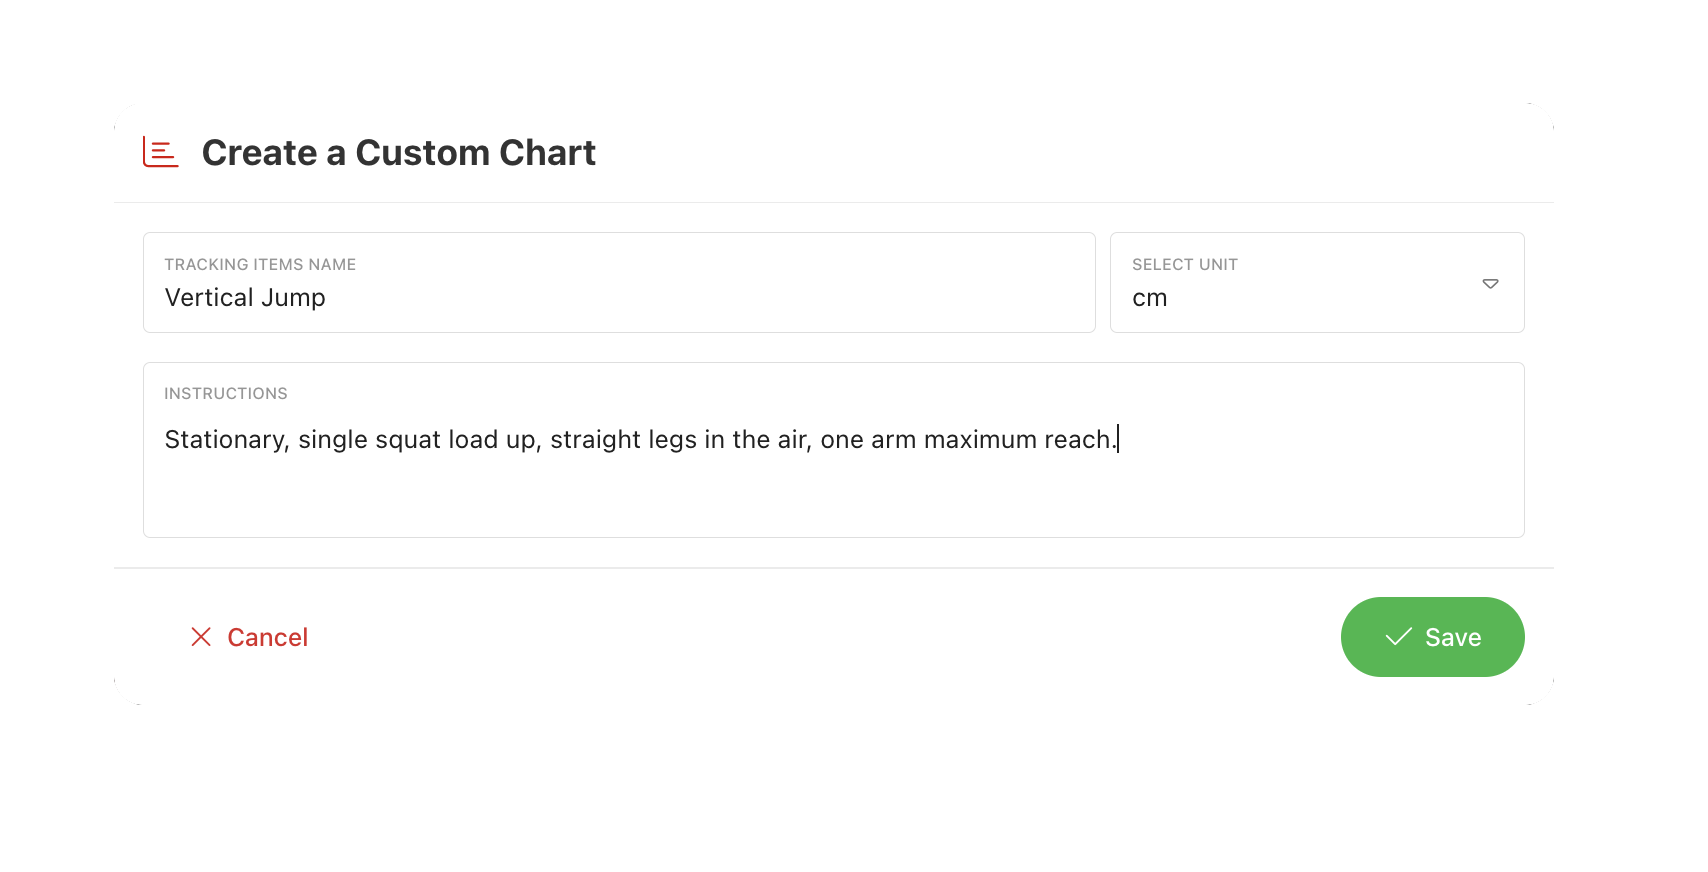
Select 'Save', after which you will be prompted with a calendar to assign the days for measuring the tracking metric.
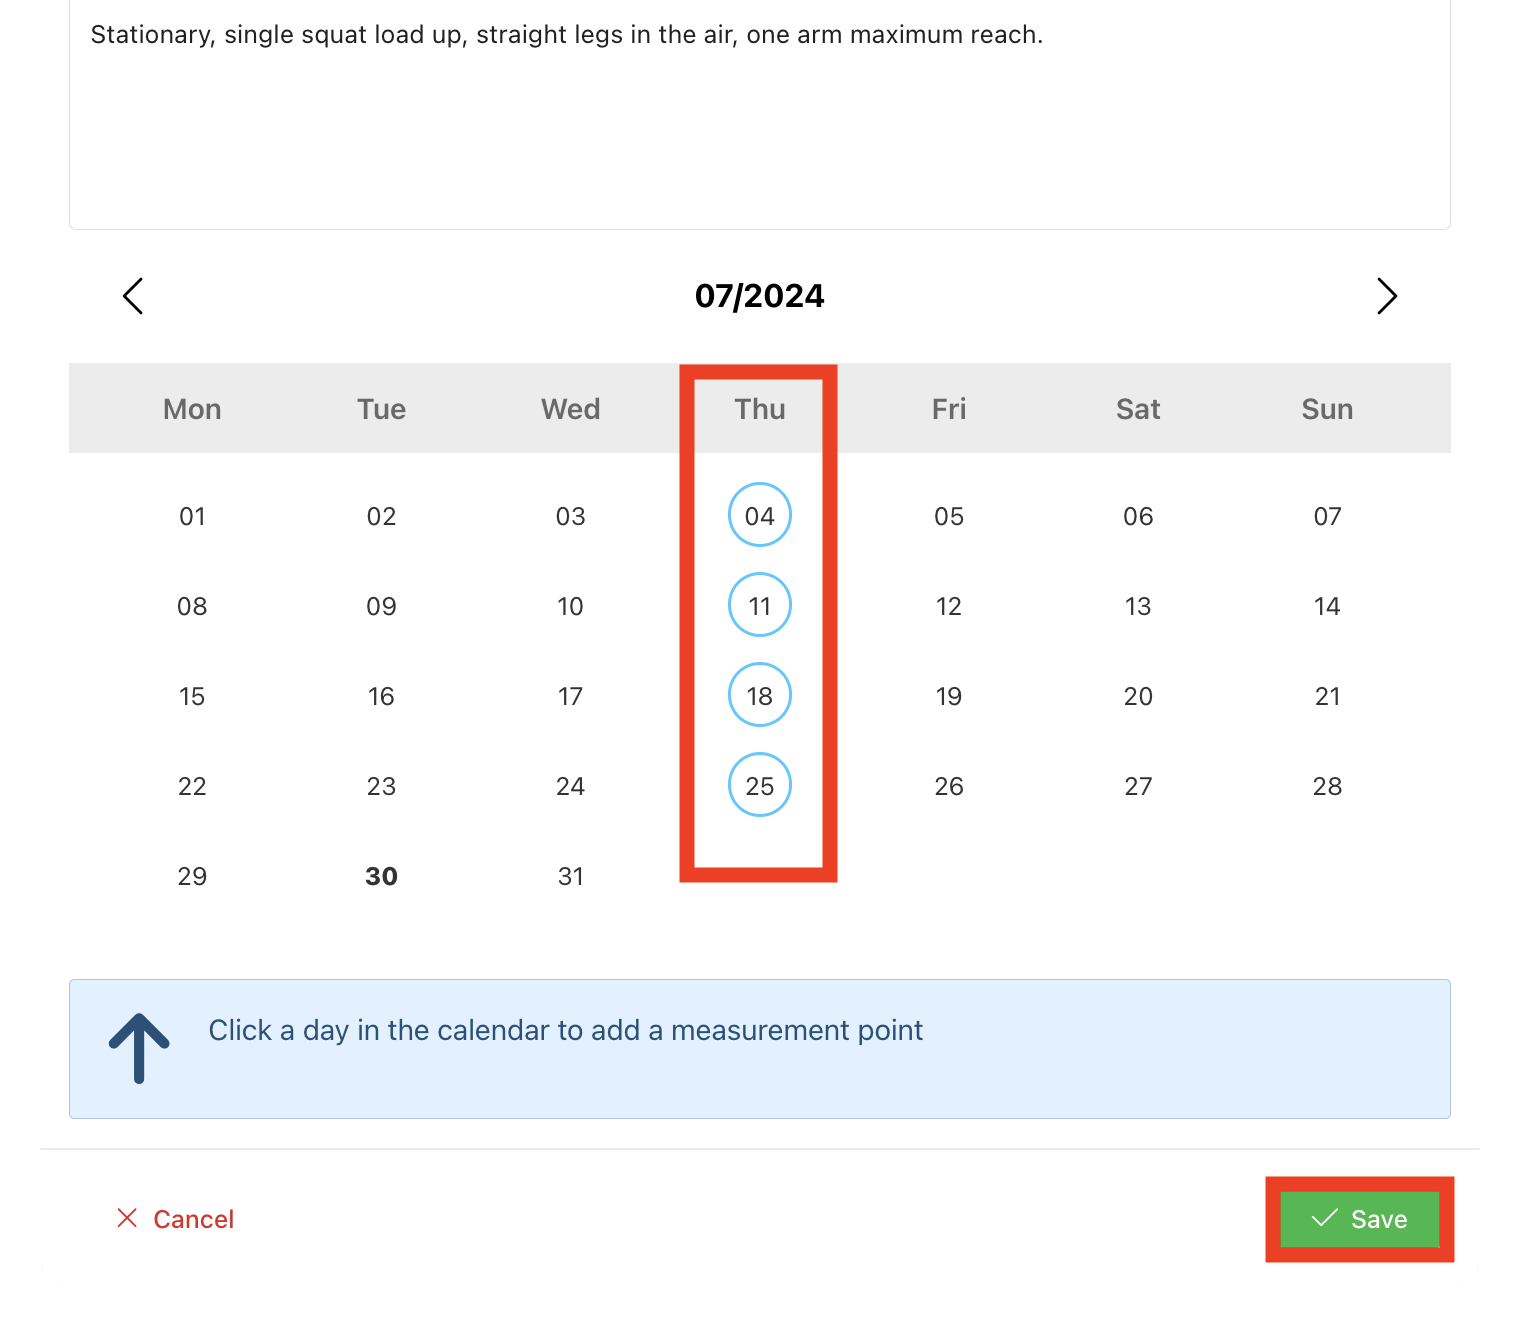
The newly created custom metric will now appear permanently in the same list of all tracking metrics.
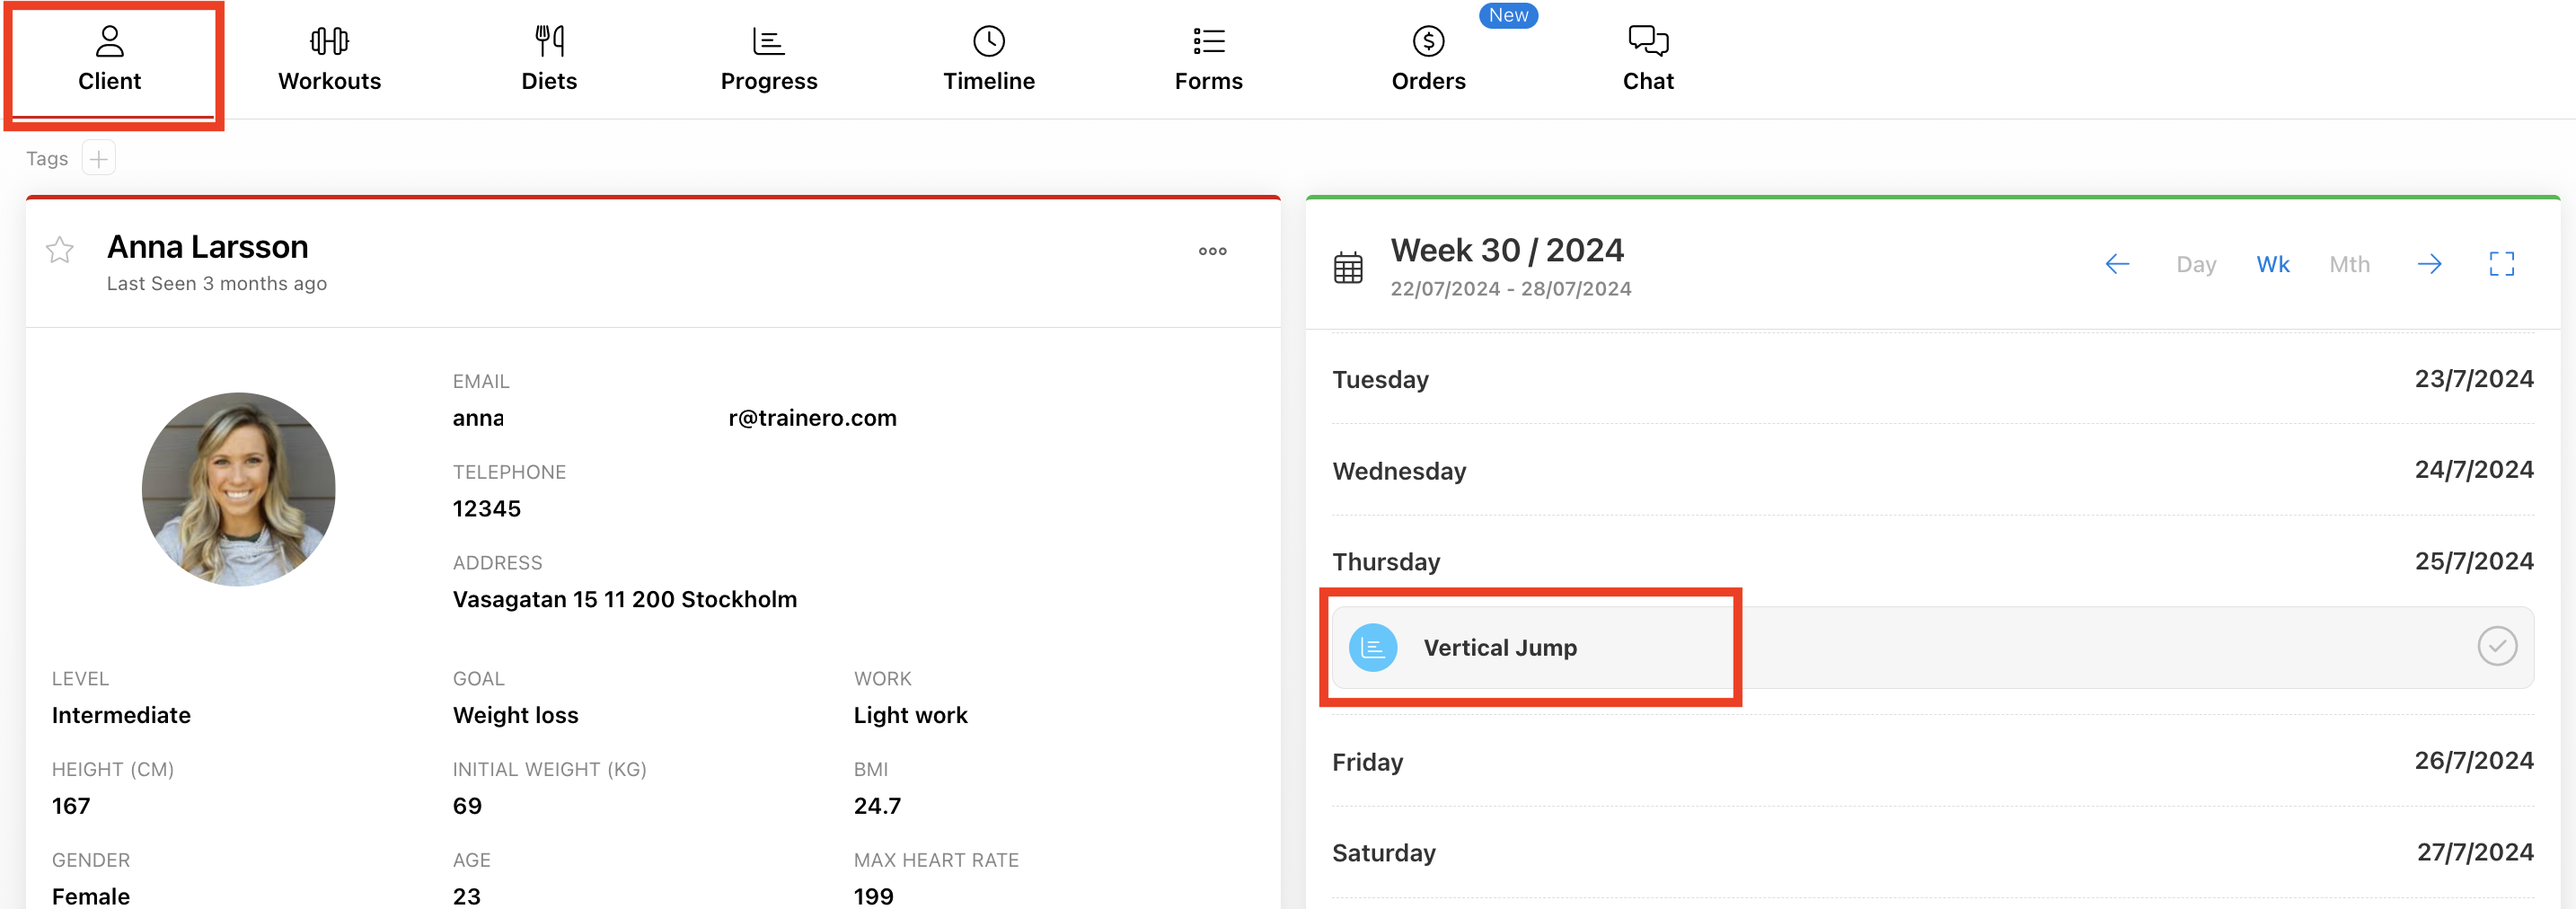
After you have assigned days for measuring your progress metric as seen with the blue circles in the calendar view above, the metric shows up as an event on the client's calendar. The image below shows that after navigating to the client's profiles starting page, the vertical jump test progress tracking can be seen under 'Thursday'.
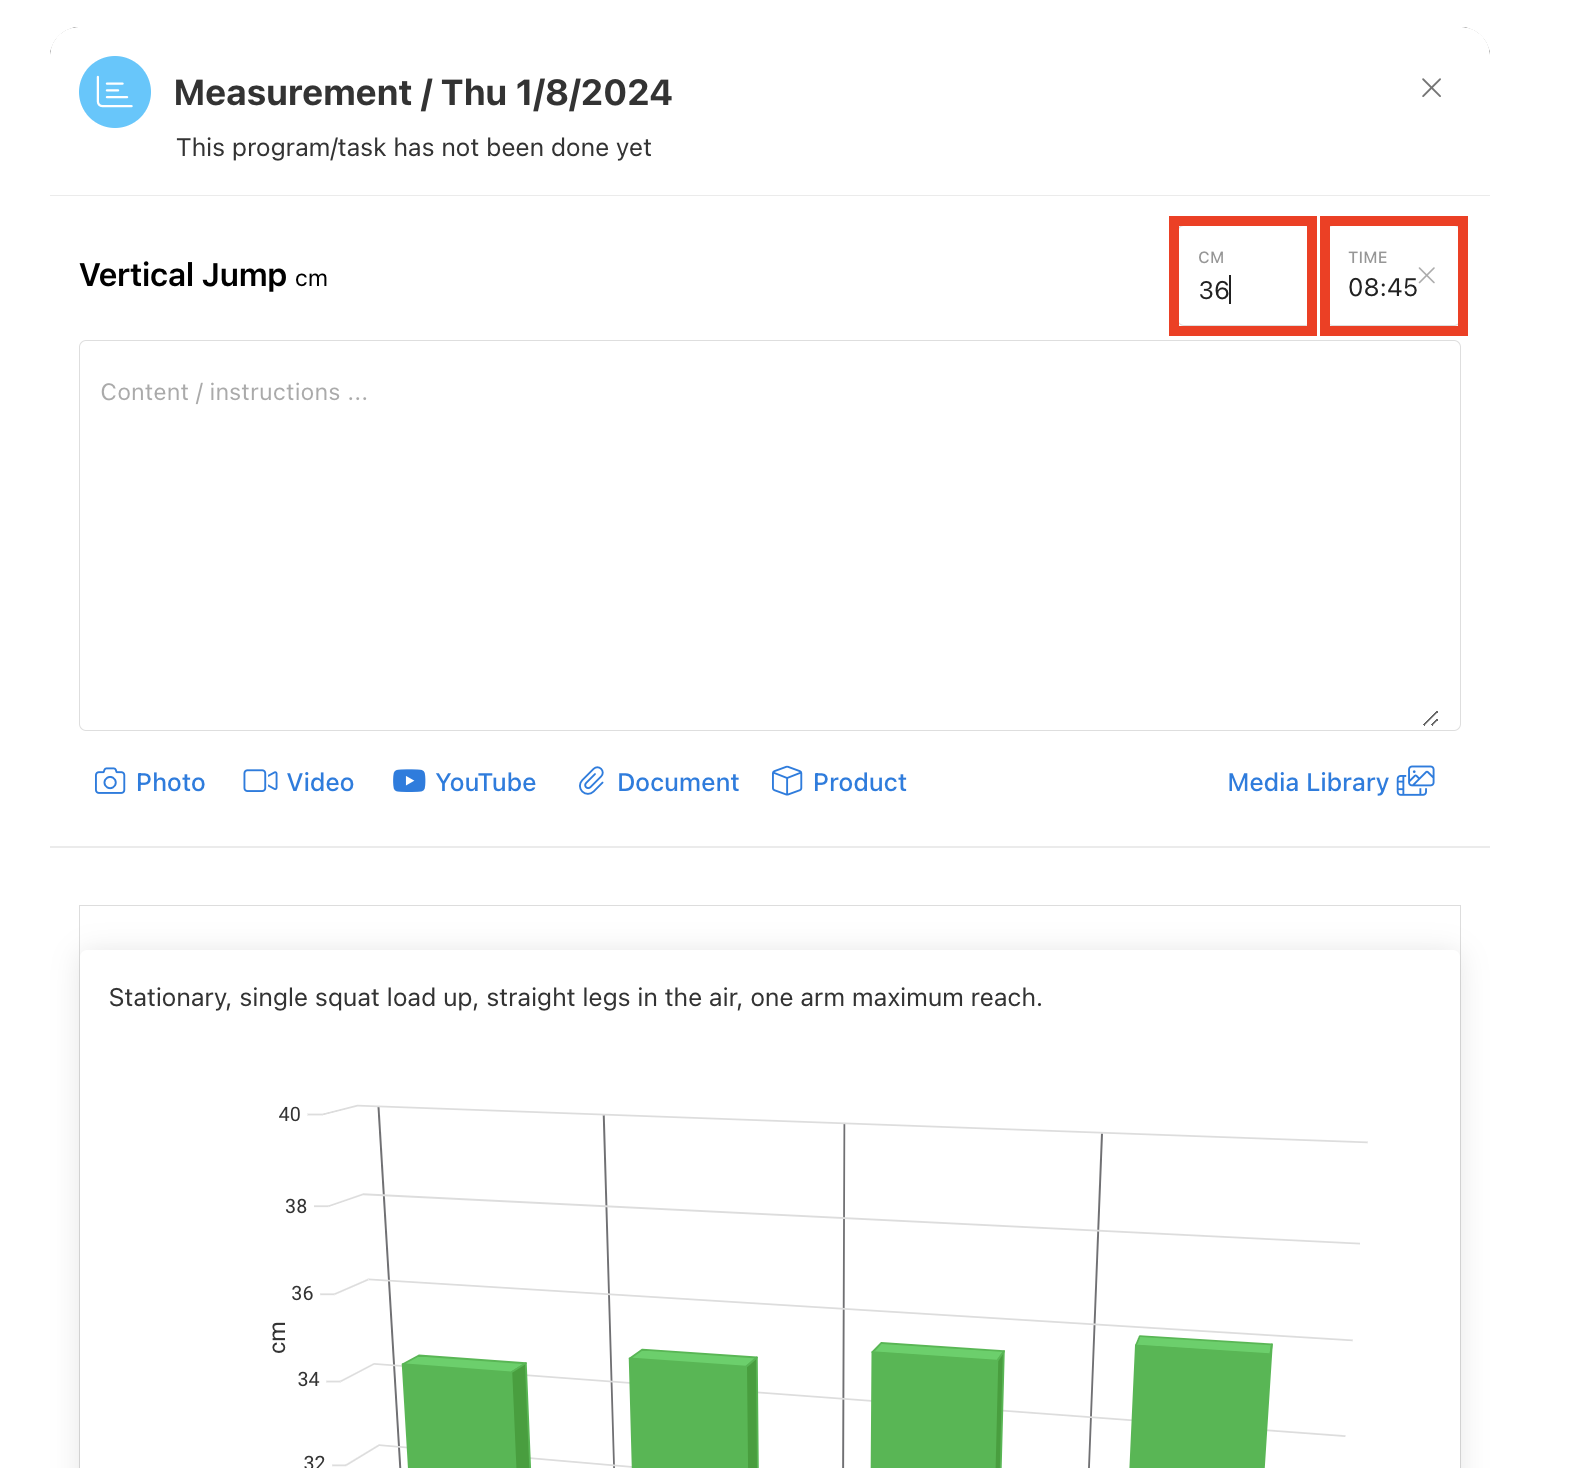
Both the trainer and the client can fill in progress-tracking information. Select the tracking metric and submit the necessary measurement, timestamp, instructions, and notes. You can attach media to your progress report, and view your latest progress visually either from the chart in this instance of entering measurements or see all progress tracking back on the 'Progress' tab of the client's profile.
Remember to select 'Save'!
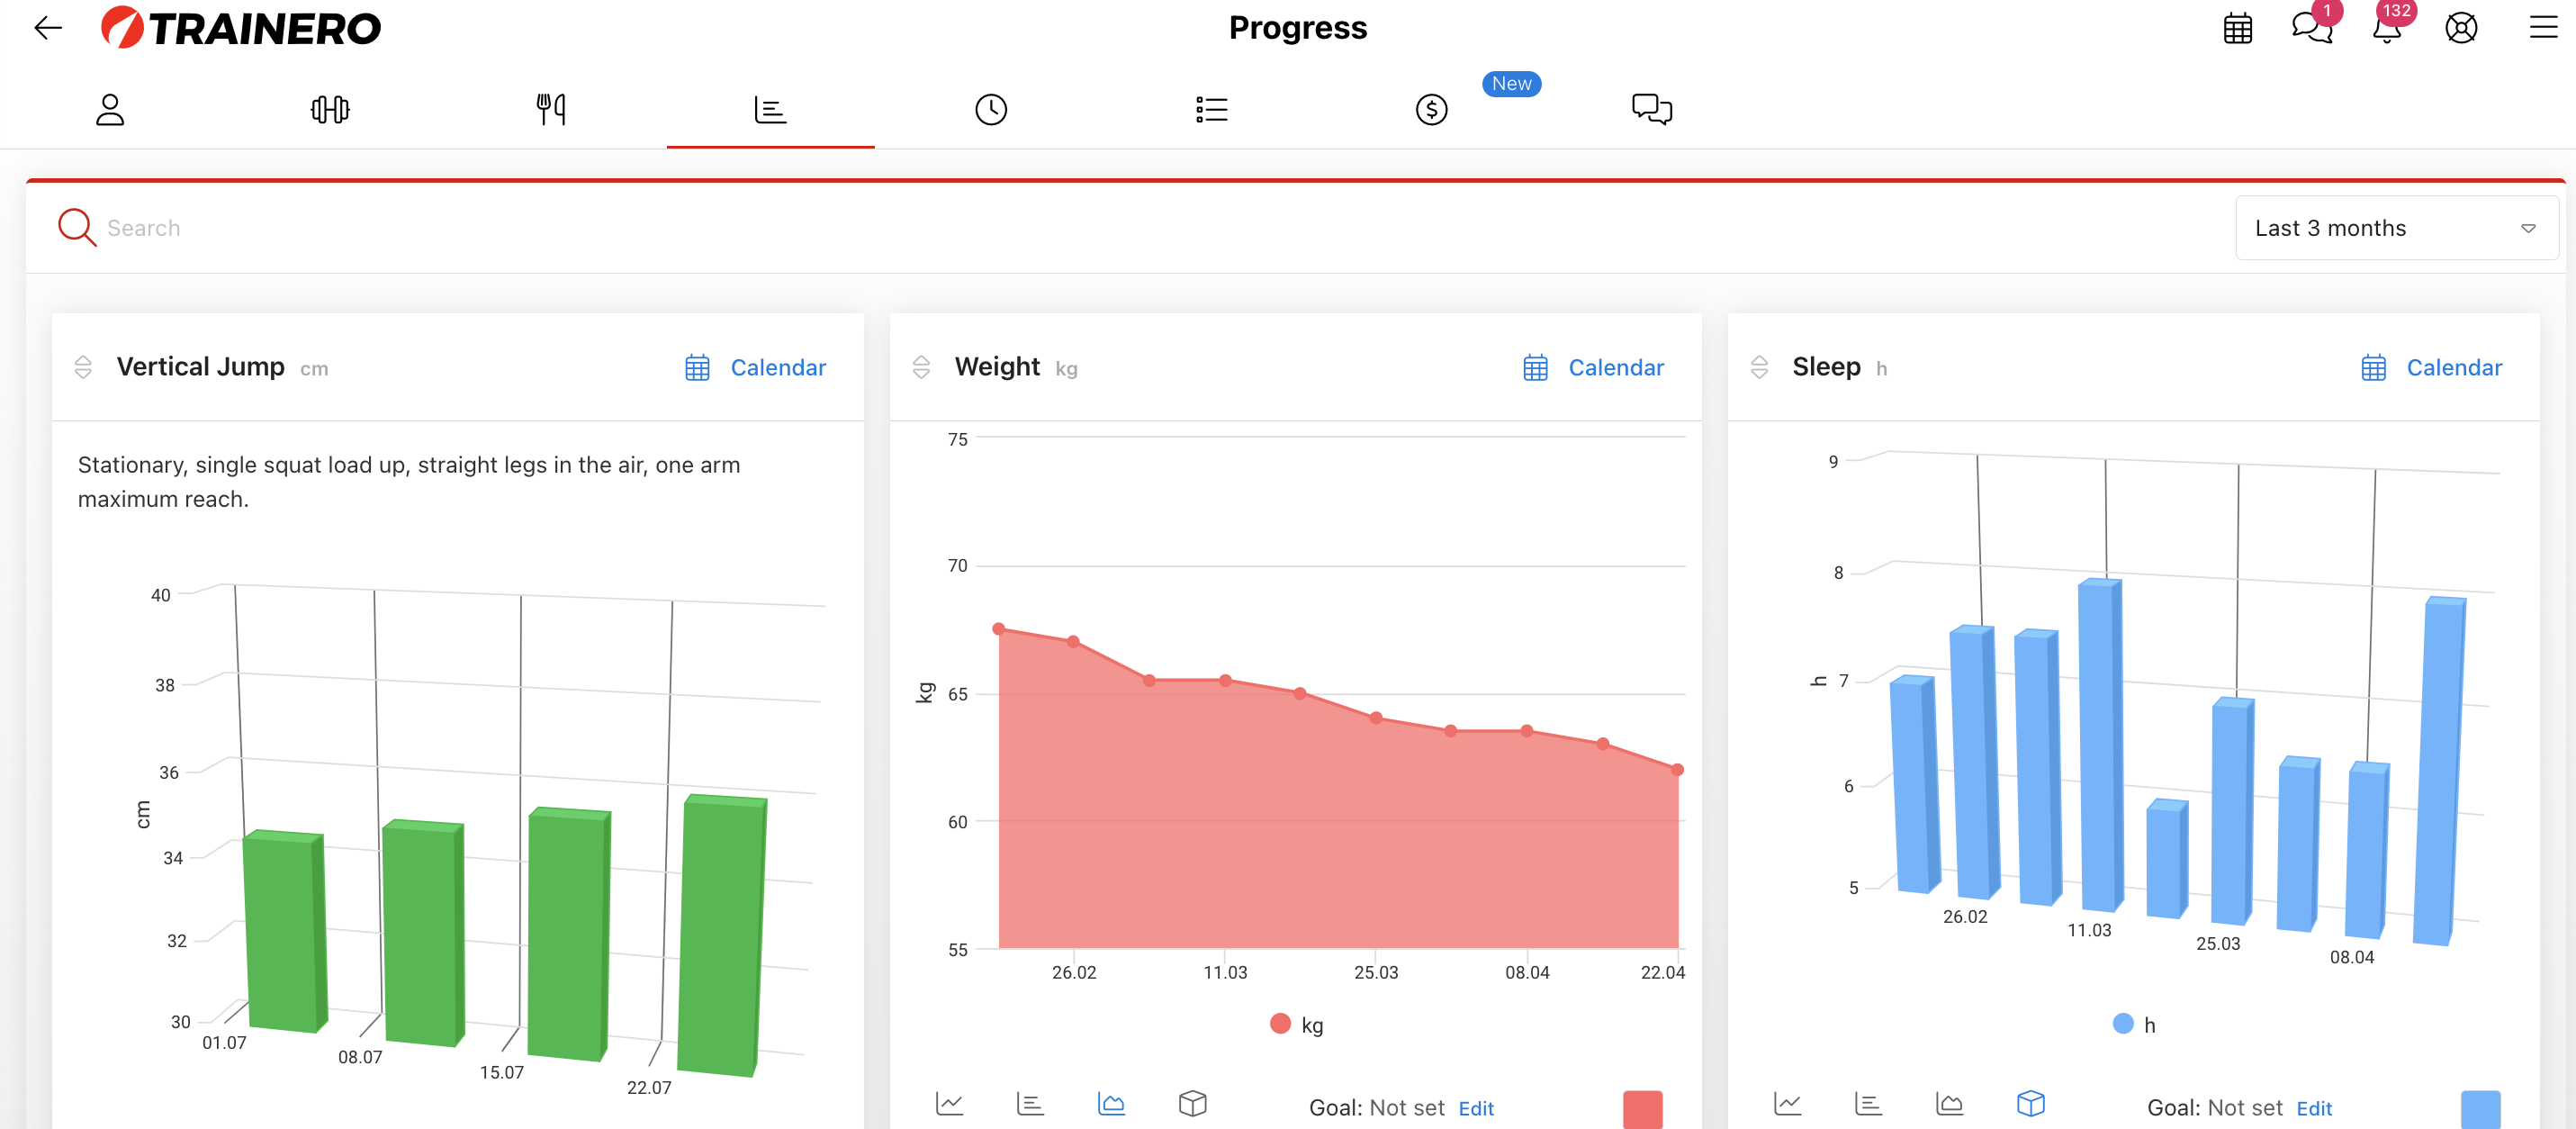
That's it! Now you know all the features related to tracking your clients' progress.
