Communicating with Clients
Chat as a direct line of communication, the Wall as a discussion forum, and forms as a method of feedback and suggestions are all ways of communicating with clients individually and in groups on Trainero.
Chat
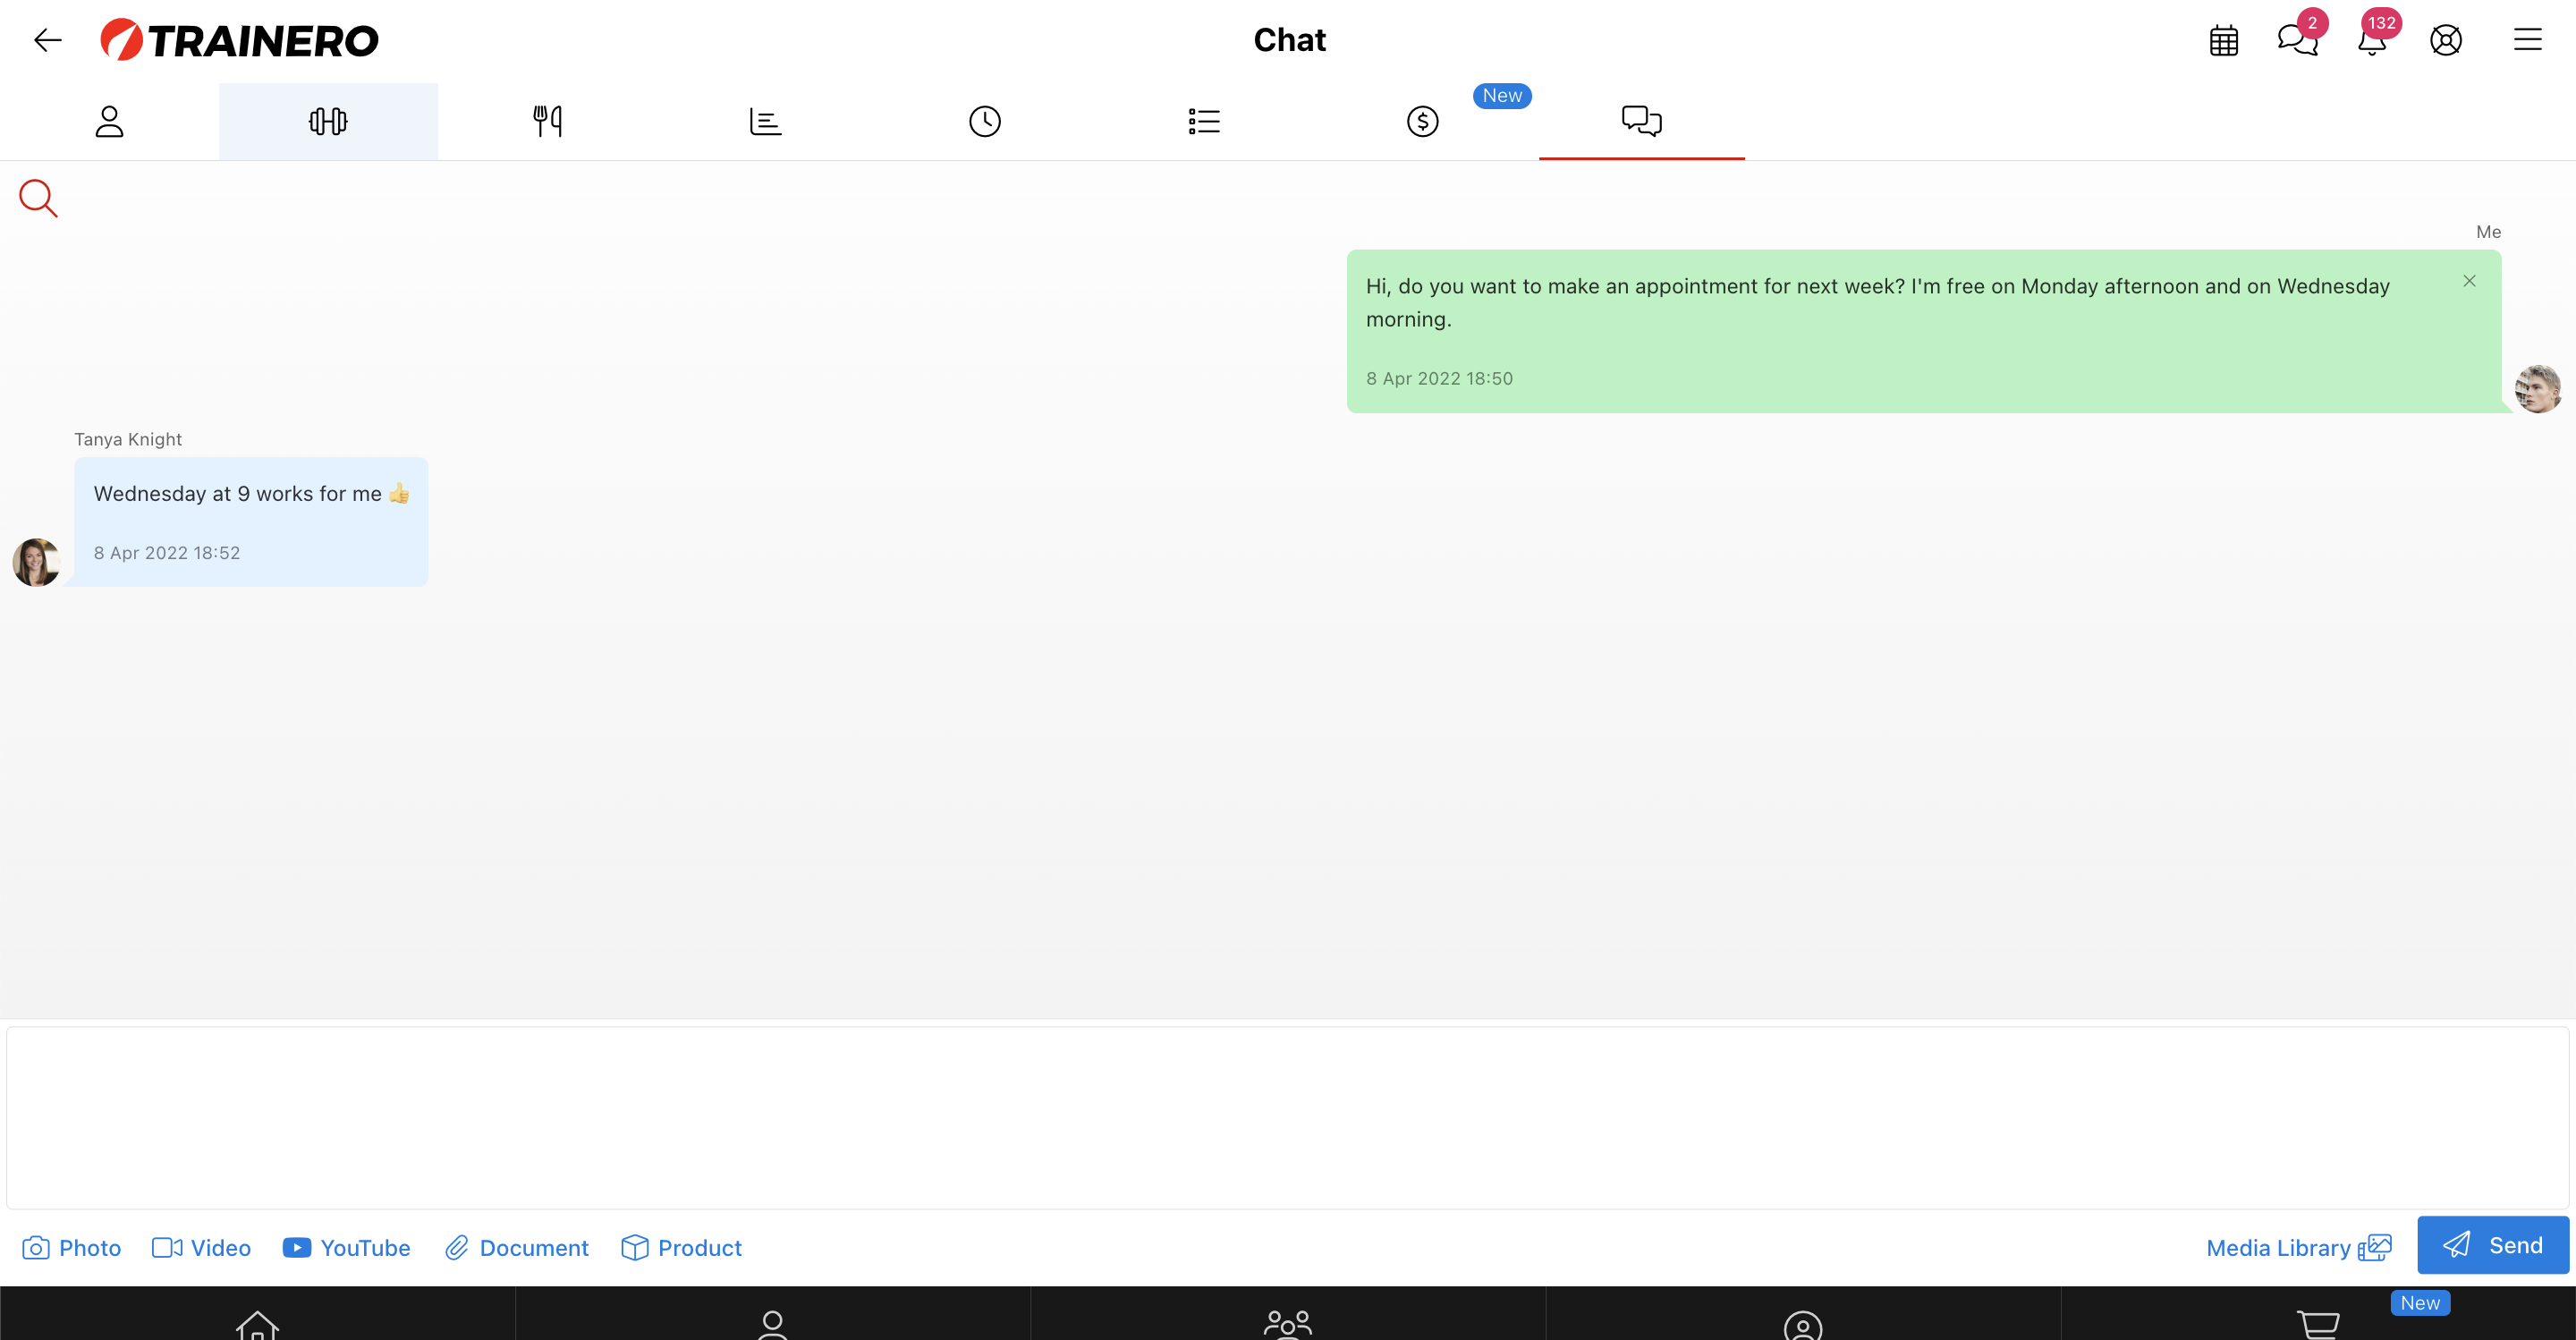
You can enable the chat feature on a client or group profile page under the 'Chat' tab. The chat works as a normal messenger application would.
Private Chat with Client
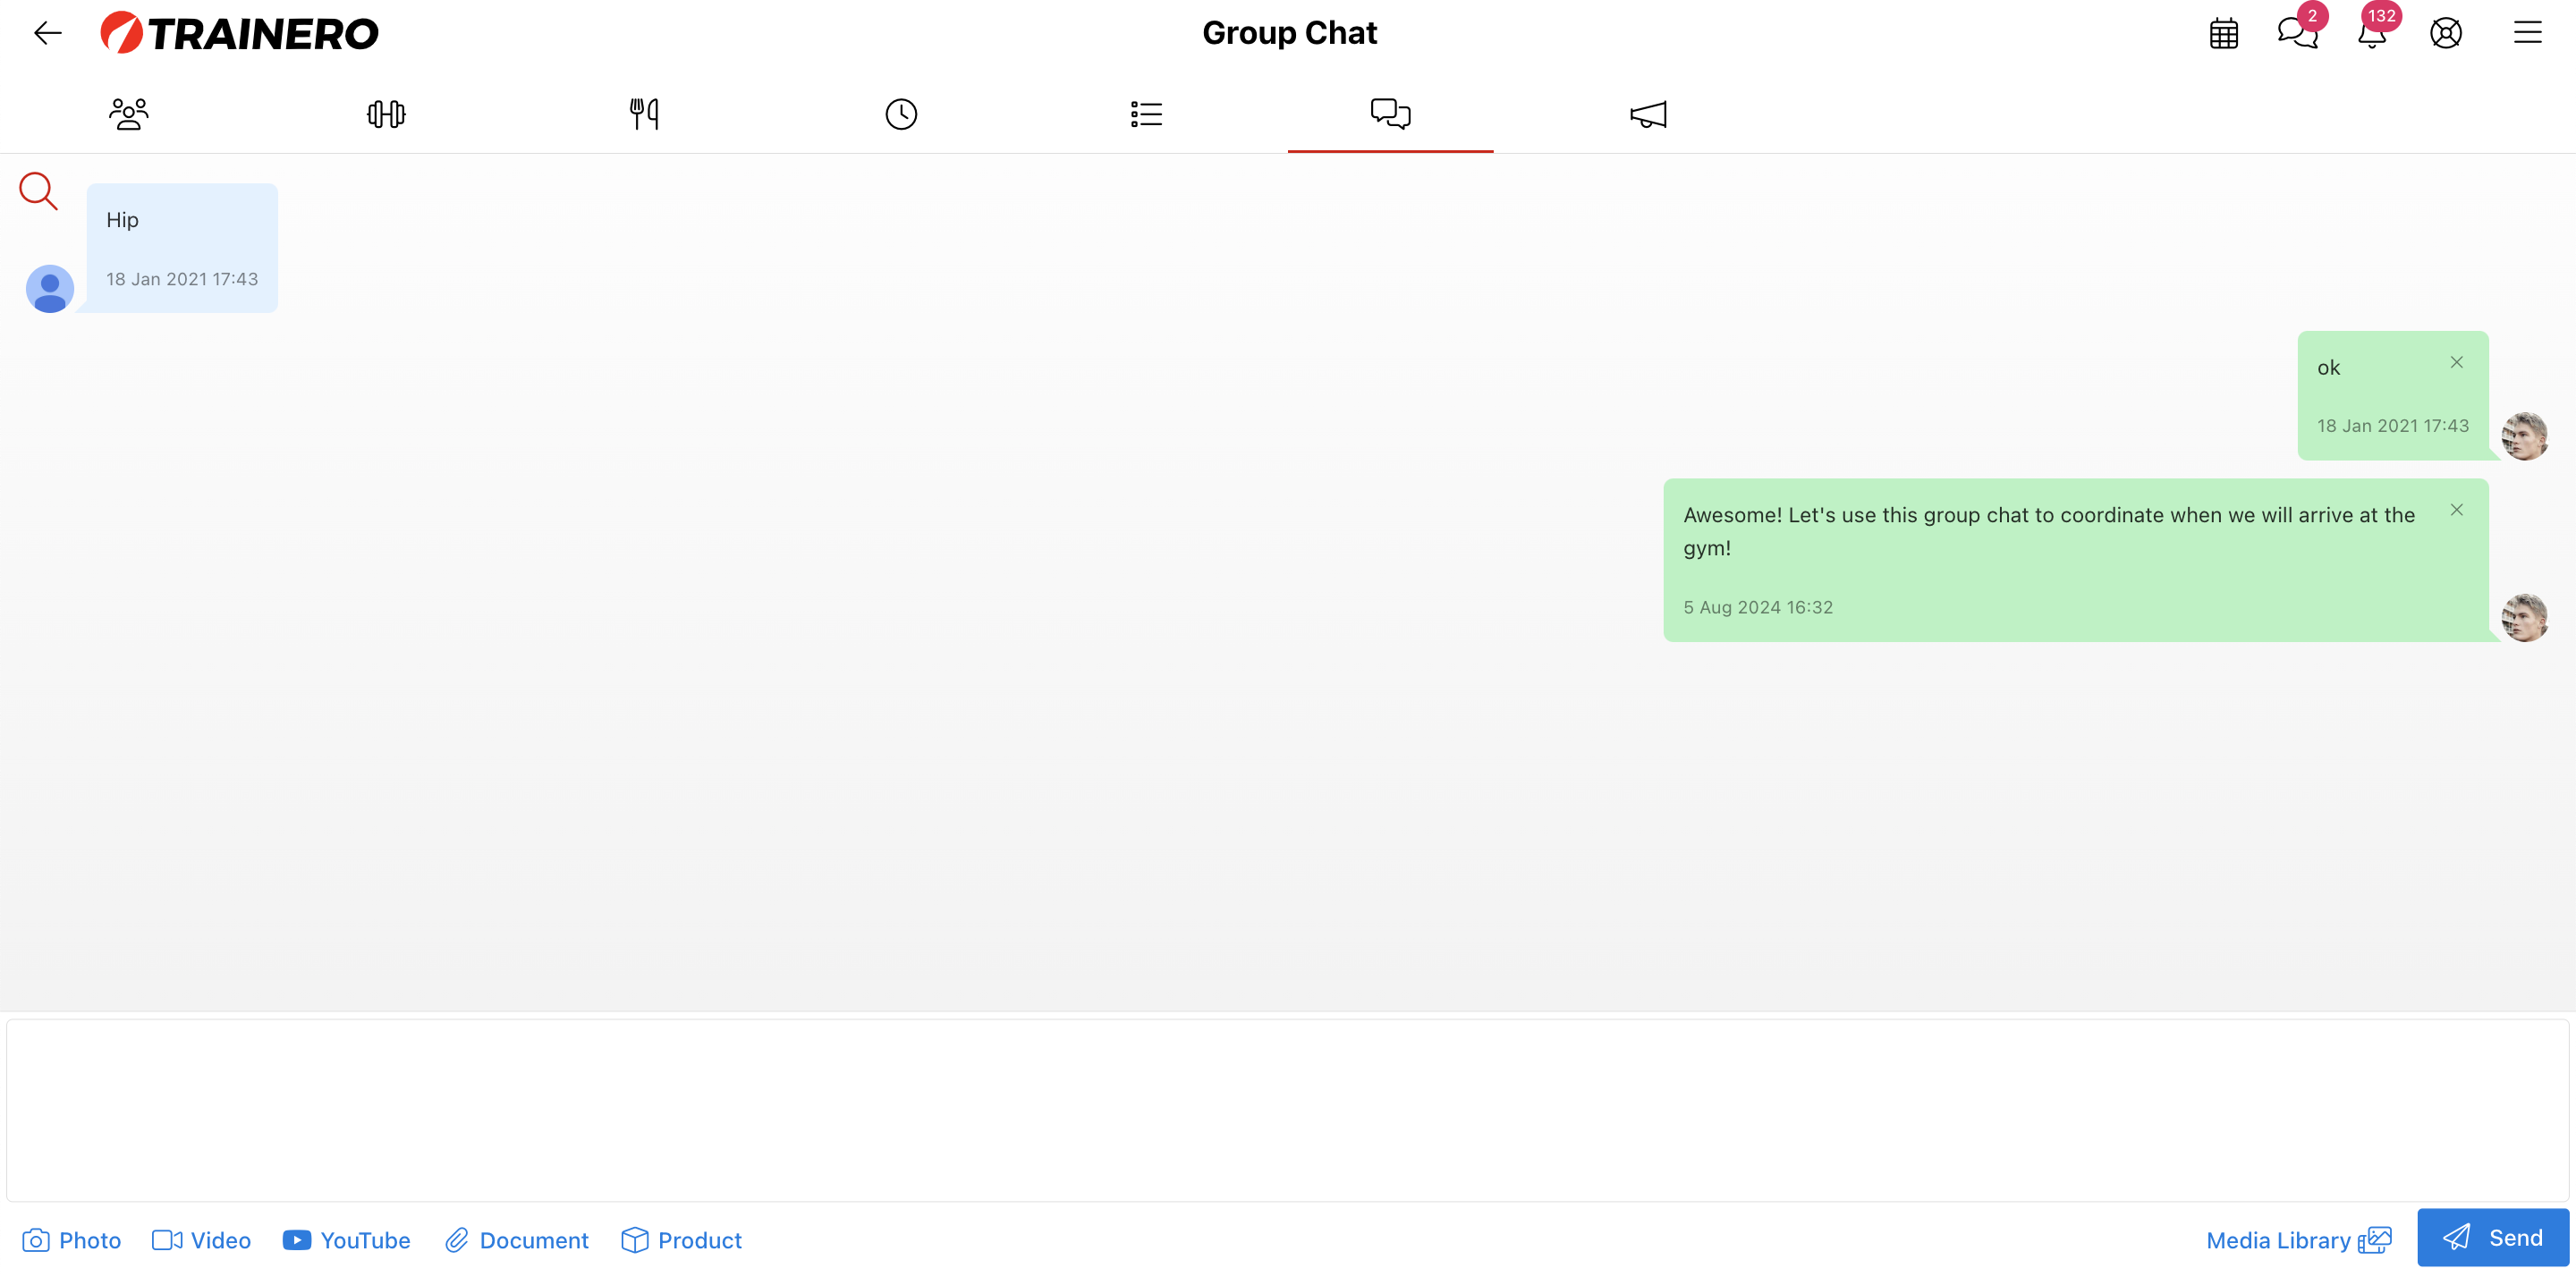
Group Chat
Attachments
You can attach media files including images, video, links, various documents, a product directly from Trainero's Online Store, or even something directly from your Media Library such as a workout plan, or meal plan.

How the Wall works
Video Tutorial
This is a comprehensive video tutorial of all the features of the Wall as a discussion forum. Alternatively, follow the instructions below for the same information.
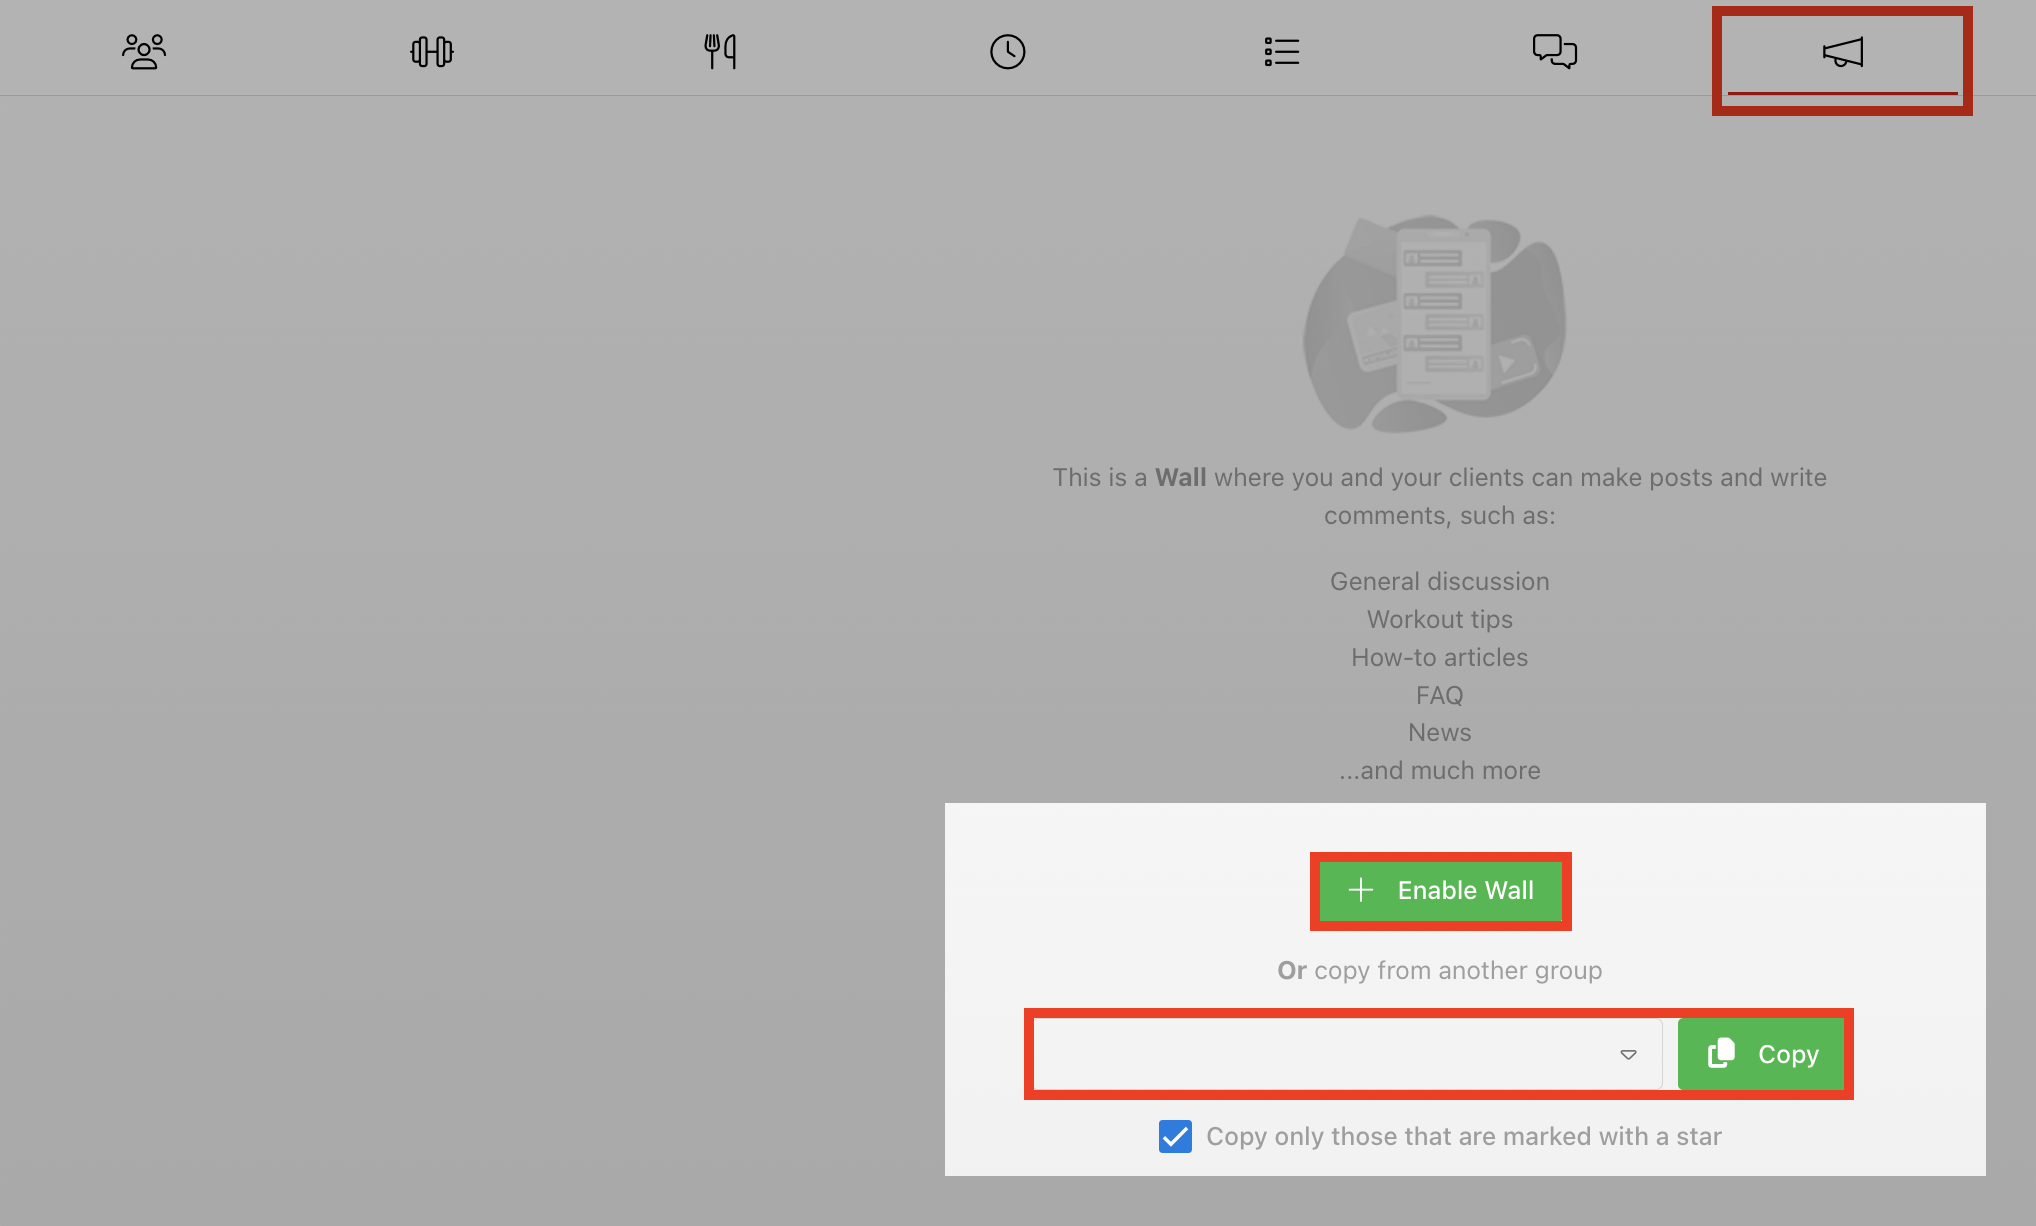
The Wall can be found exclusively within group profiles under the 'Wall' tab as the last button on the right from the profile navigation ribbon. If the Wall has not been enabled yet you can either select 'Enable Wall' to start a fresh discussion forum, or you can copy an existing wall from another group as a template, which will copy all starred (My Favorite) posts to the new group's wall.
Create Categories
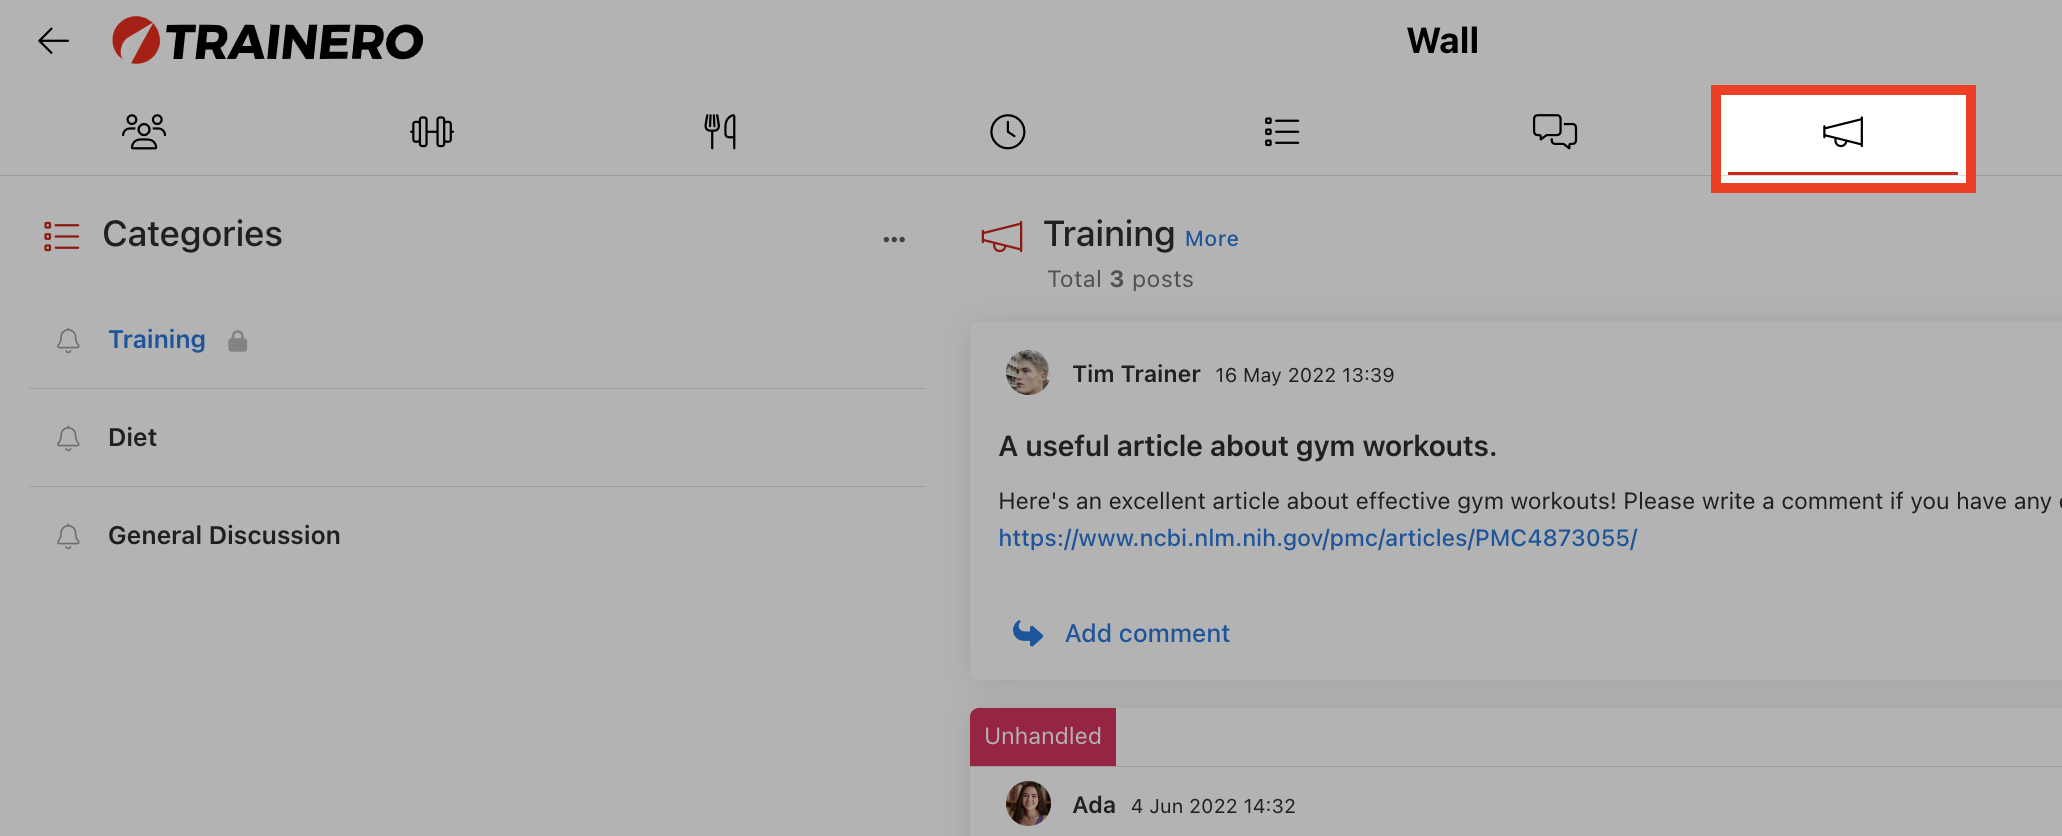
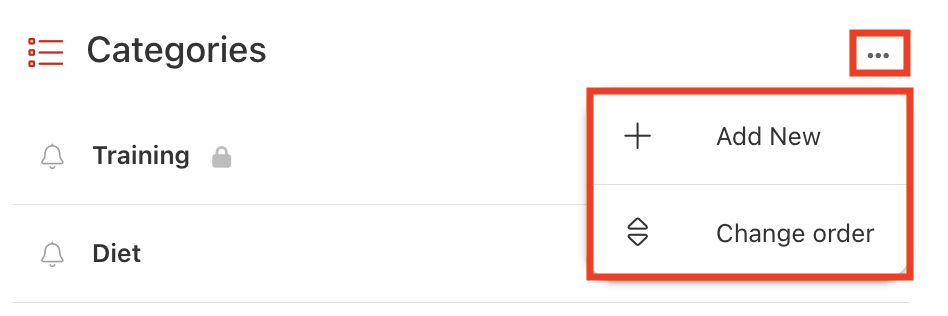
Start by creating categories for the discussion forum by selecting the three-dot dropdown menu next to 'Categories', then title your category and add a description and attach media as necessary.
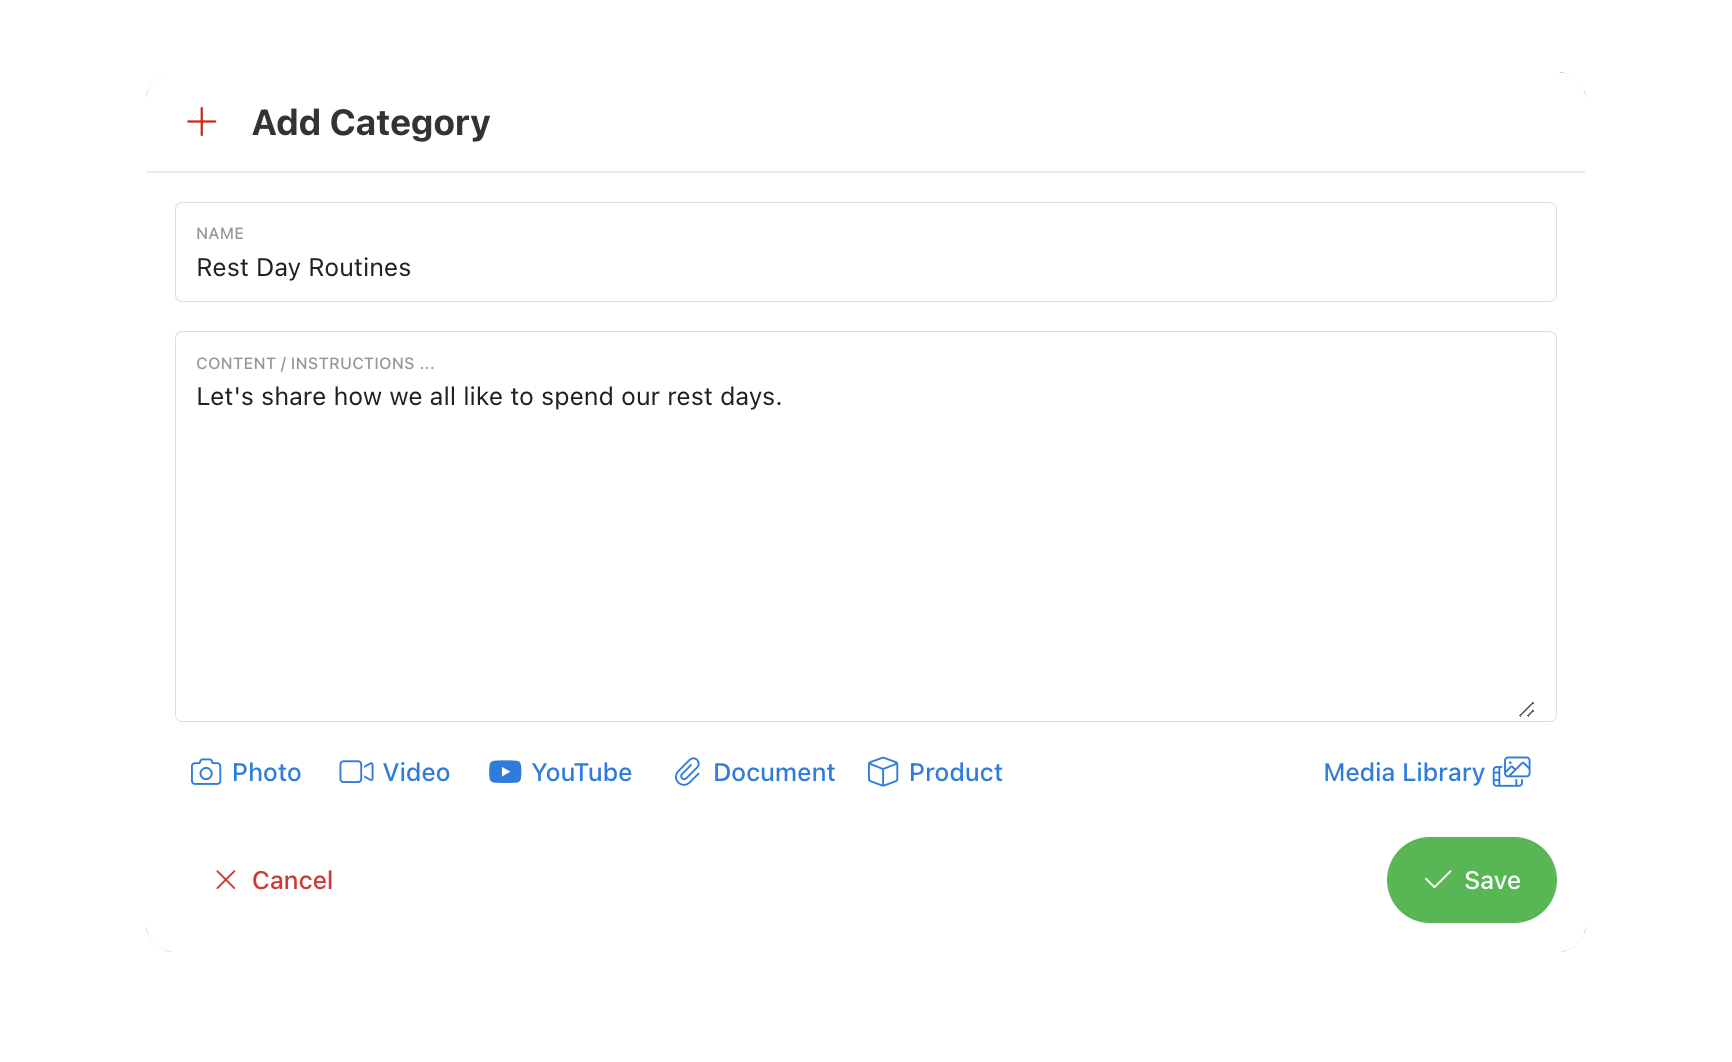
The ribbon toolbar for the category allows you to view posts scheduled to be published later from the clock icon. You can like the category from the thumbs-up icon. You can add a category to My Favorites from the star icon. You can refresh the discussion forum (Wall) from the refresh icon. You can lock the discussion forum, maintaining client viewing privileges but removing client editing privileges. Use the three-dot dropdown menu to edit the title and instructions of a category, lock and unlock a category, and permanently delete a category.

Create Posts
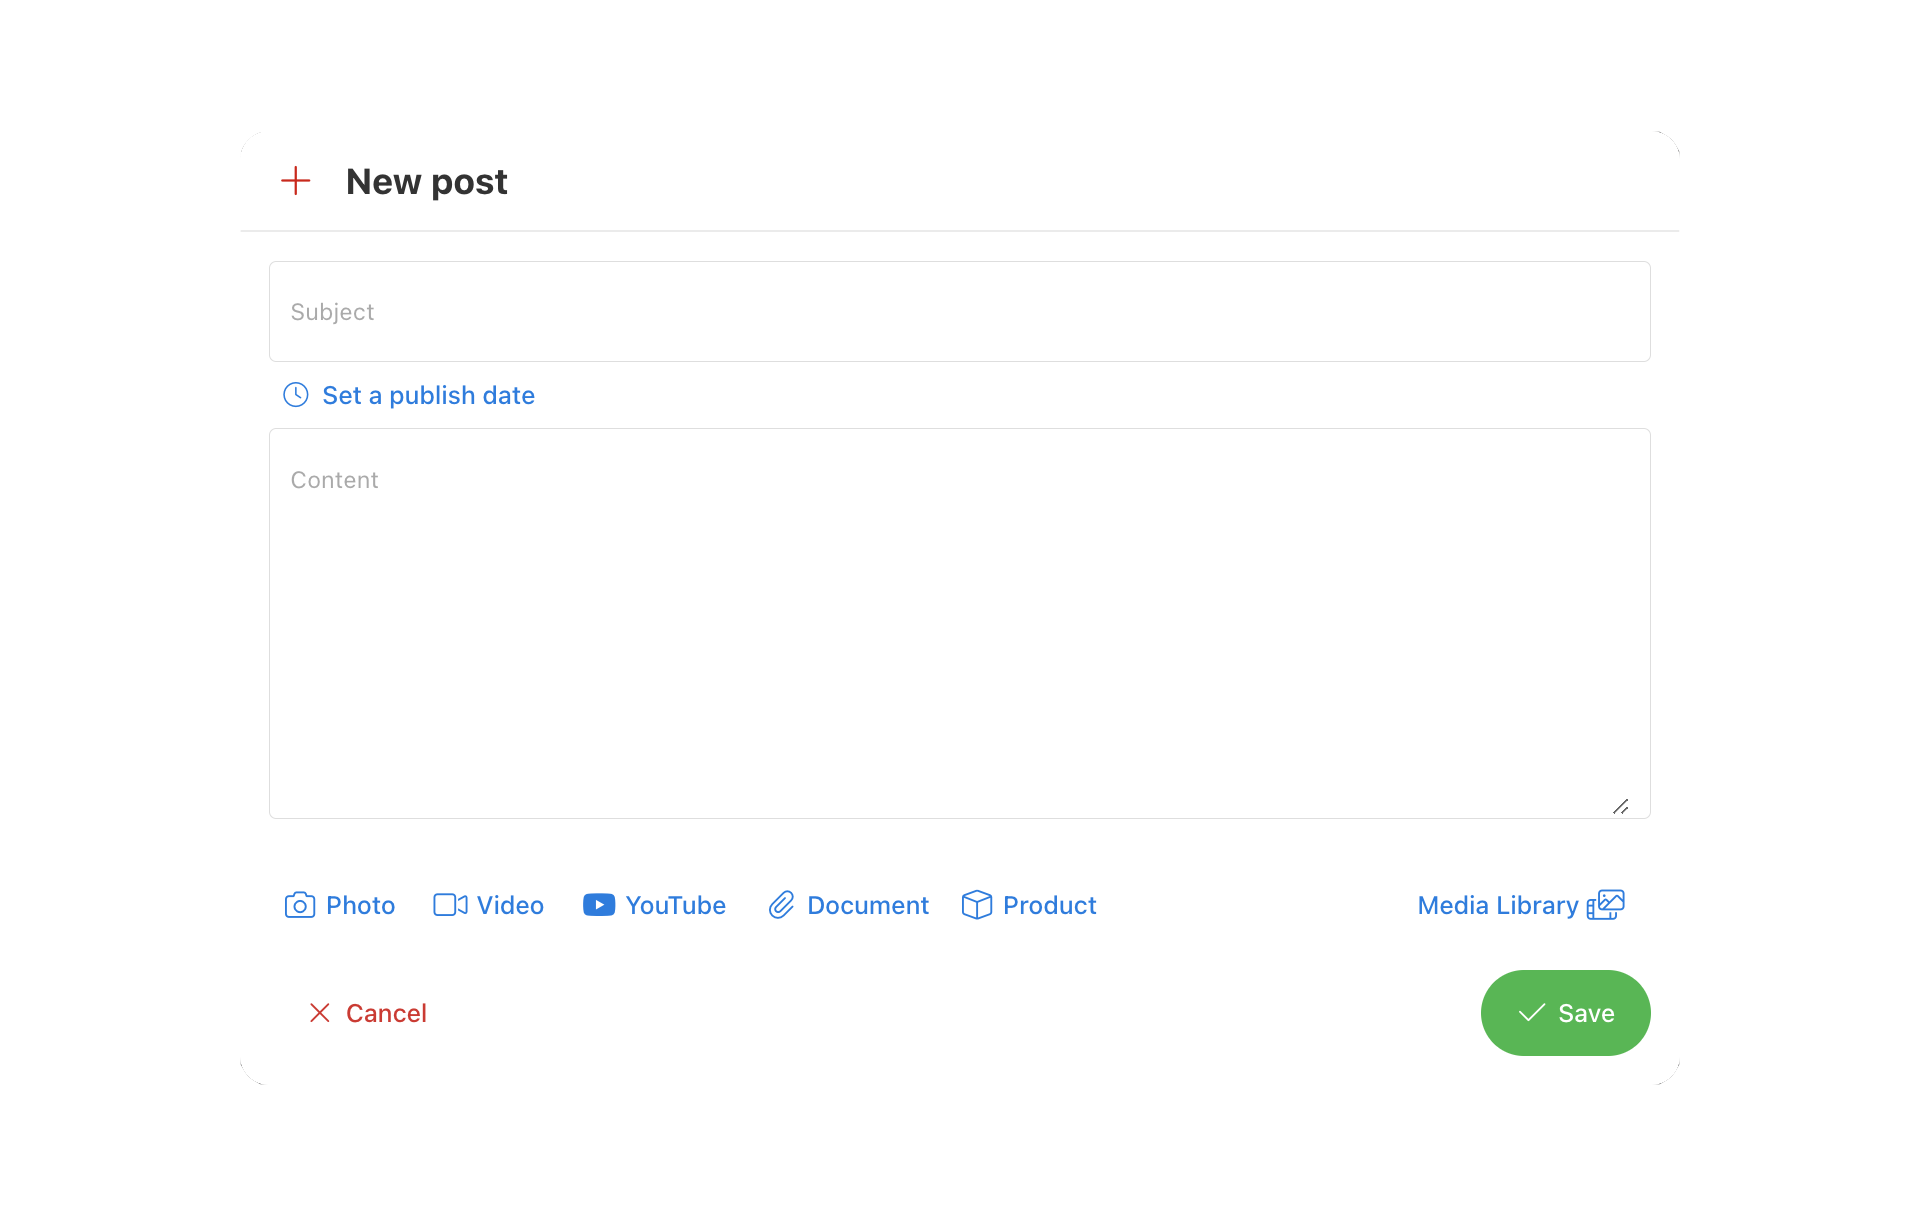
Create a new post by selecting 'New', then title your post, add a description, and attach media as necessary. You can choose to schedule a specific date and time to publish the post.

Manage Notifications
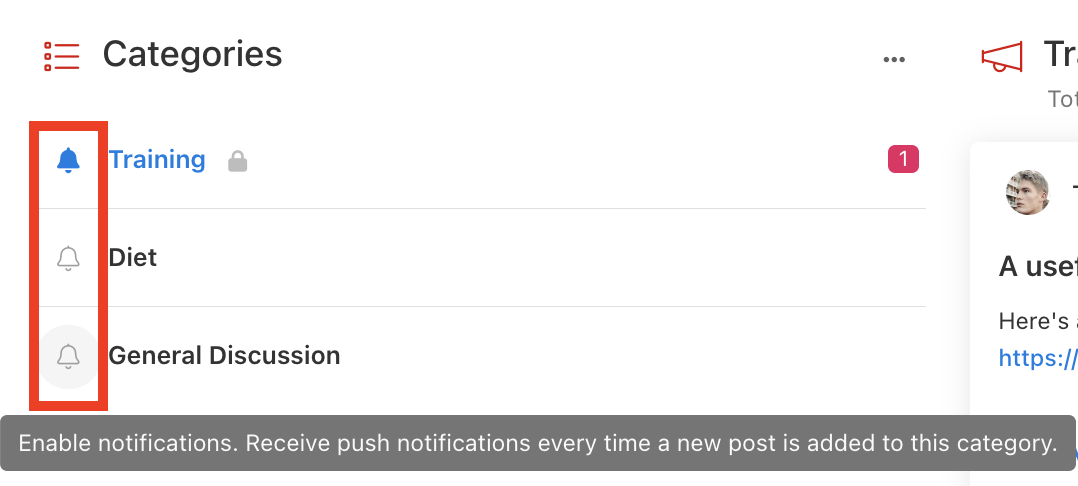
As a client or trainer, you can enable notifications for specific categories by selecting the bell icon on the left of the dropdown menu of categories.
You can specify which posts you would like to receive notifications from when a new comment is posted by selecting the star icon in the top right corner of the post.

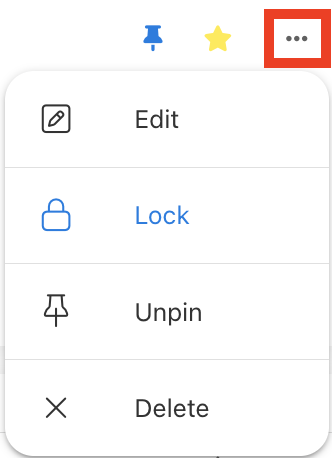
The three-dot dropdown menu in the top right corner of a post allows you to be a moderator by editing, locking, pinning and unpinning, or deleting a post.
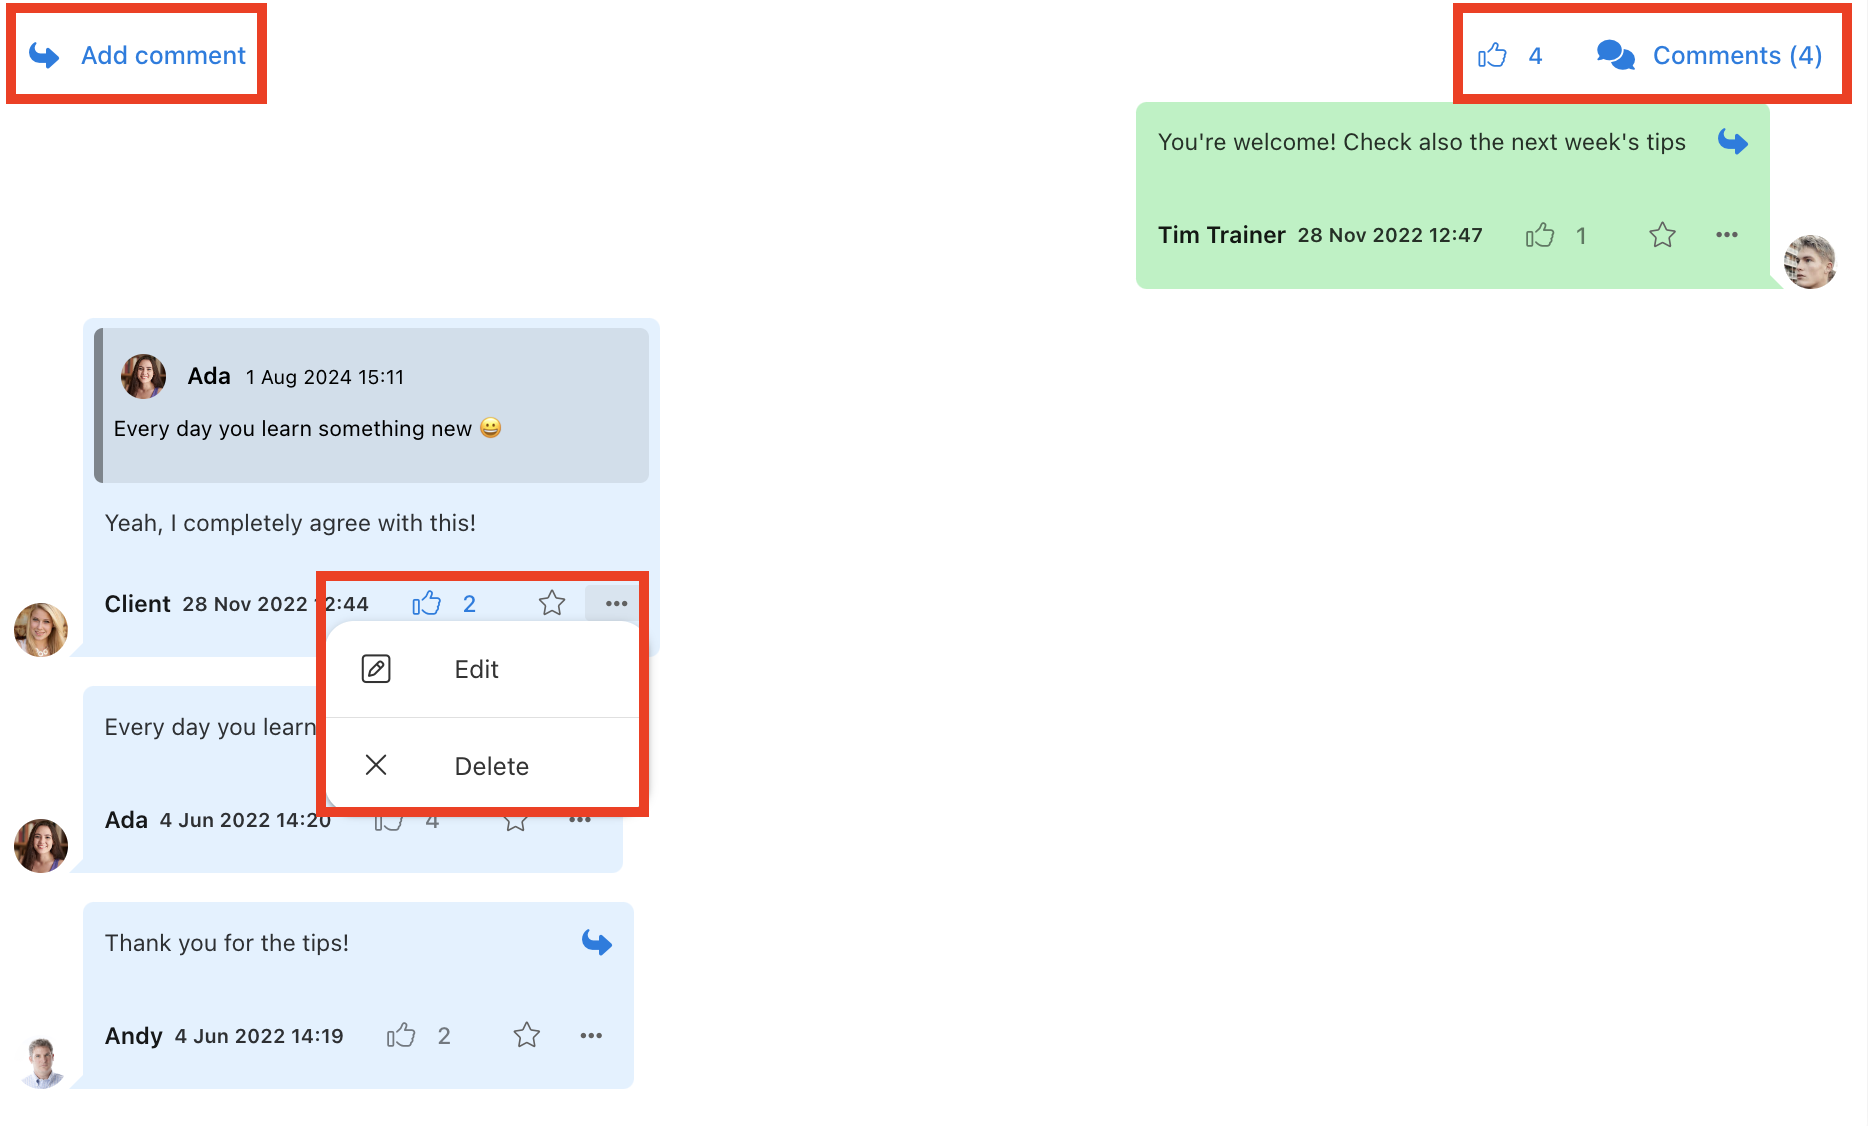
Select 'Add comment' to add a comment under a post within the wall. Like entire posts or individual comments by selecting the thumbs-up button. Expand and minimize the comment section by selecting 'Comments' from the right. You can moderate the comment section within a post similarly to moderating the posts themselves, by editing or deleting comments. Add a comment to favorites by selecting the star button.
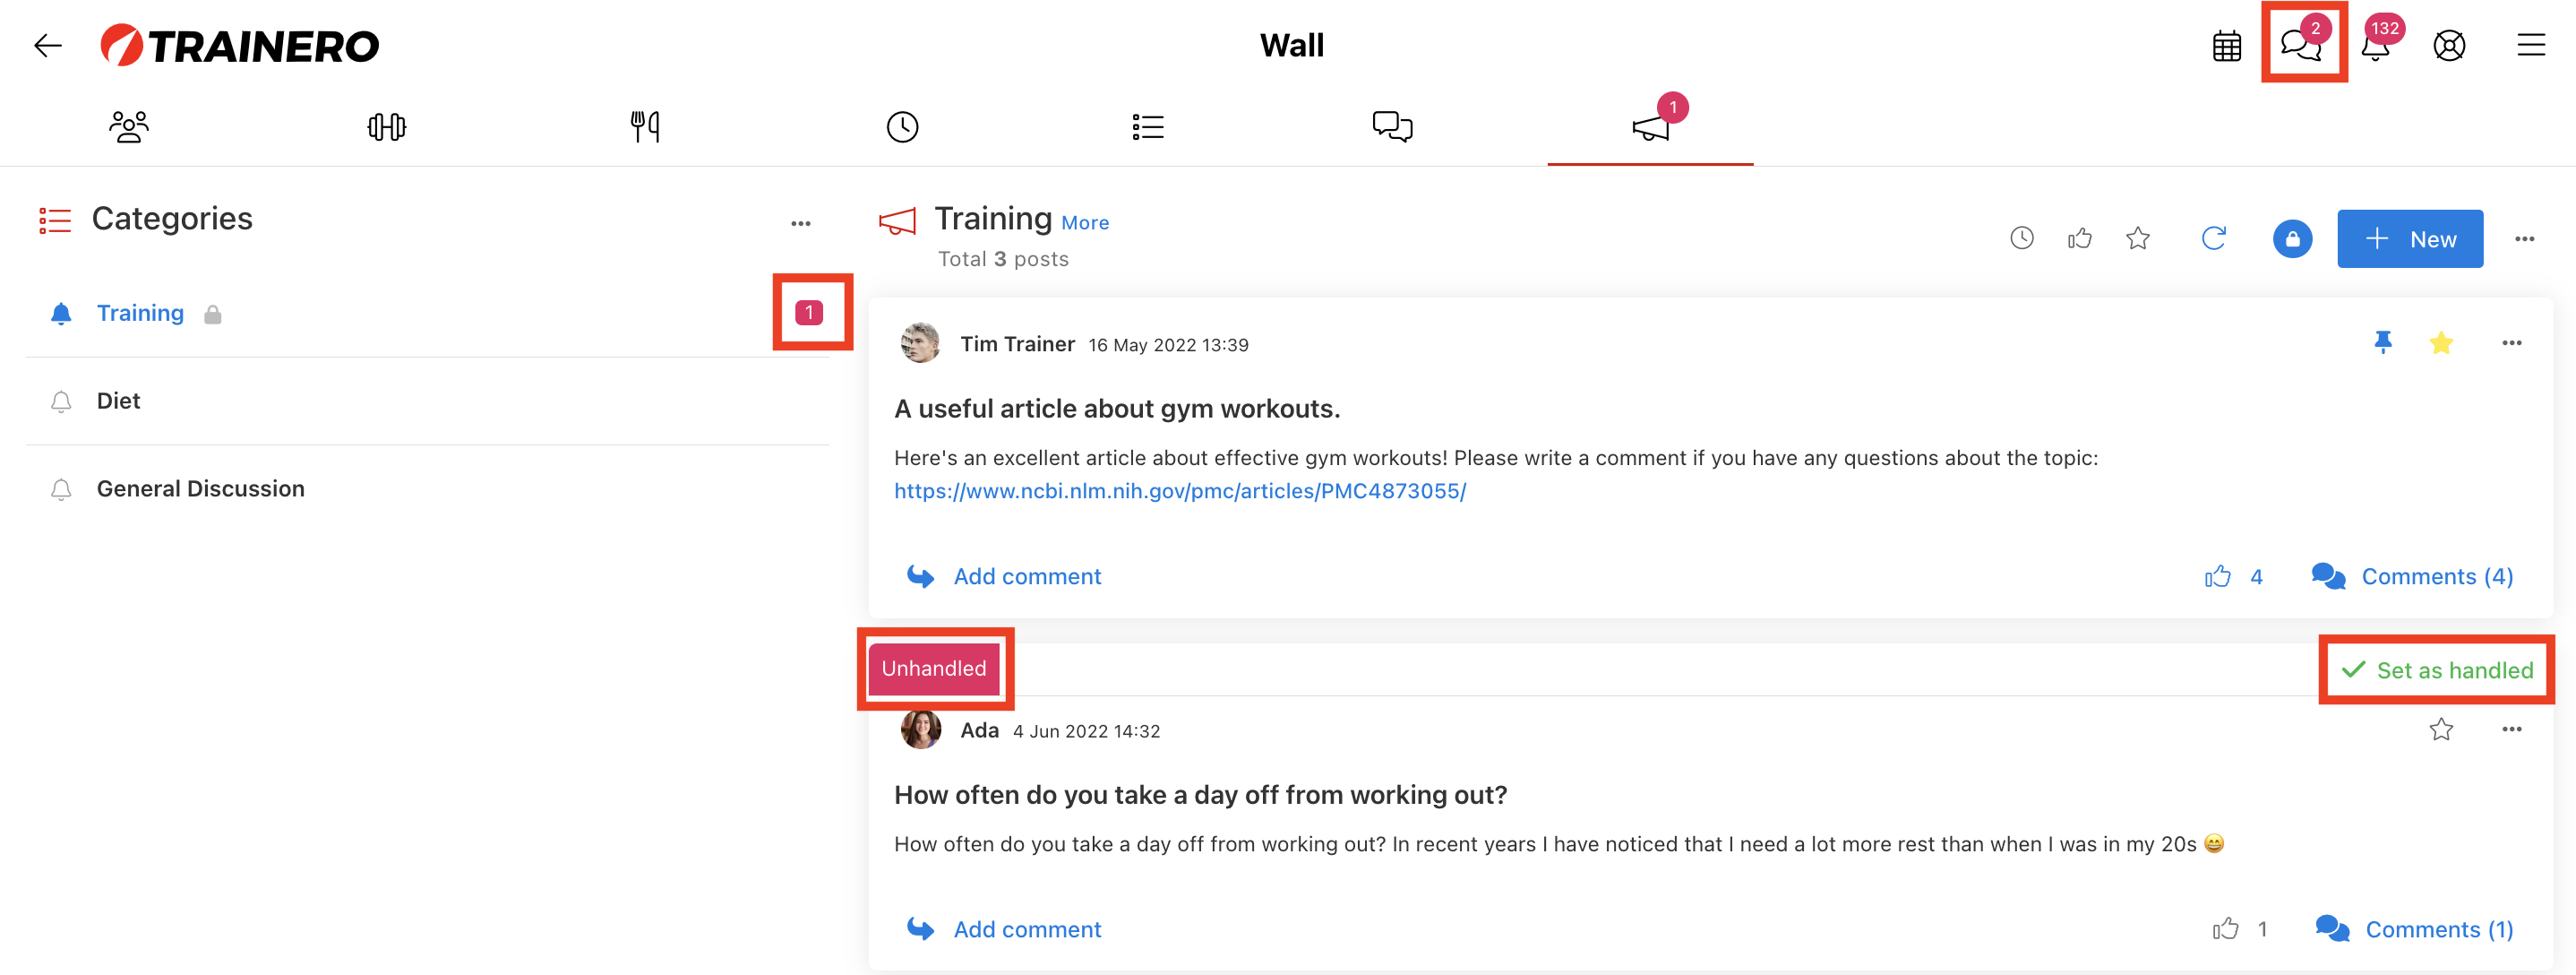
You can identify unread messages as those categories with a red notification icon, or those posts with a red 'Unhandled' sign. You should manually select 'Set as handled' to mark a message as read.
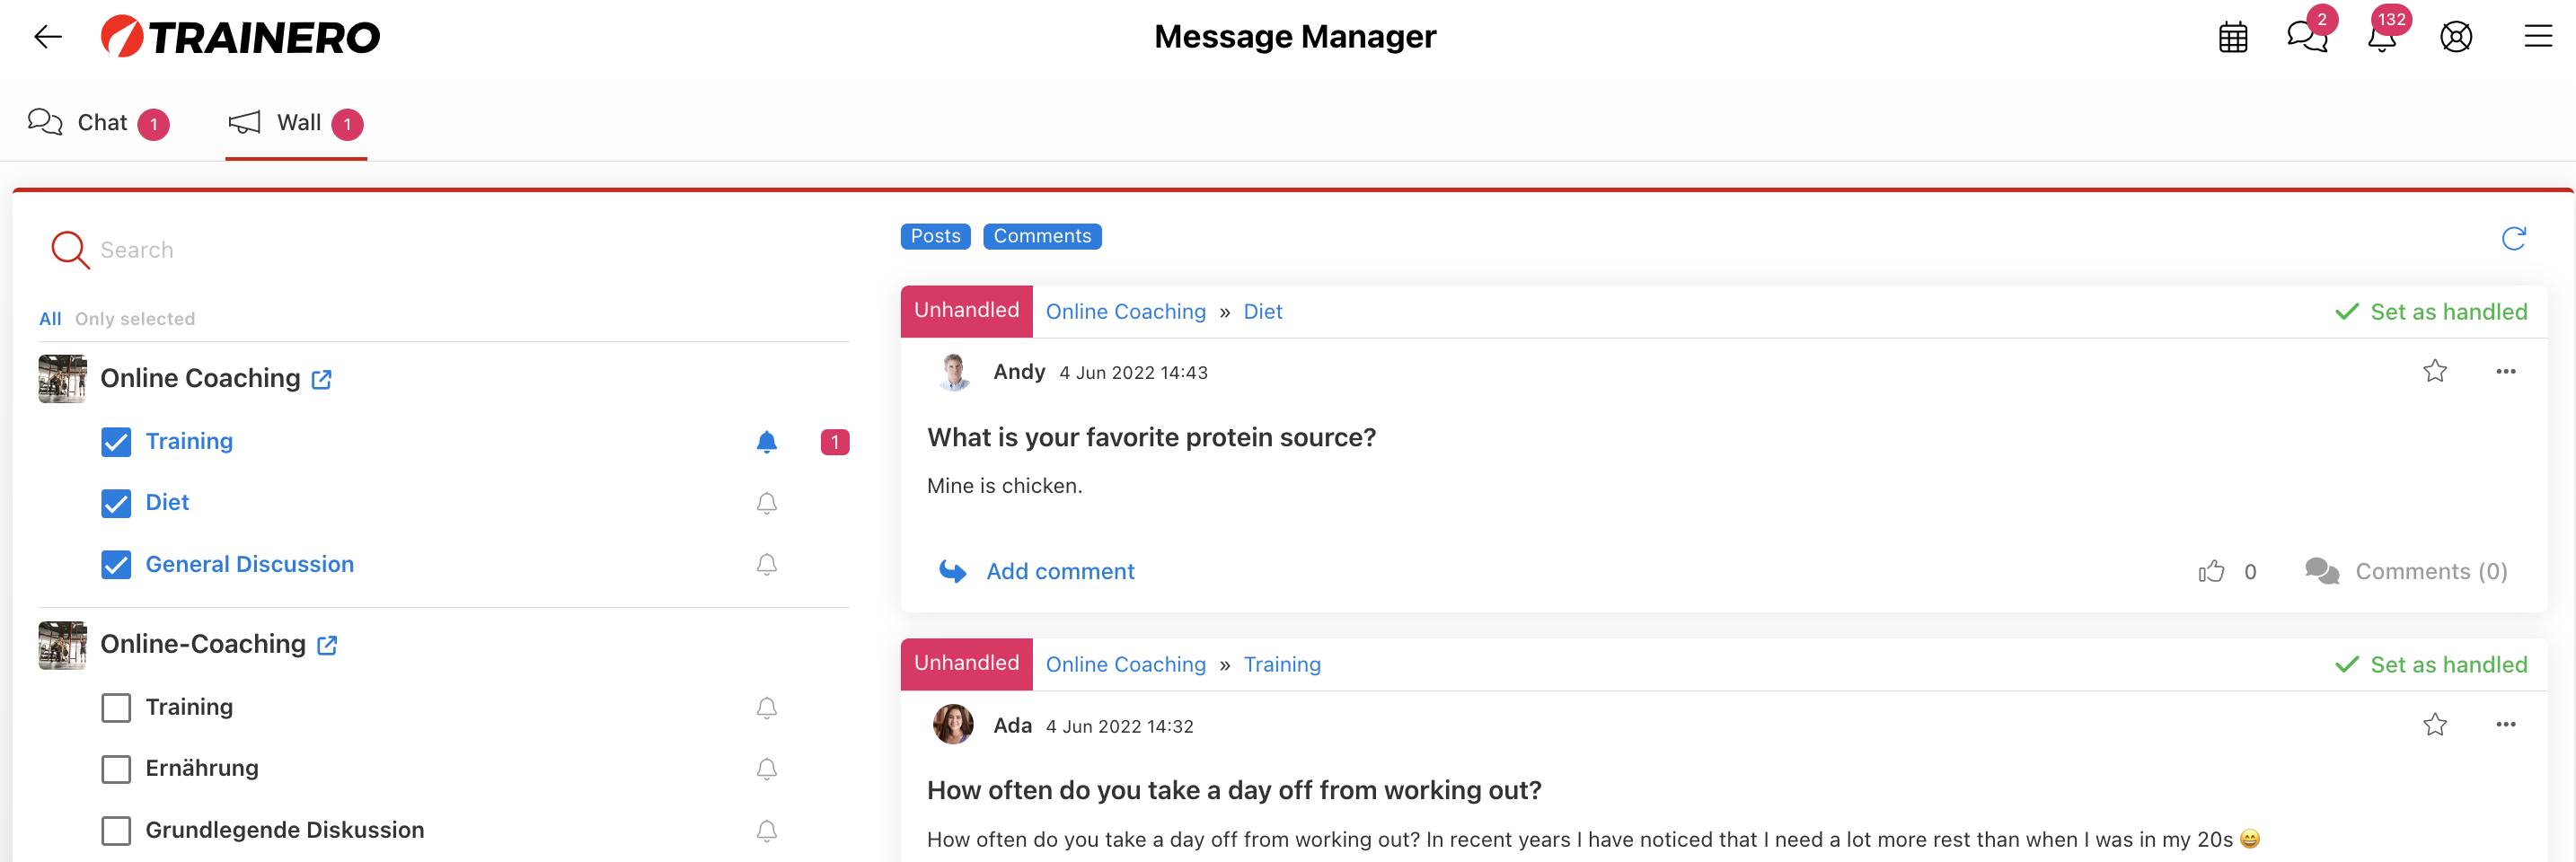
Alternatively, instead of scrolling through the wall to identify new messages, you can go to message manager using the second button in the top navigation ribbon to see all new messages directed at you. While accessing the message manager, you can select new messages from your chats or the wall by toggling between the tabs at the top left. Several methods for searching and filtering messages are available from the left navigator.
How to use Forms
Video Tutorial
This is a comprehensive video tutorial for all the features of Forms and how to utilize them best. Alternatively, follow the instructions below for the same information.
Create New Form from Scratch
The form builder allows a coach or trainer to send a survey to individual clients or entire groups and collect data that enables comparative progress tracking, feedback and suggestions for improvement, etc.
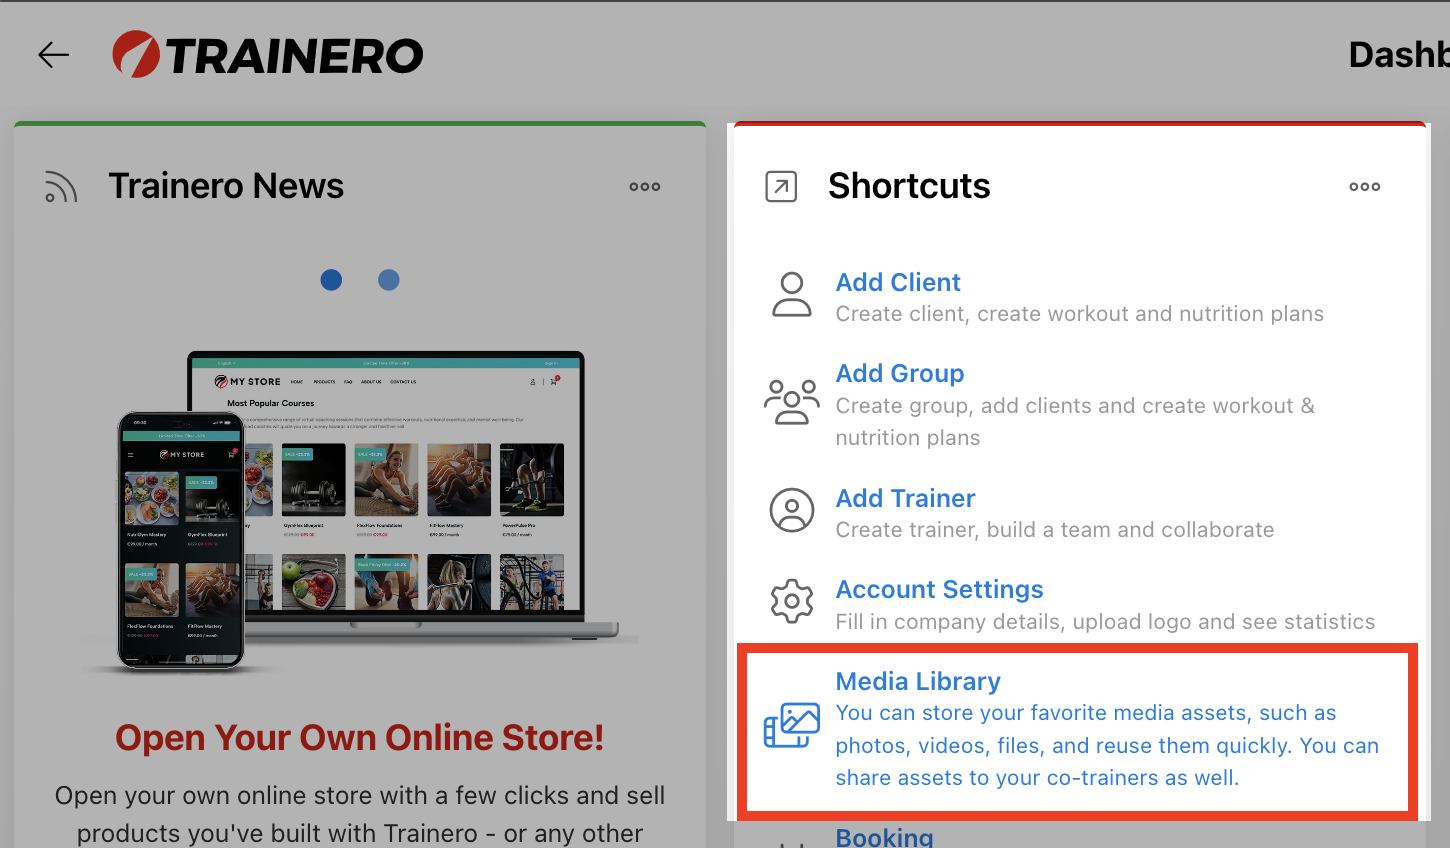
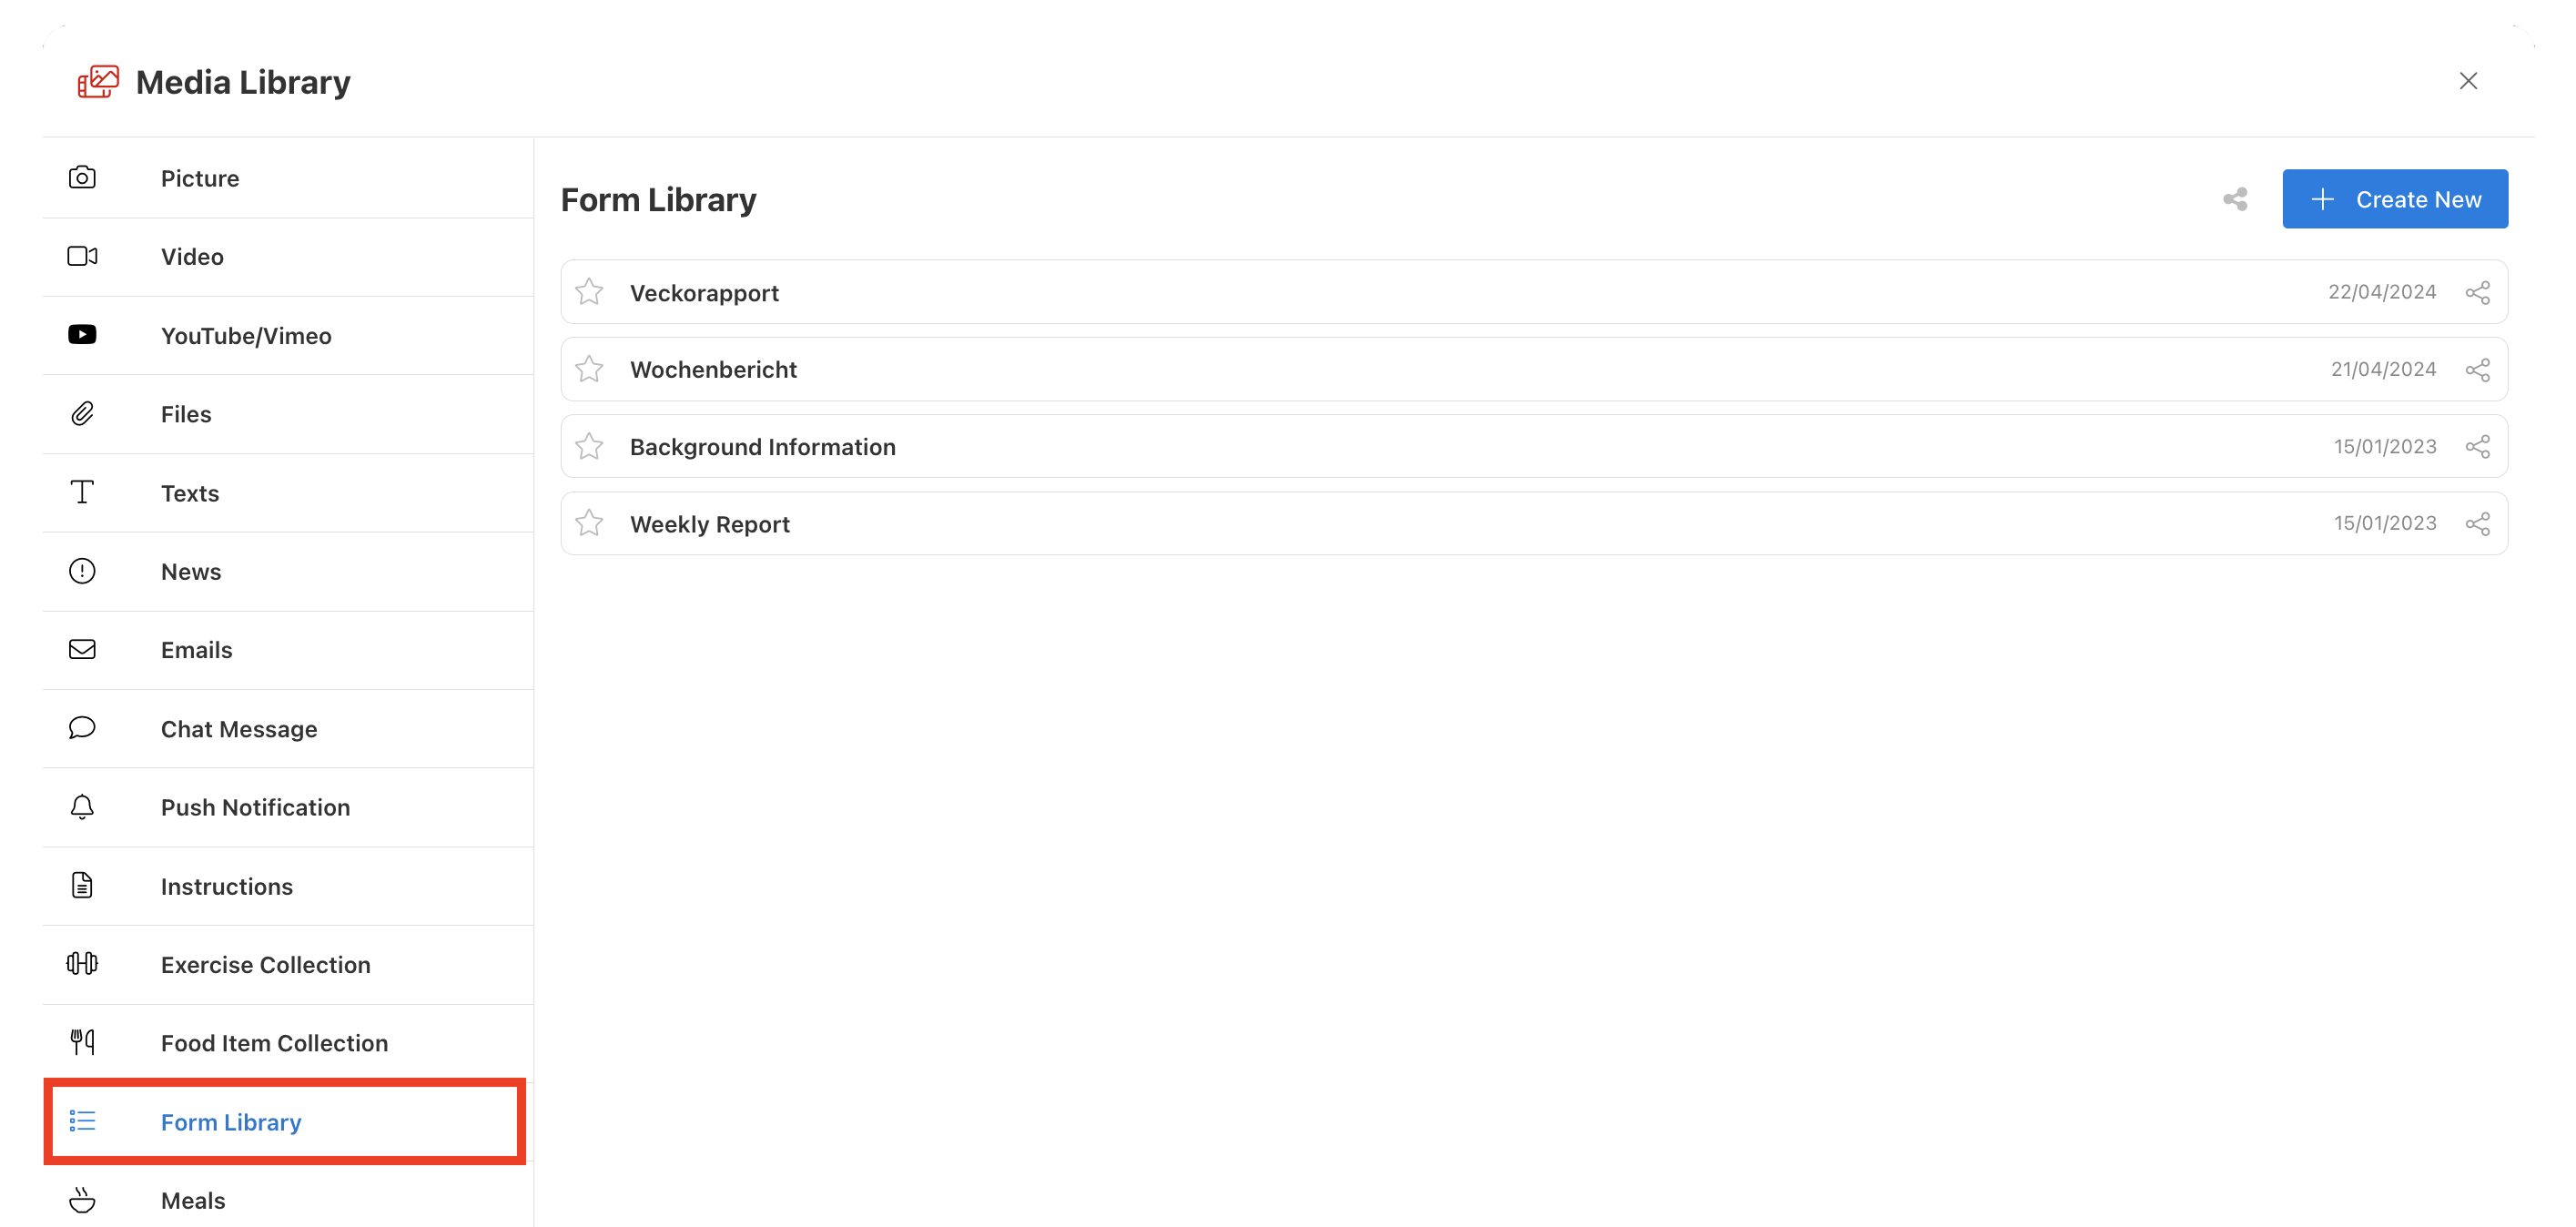
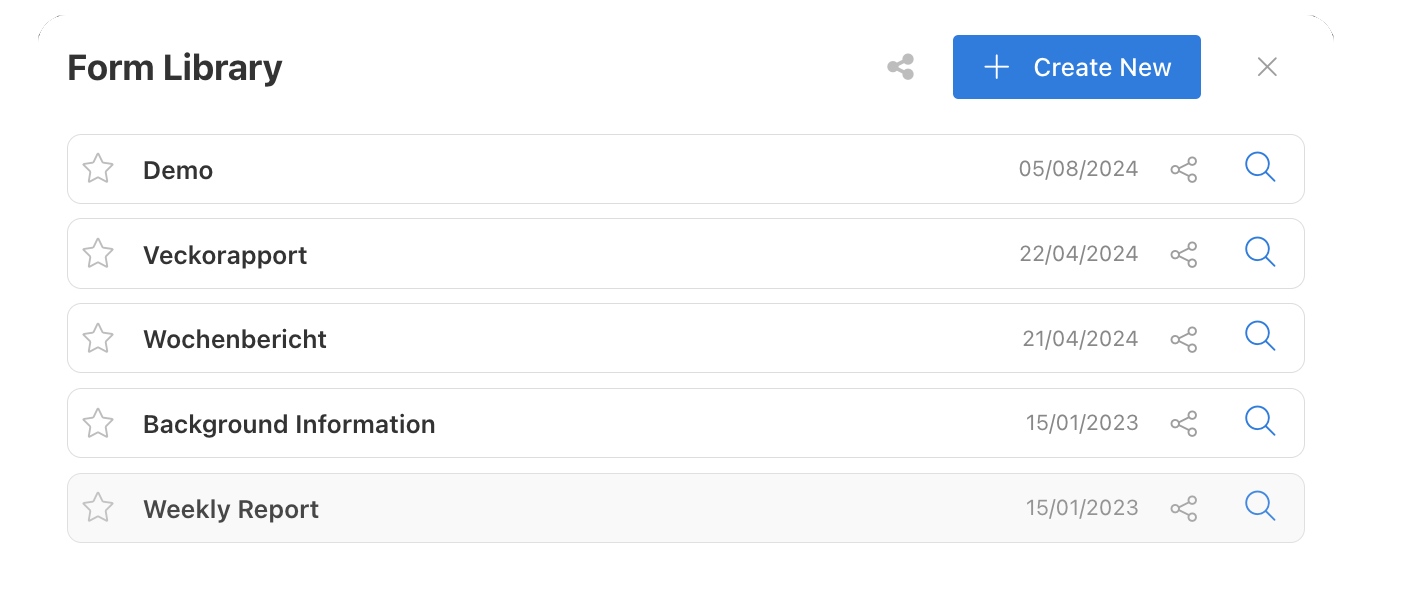
You can navigate to the Form Library using the shortcuts on your dashboard. First, select 'Media Library', then select 'Form Library' from the list on the left.
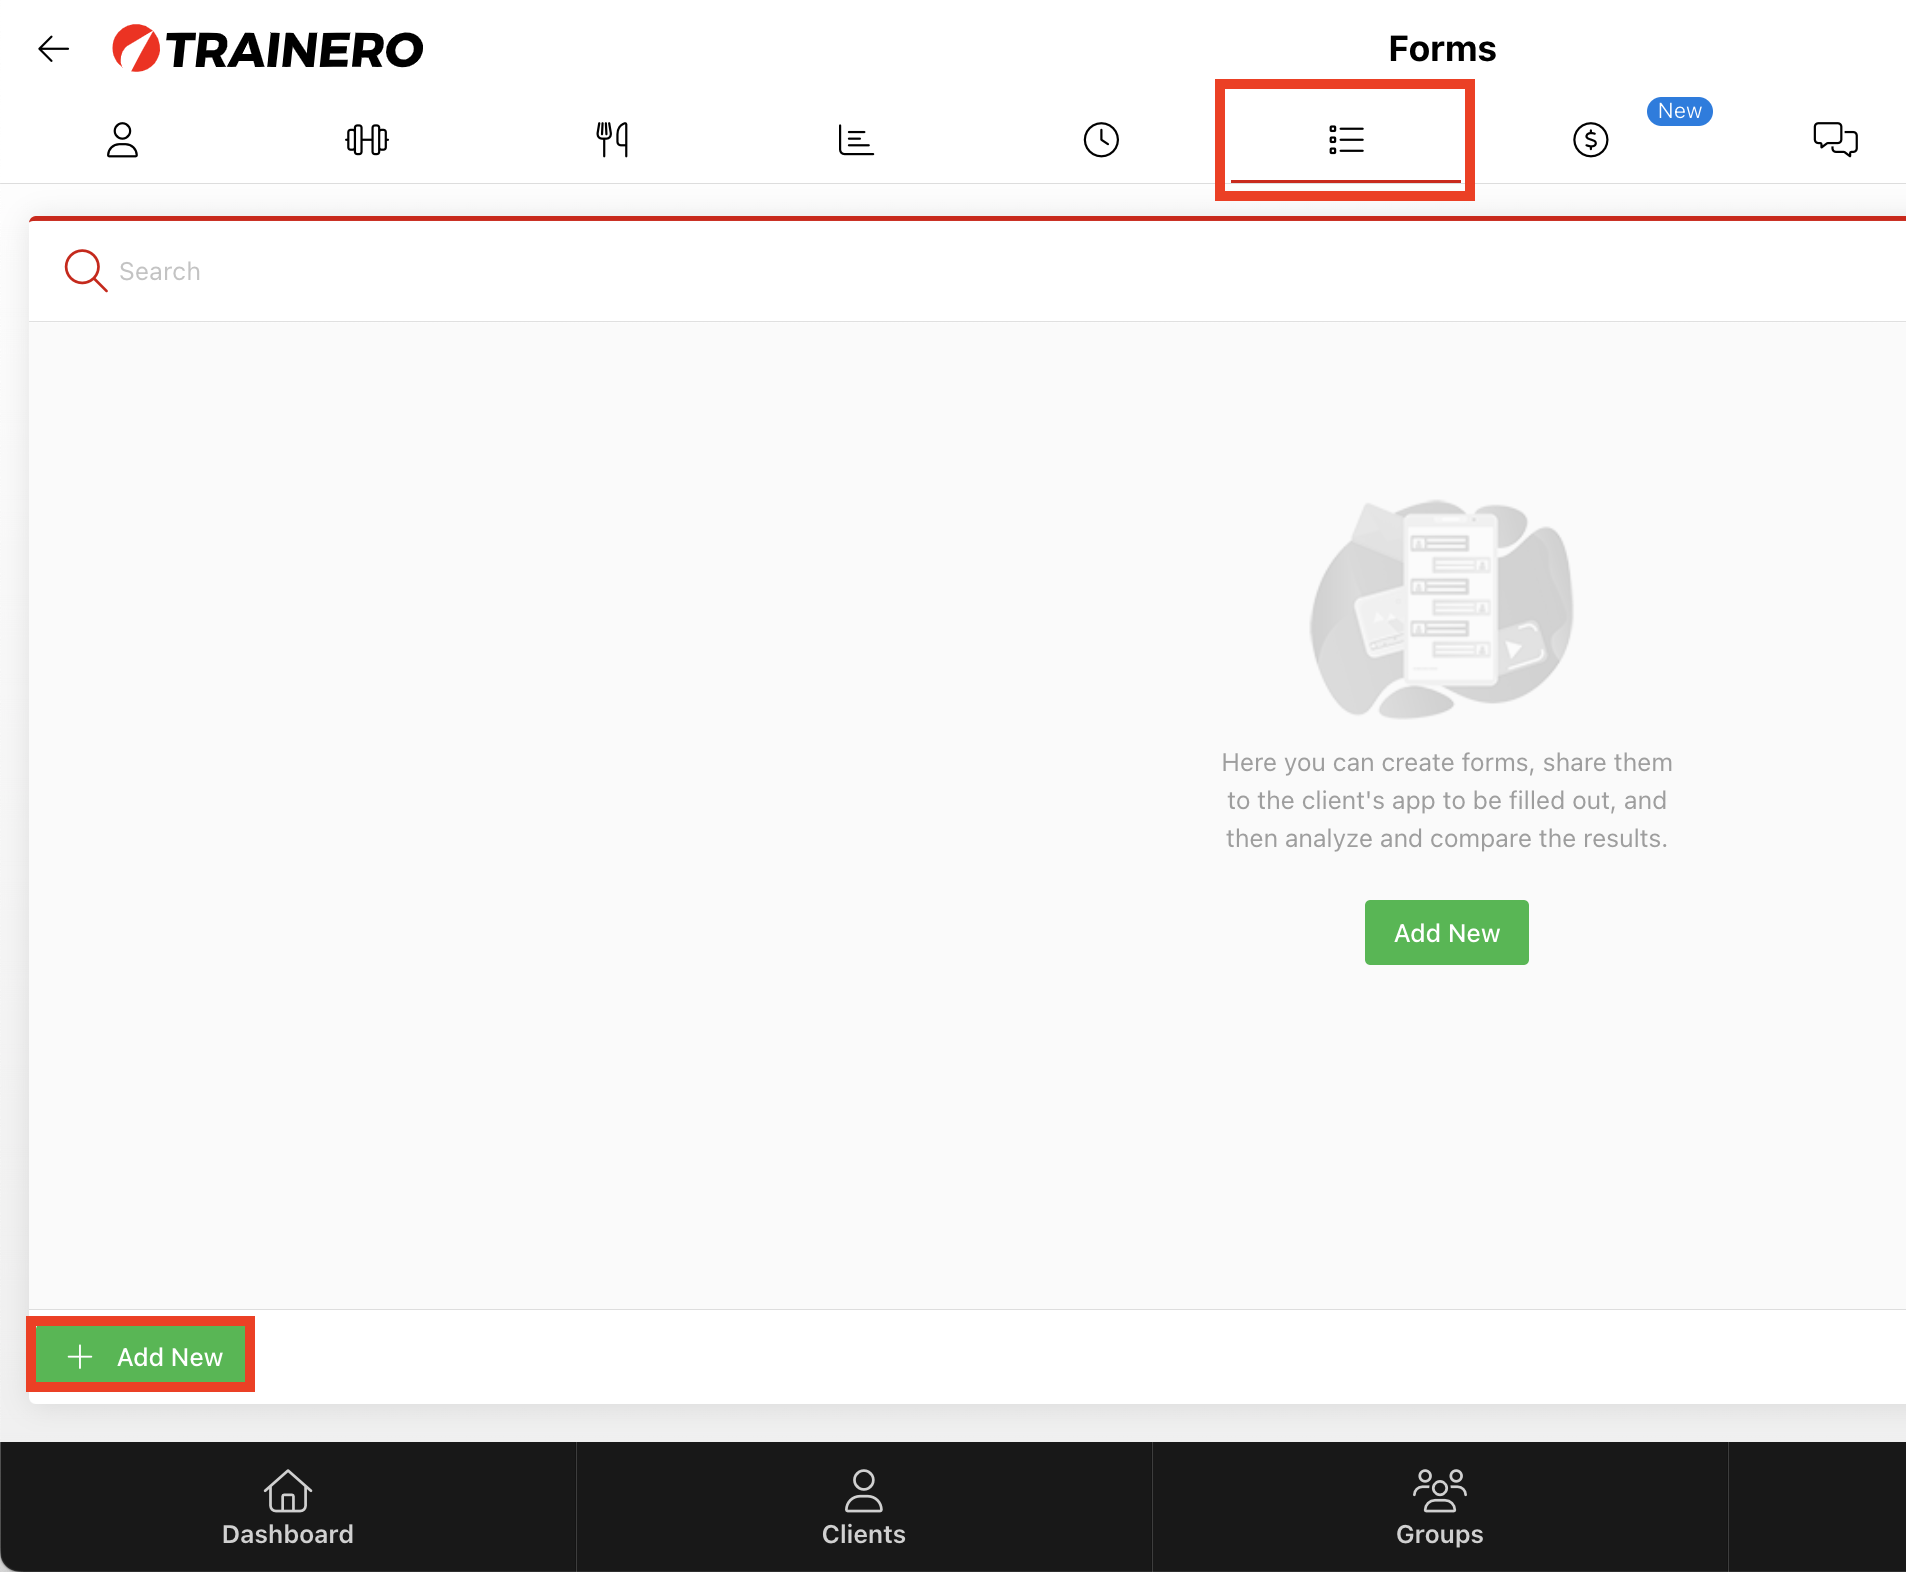
Alternatively, you can select existing forms or create new forms directly within the Forms tab of a client or group profile page.
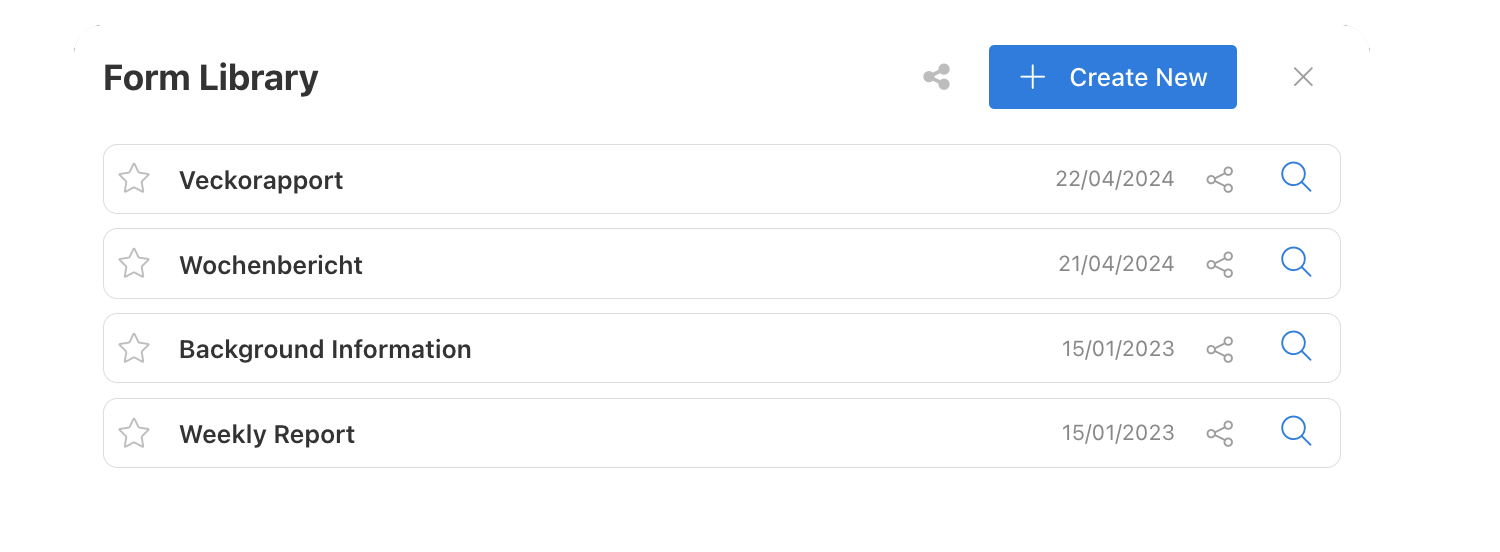
Select 'Create New' to start planning a new form. Give your form a title, a description that is visible to clients, and notes as necessary that are not visible to the clients. You can add media to the form such as a banner-style image as the top header of the form, etc.
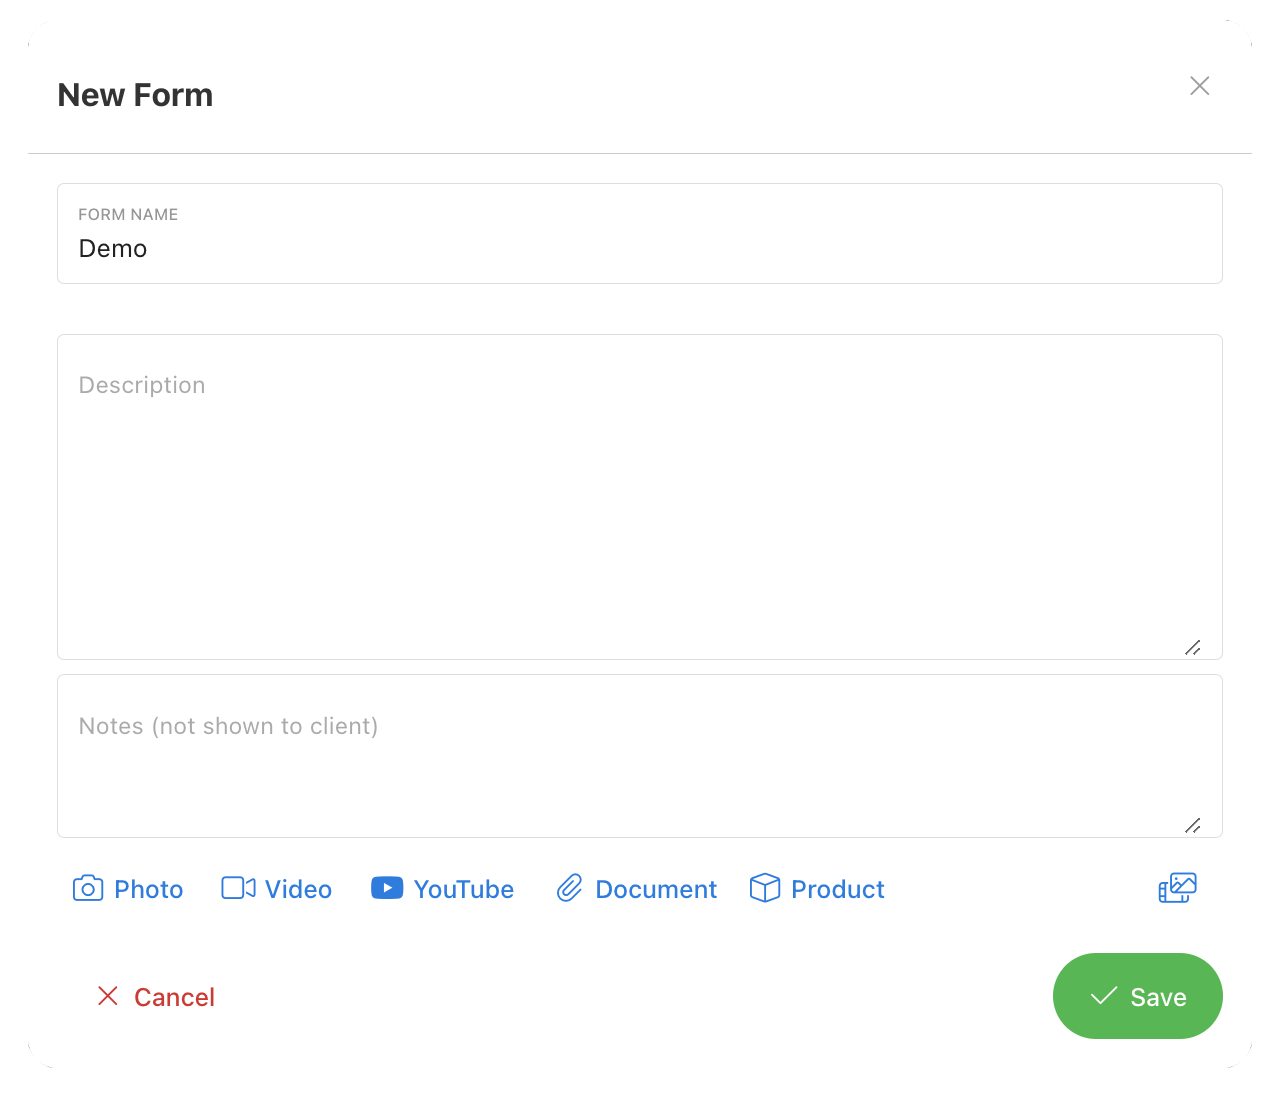
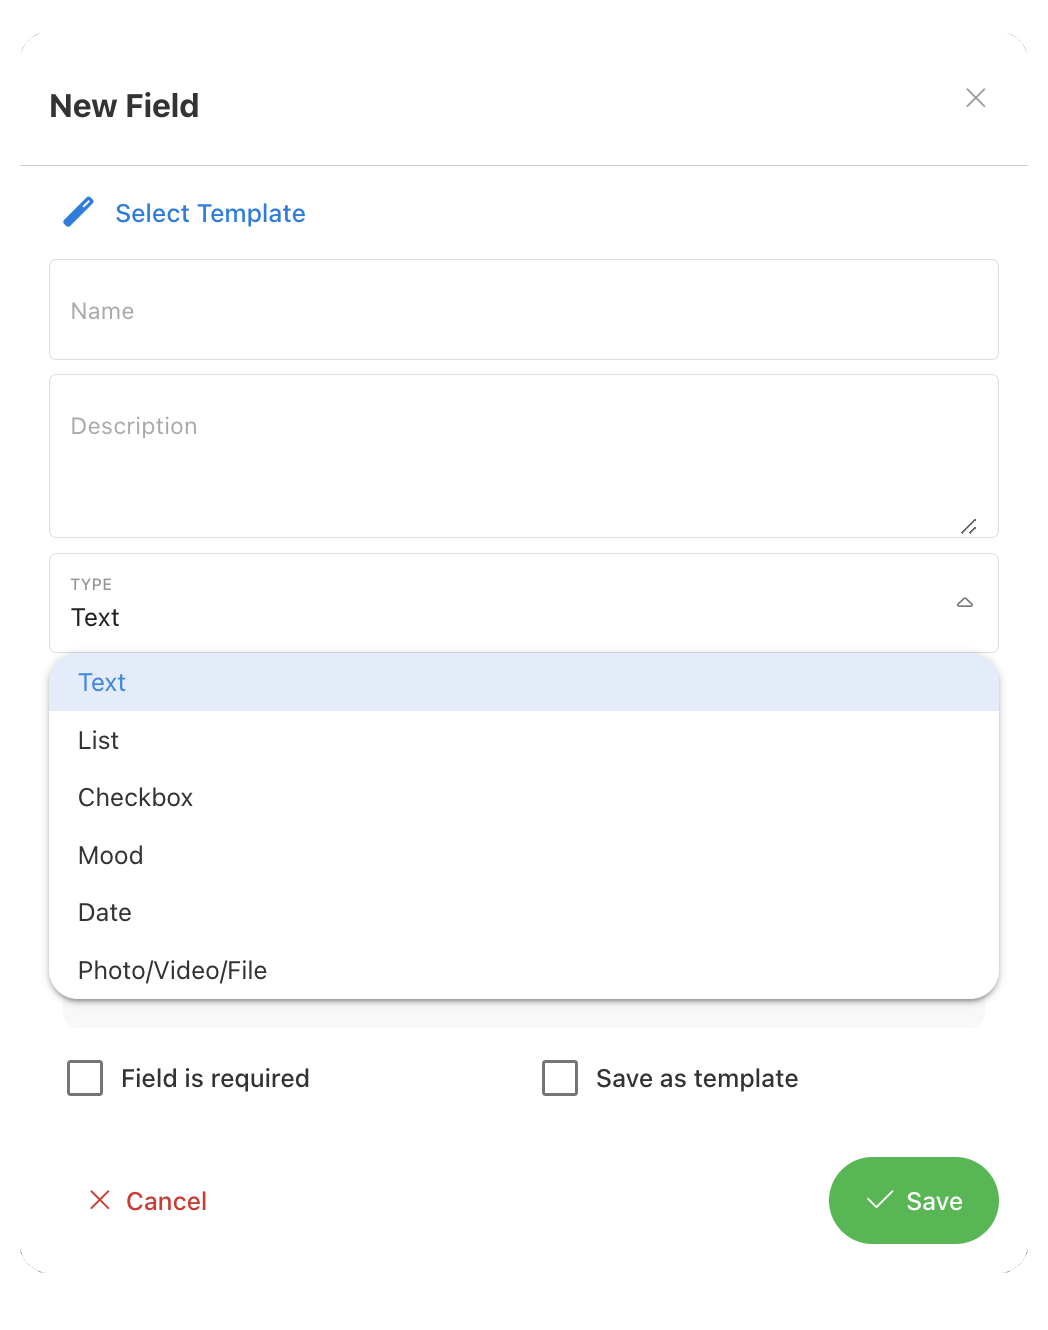
Selecting 'Save' will save the form to the Form Library and prompt you to create the questions for the form. Give your questions titles and detailed descriptions to guide clients through the answering process. There are 6 distinct question types: text, list, checkbox, mood, date, photo/video/file. Selecting 'Field is required' makes the question mandatory. You can save questions as templates for ease of use in future form building.
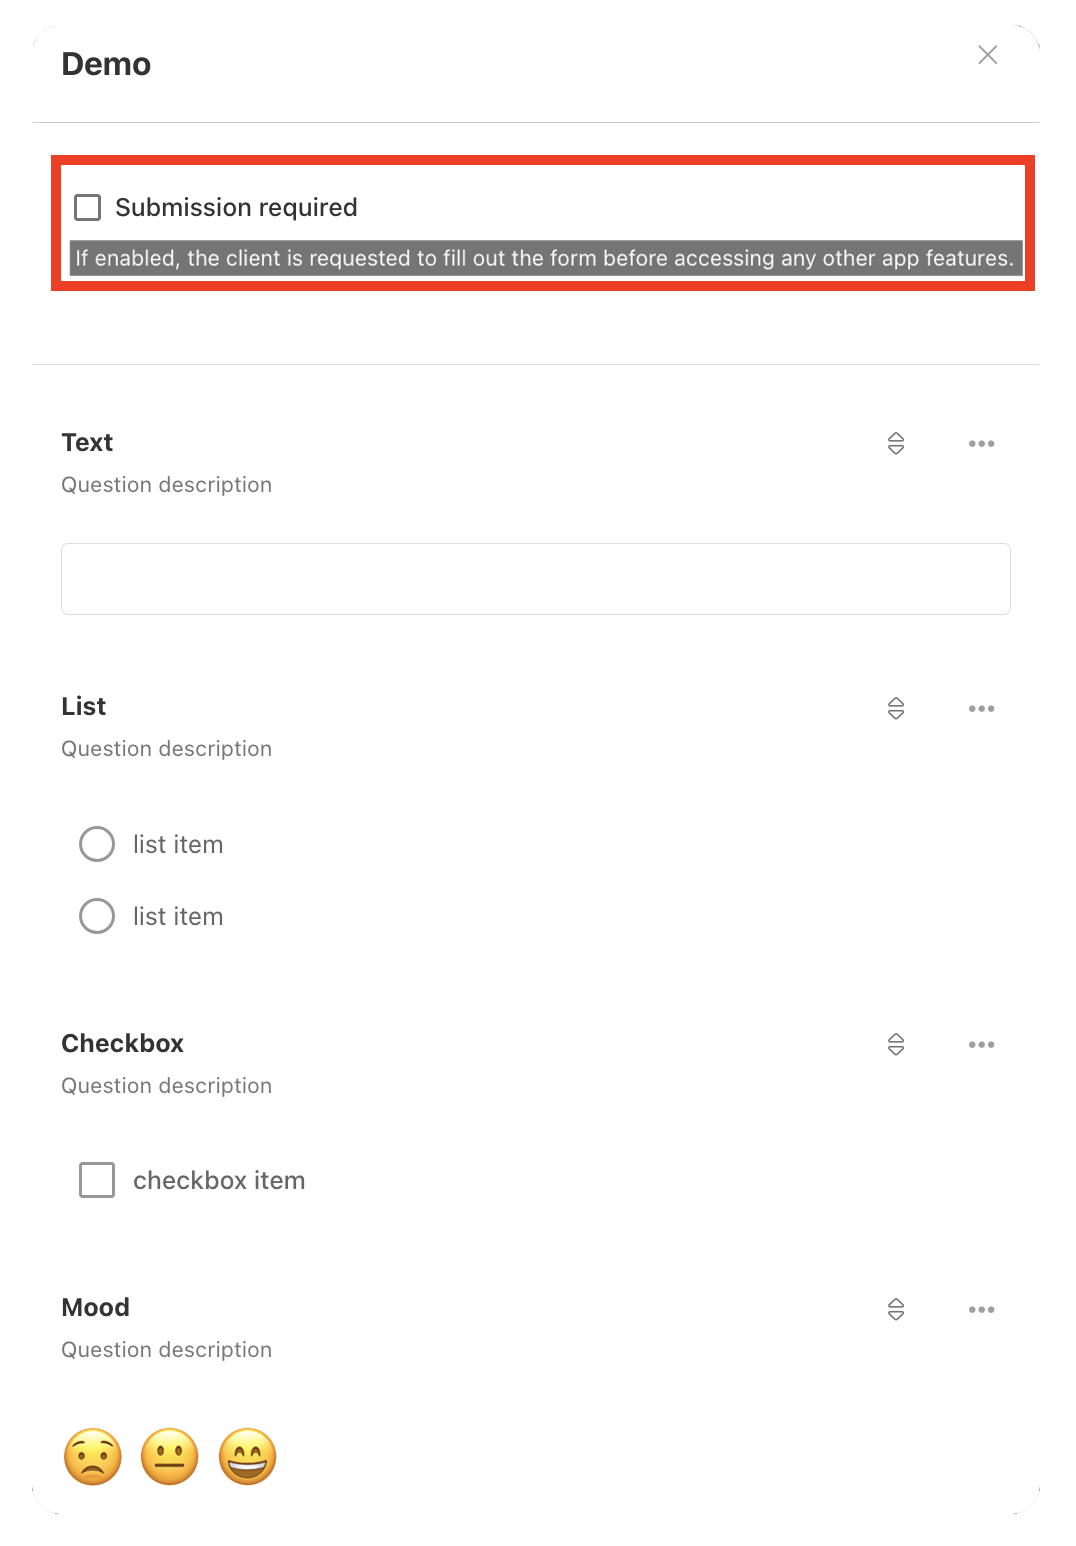
The form builder always lets you preview the form once you select save after creating or editing questions. Select 'Submission required' to restrict app access and prioritize answering the form. When creating group forms, you can enable anonymous answering.
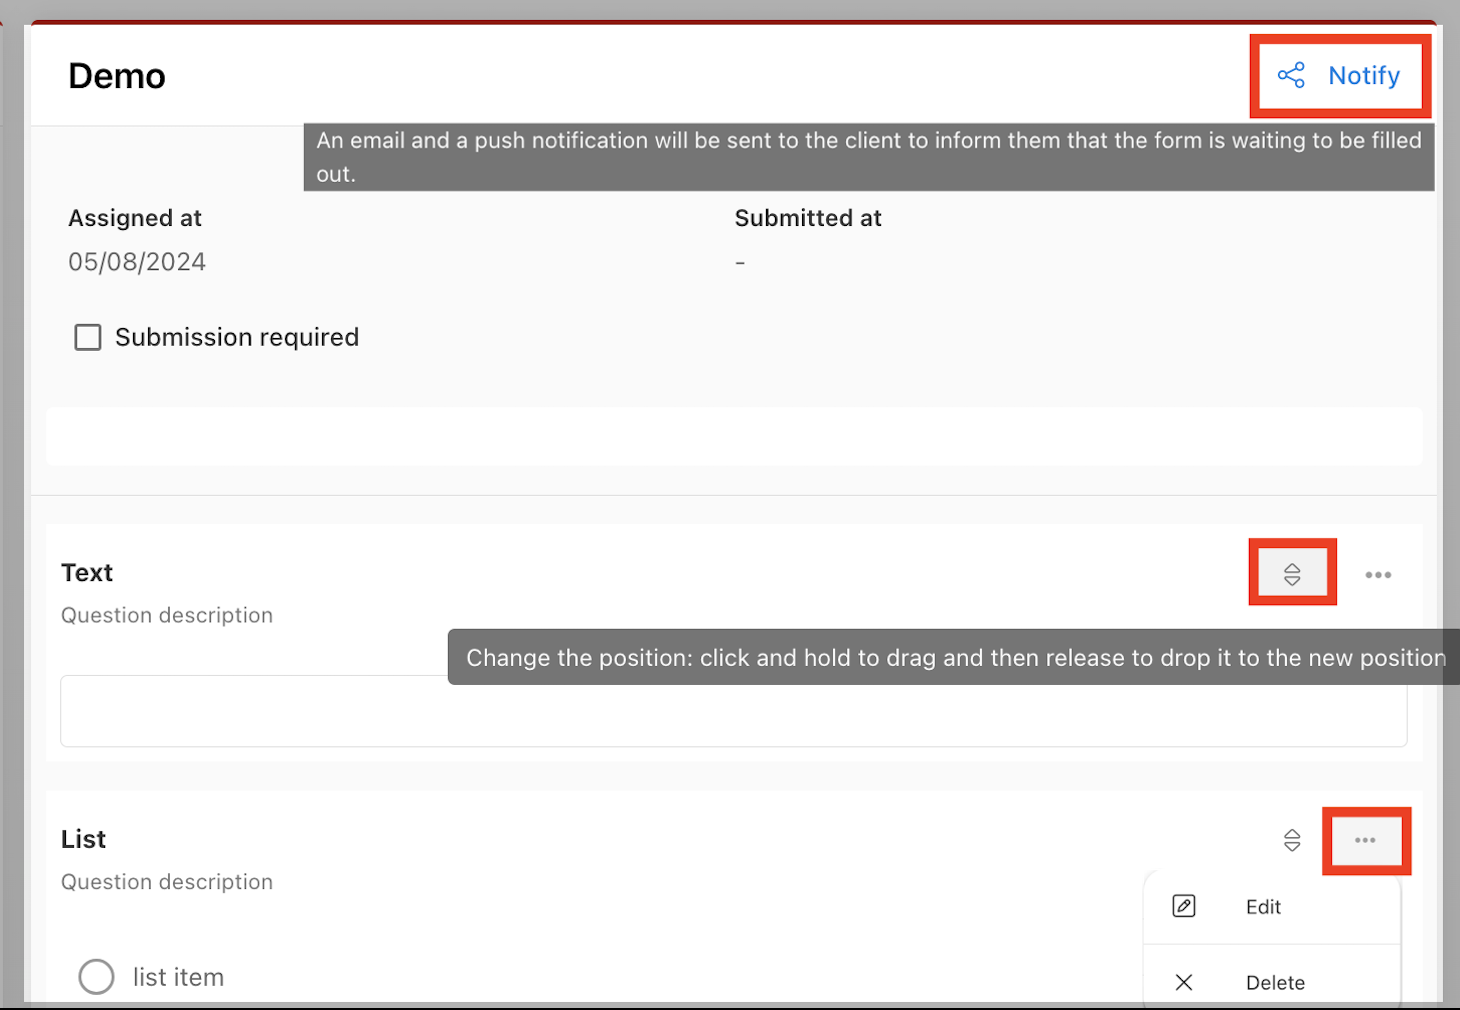
You can notify the client or group to encourage them to submit the form. You can change the order of the question in the form editor by dragging and dropping the question from the inverted arrow button. Select the three dots on a question to edit or delete it.
Use the share link in your Form Library to share the form as a template to your trainers' Form Libraries.

Analyze & Compare Forms
By navigating to the 'Forms' tab of a client or group profile, you can find all the forms assigned to the respective client or group. The green tick on the right represents the completion status of the form by the assigned client.
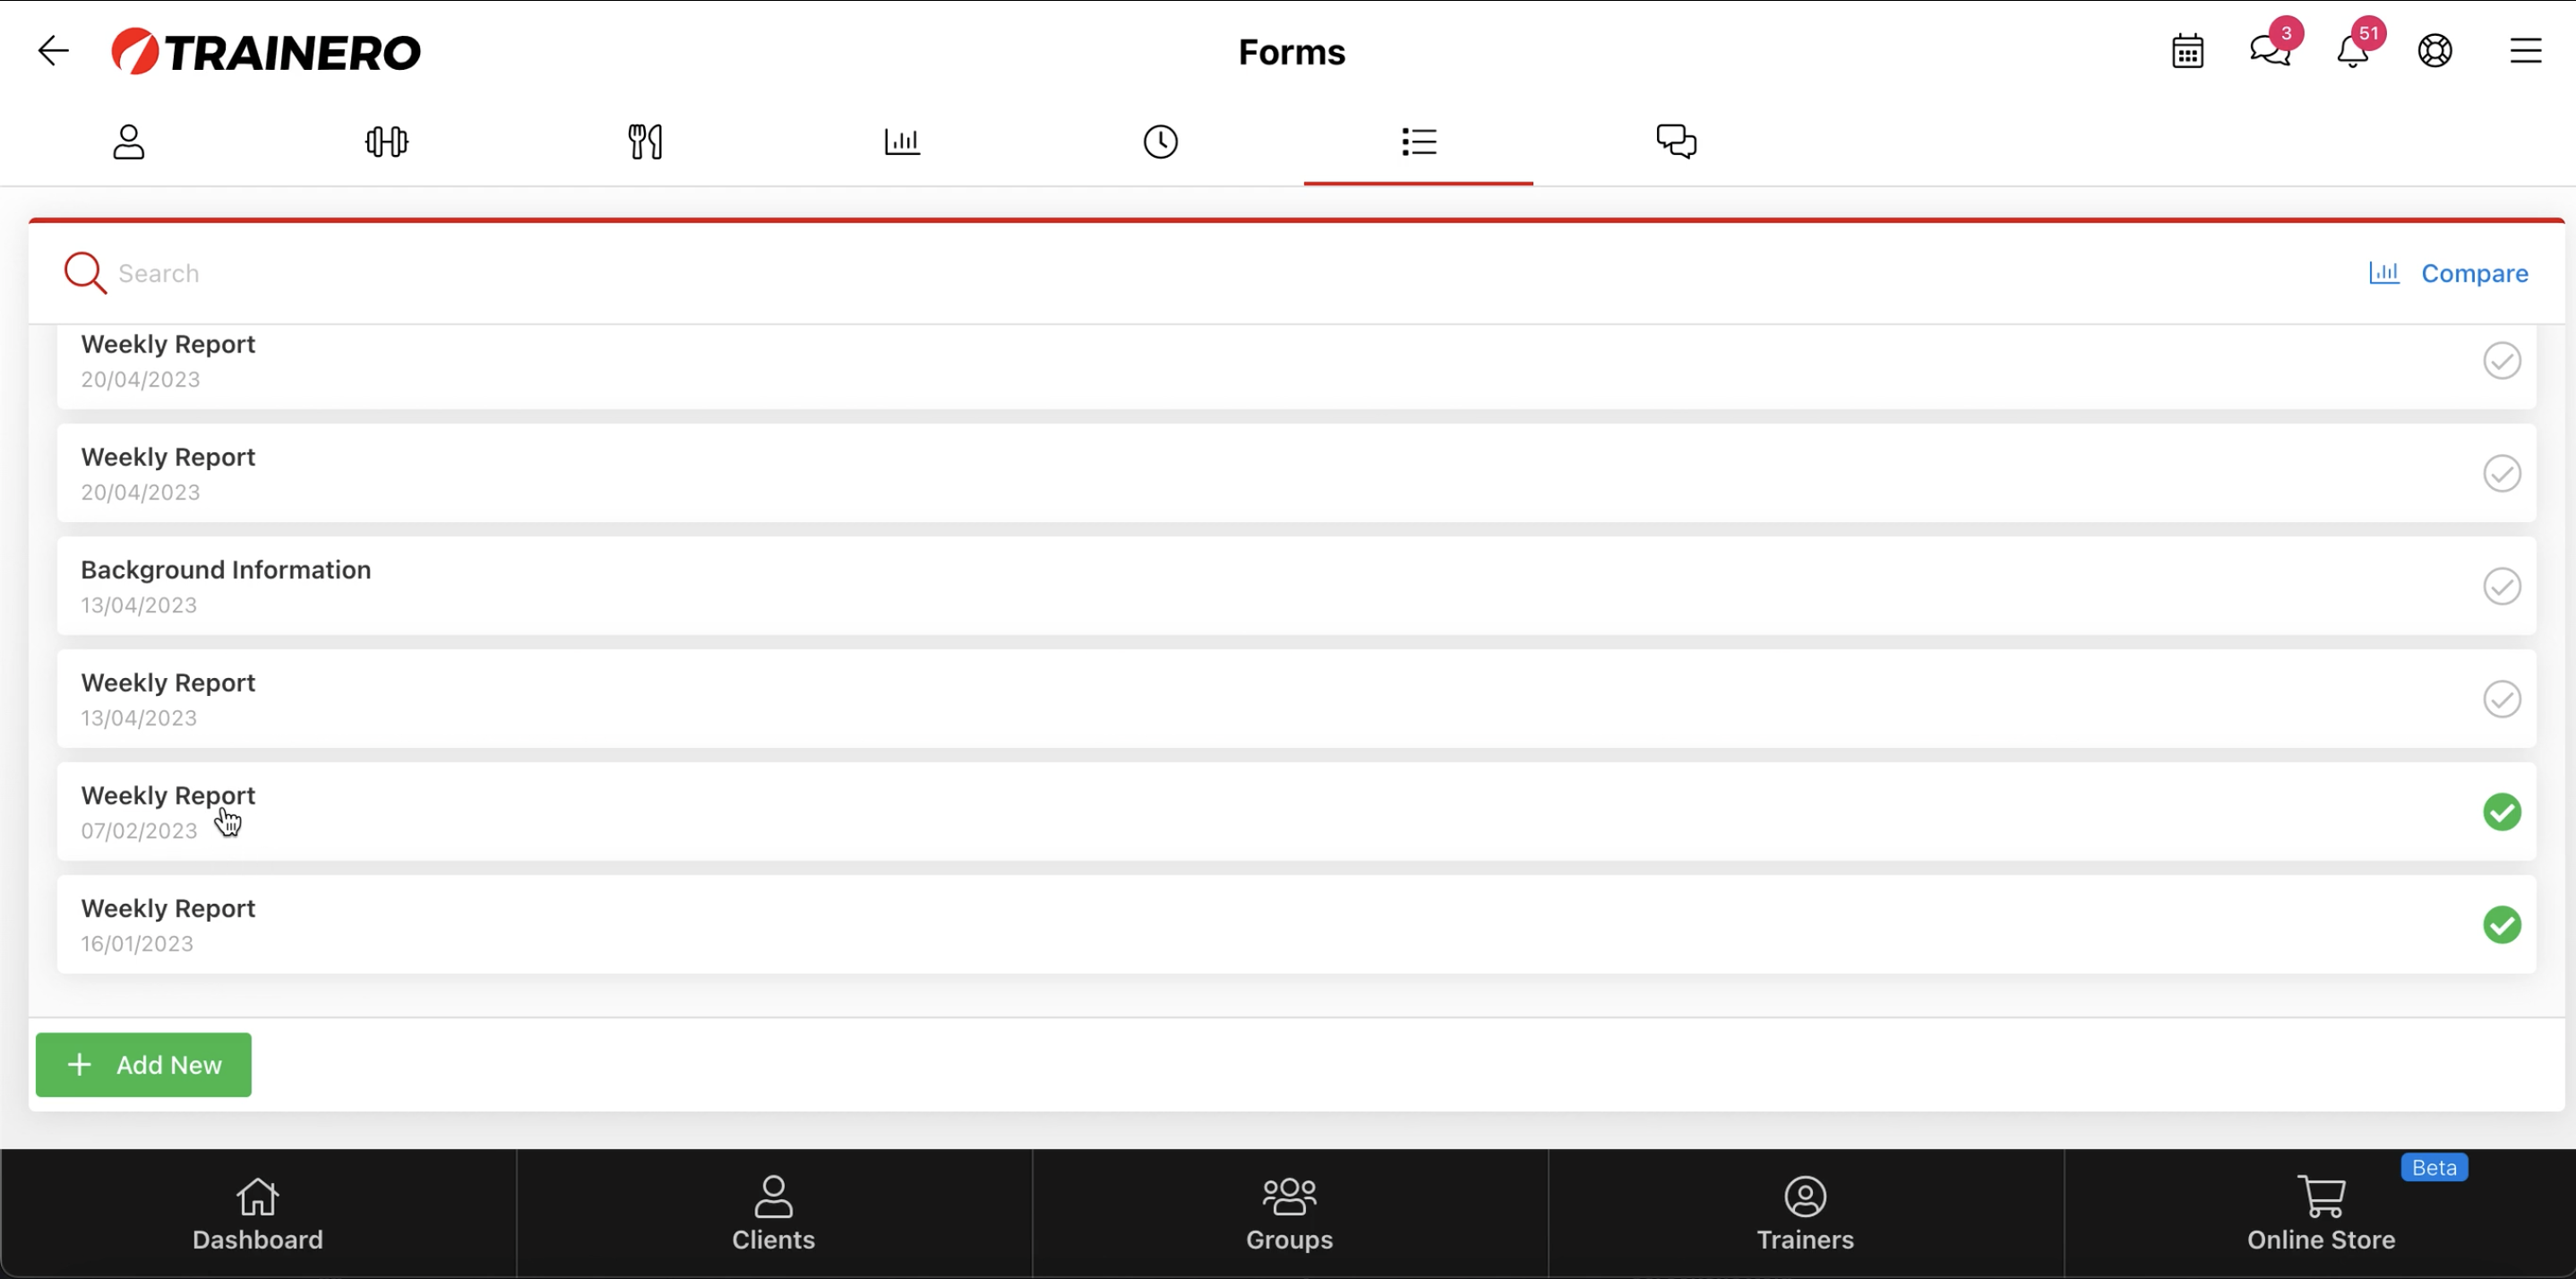
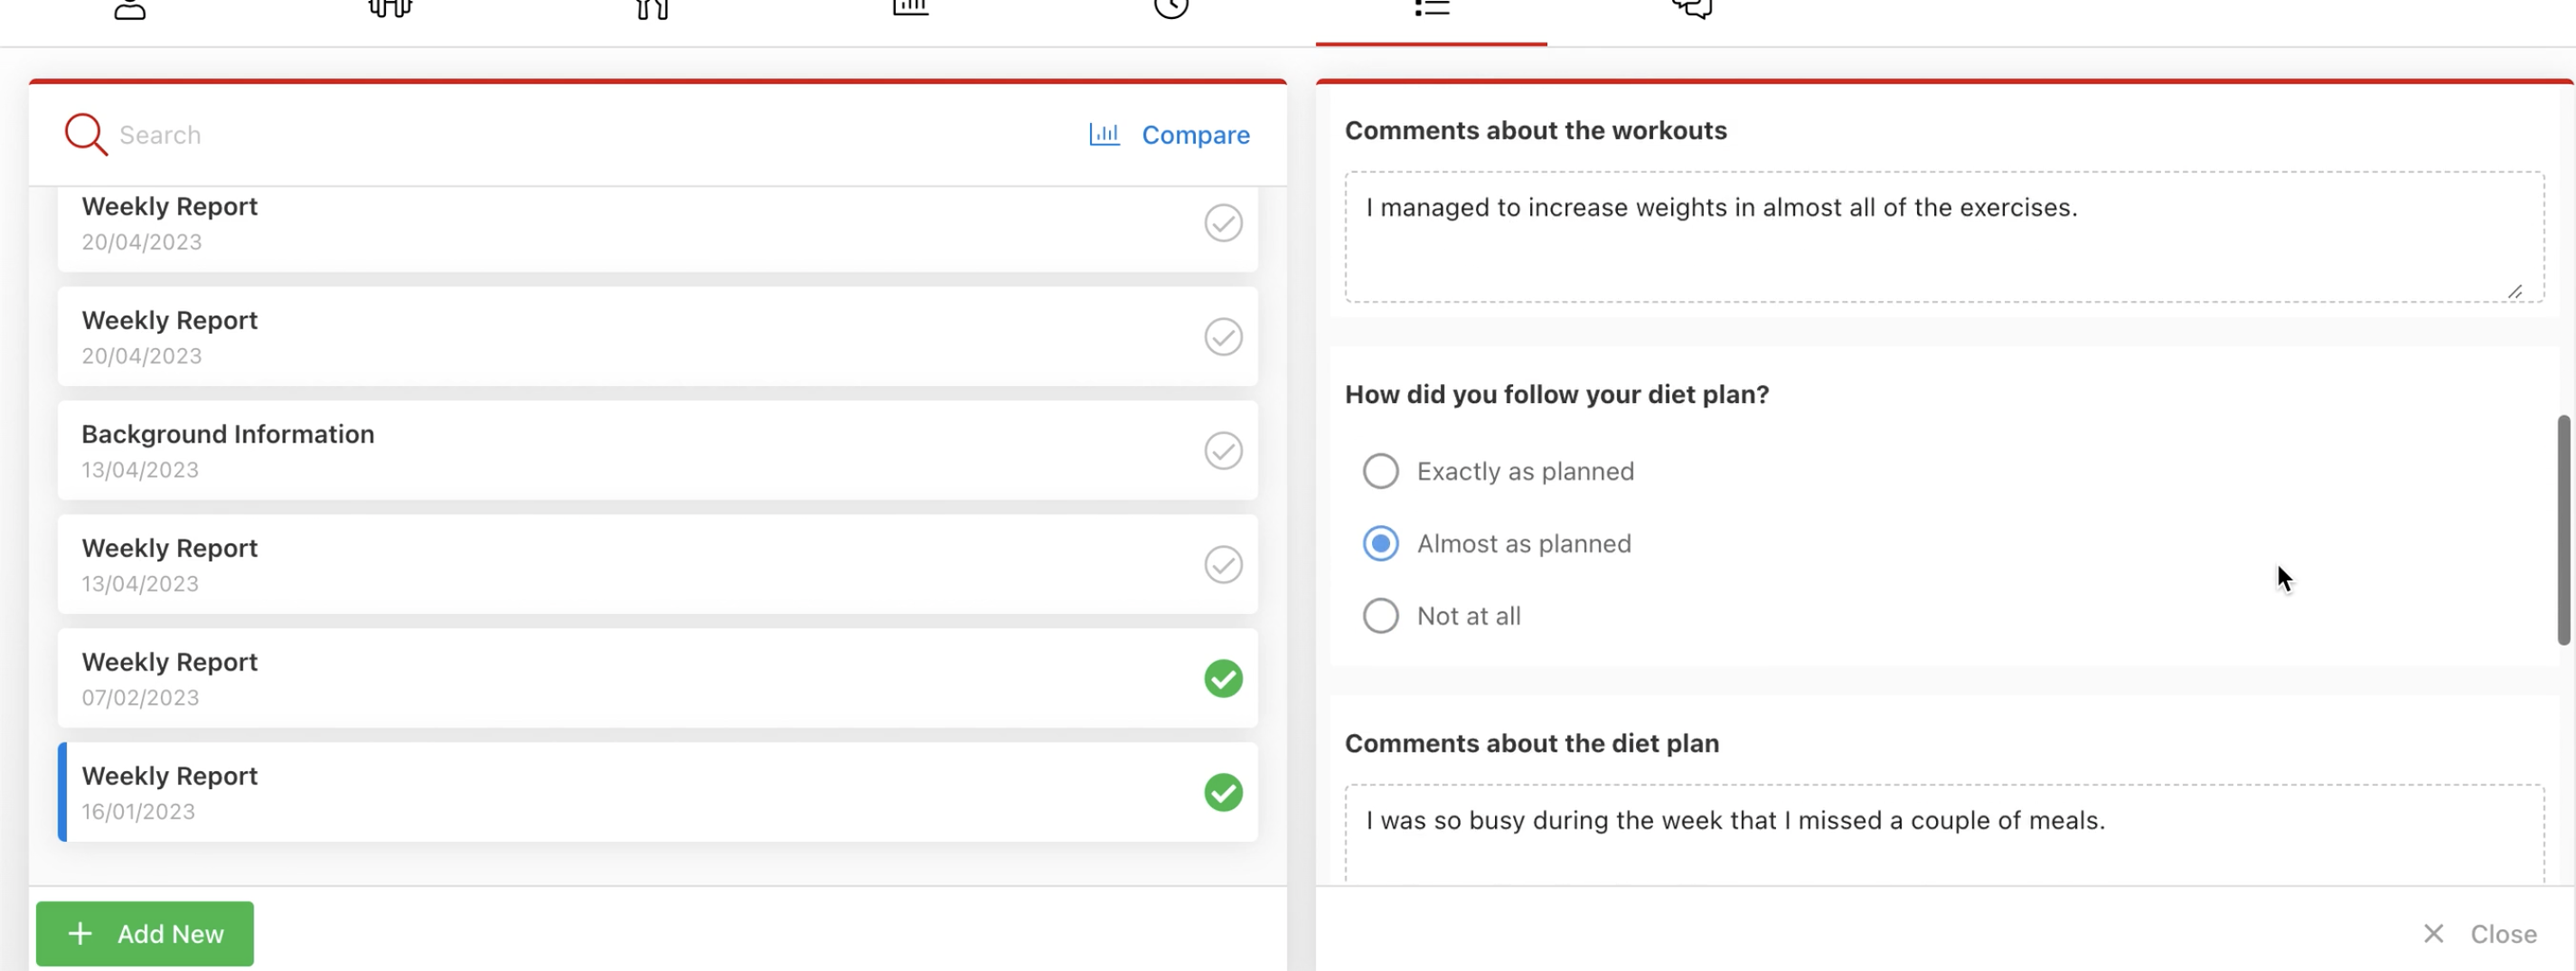
You can browse the content of the forms in general and the submissions by clicking open the specific form from the list.
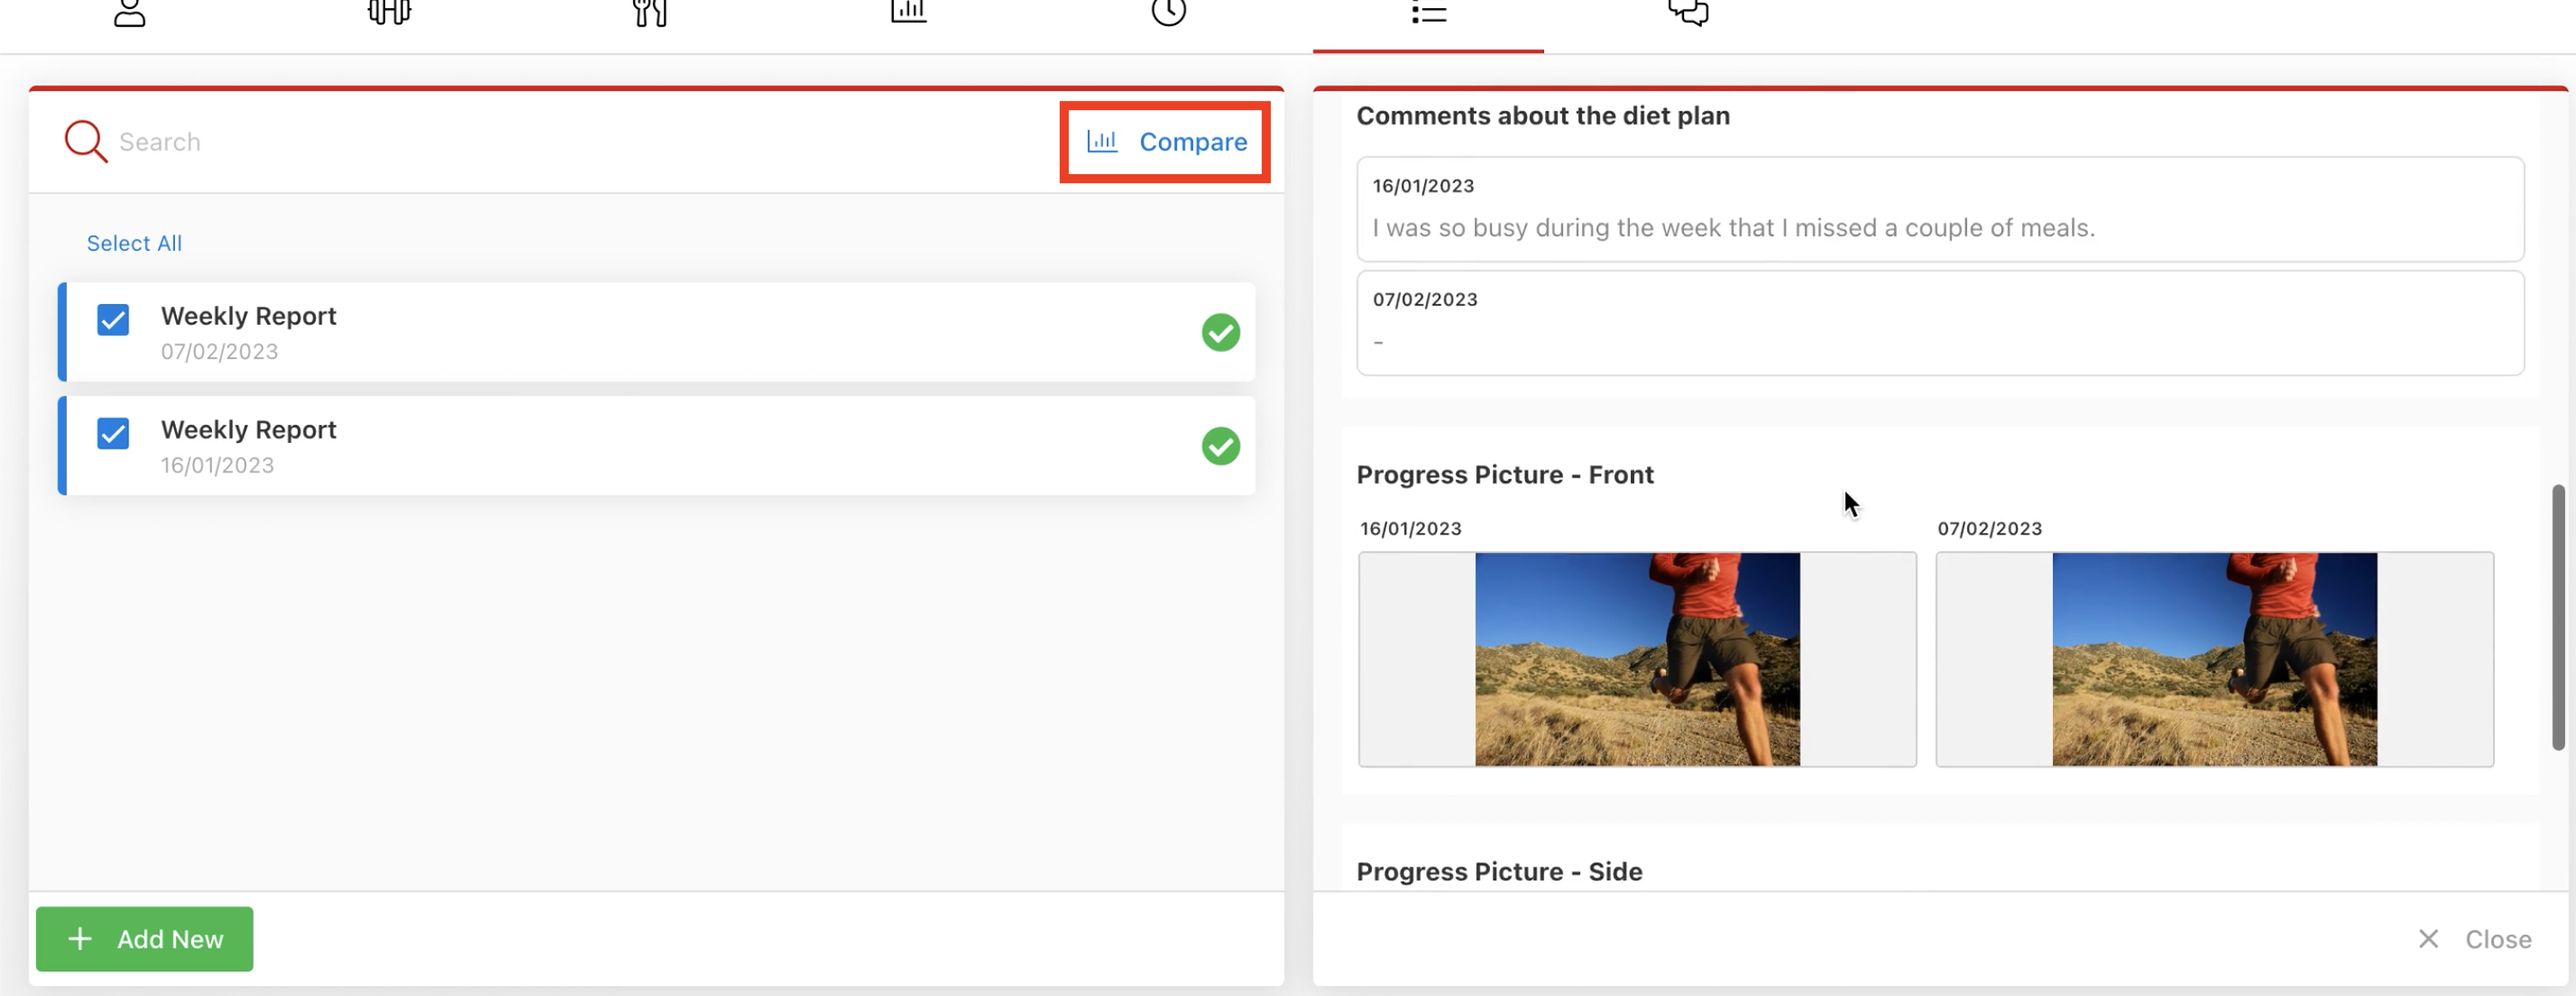
You can compare answers between form submissions by selecting 'Compare' and choosing submissions to compare from the list.
Automate Assigning Forms with Timeline
You can manually assign a form to a client or group by navigating to the forms tab on their respective profile page, then selecting 'Add New' and either choosing a template or creating a form from scratch. Alternatively, you can automate the process of scheduling the assignment of a form to a client by utilizing the Timeline feature.
Firstly, navigate to the Timeline tab of the client or group you would like to schedule form assignments in advance.
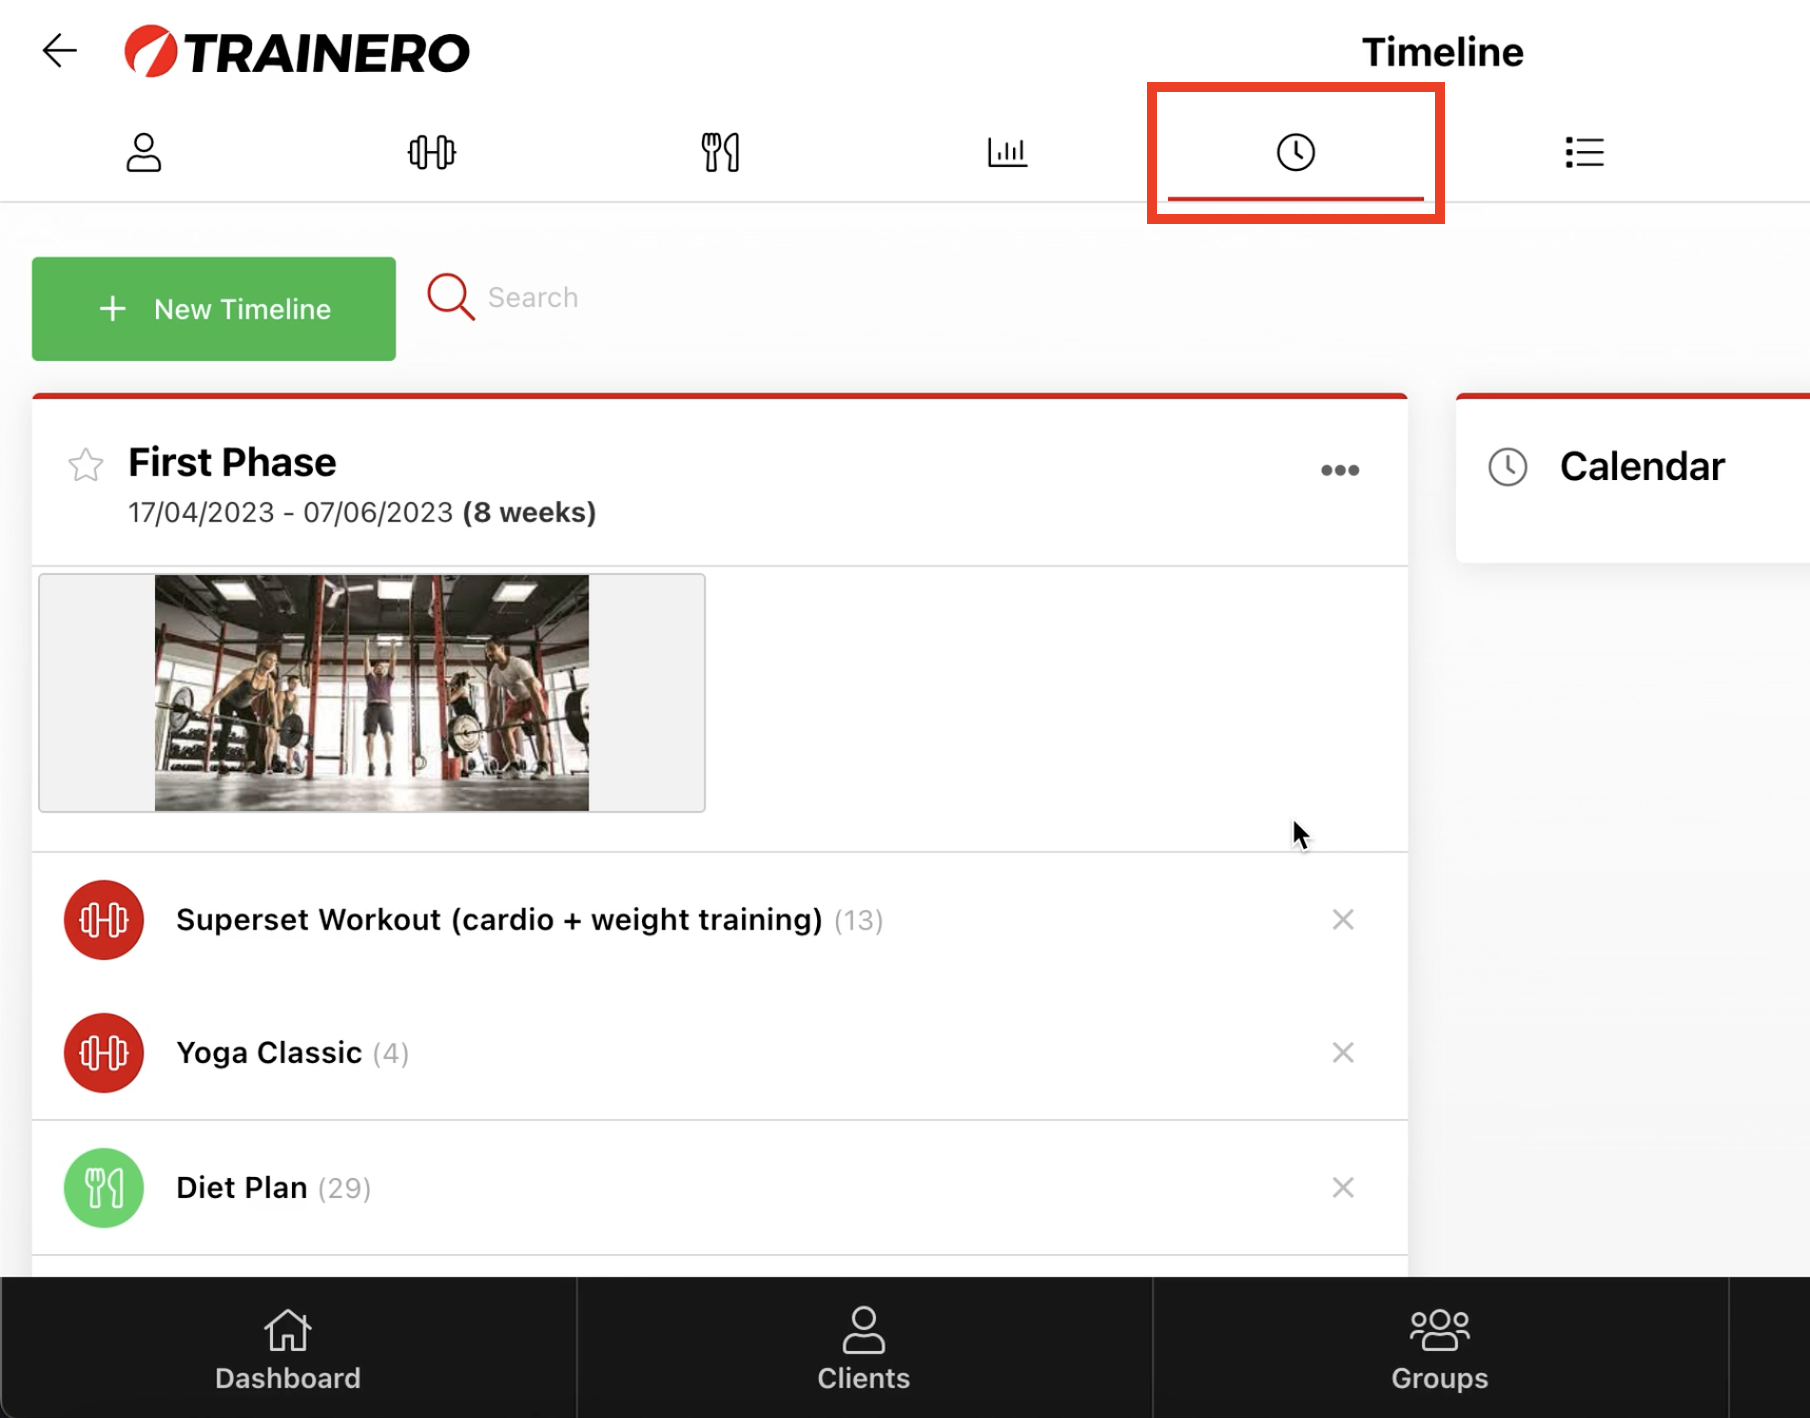
Select the day you wish to schedule the release of the form.

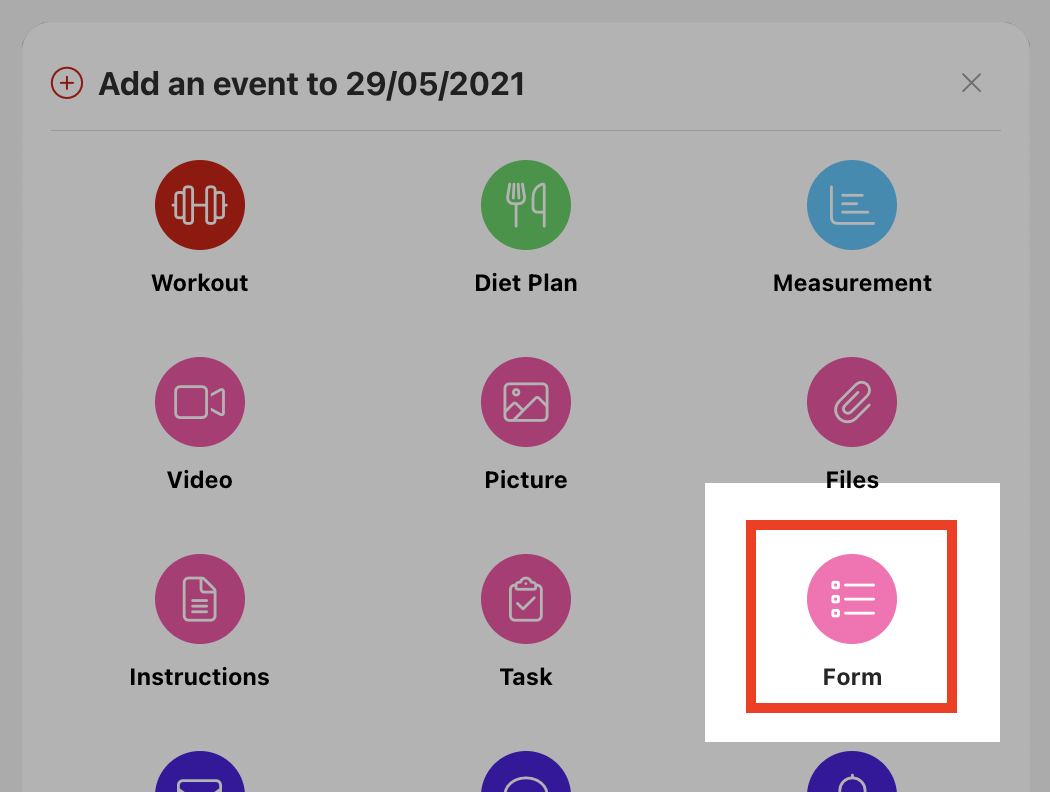
Select 'Forms' to be added to the Timeline. Then select a form from the Form Library or create a new one.
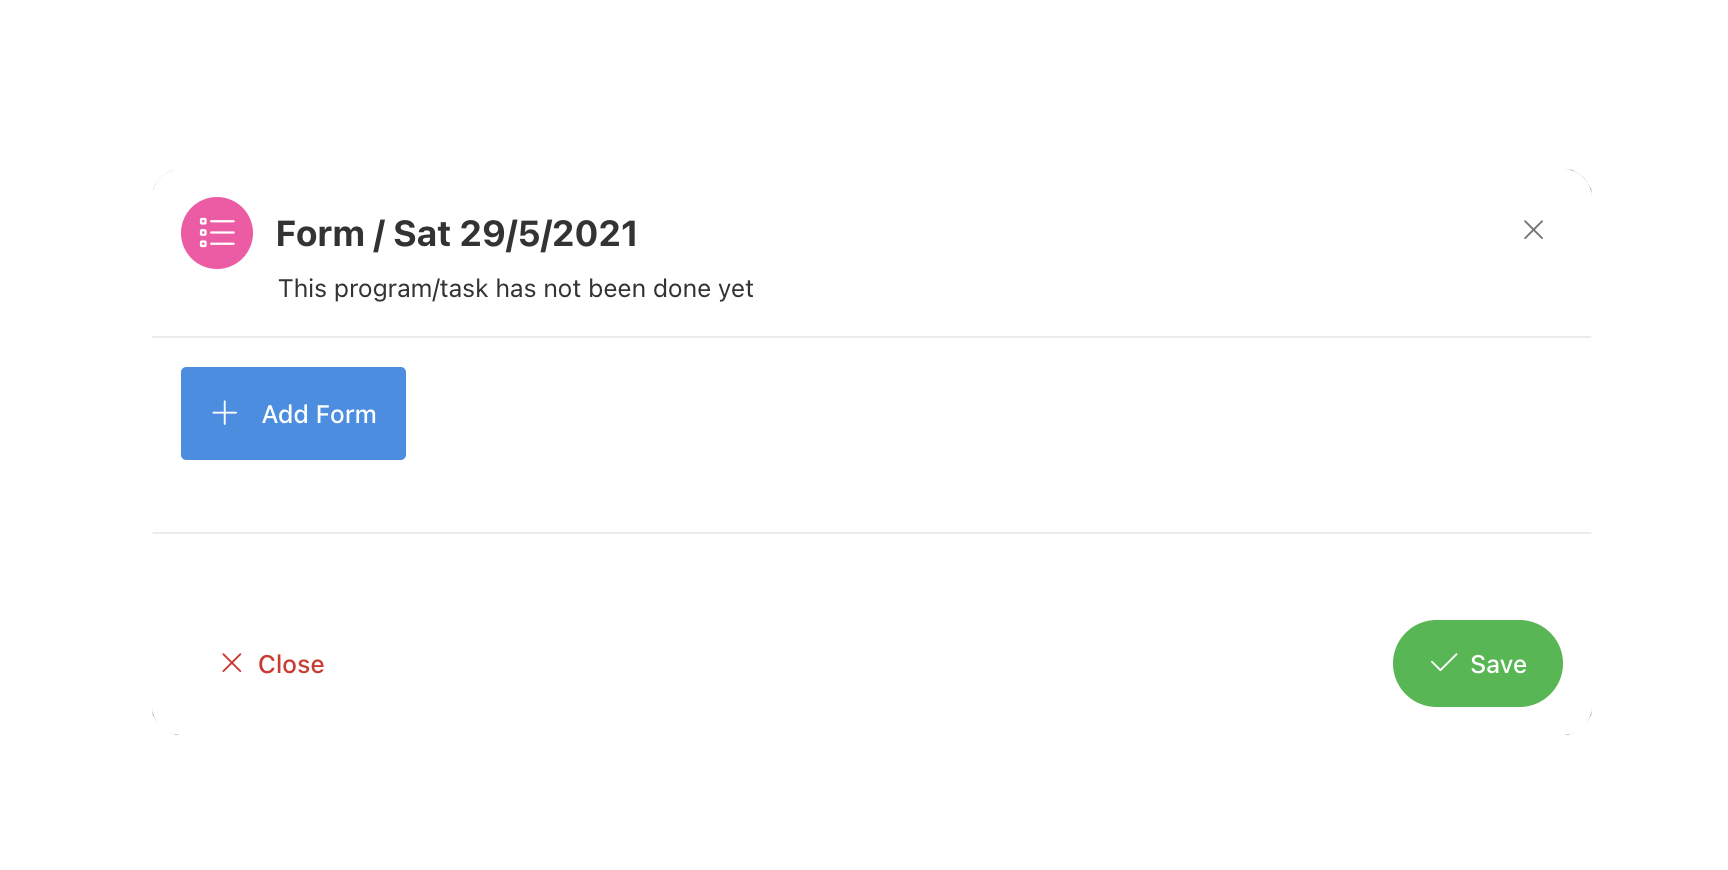
Finally, schedule a time for release and set a length in days for the form to remain active.

