Create and Manage Products
You can sell products in Trainero's Online Store. This guide will showcase how to create and manage products and categories in the Online Store.
Navigation
Navigate to the Online Store from the right-most button on the bottom navigation ribbon.

Video Tutorial
This is a video tutorial demonstrating how to create and manage products on Trainero's Online Store. Alternatively, follow the instructions below for the same information.
Create a Category
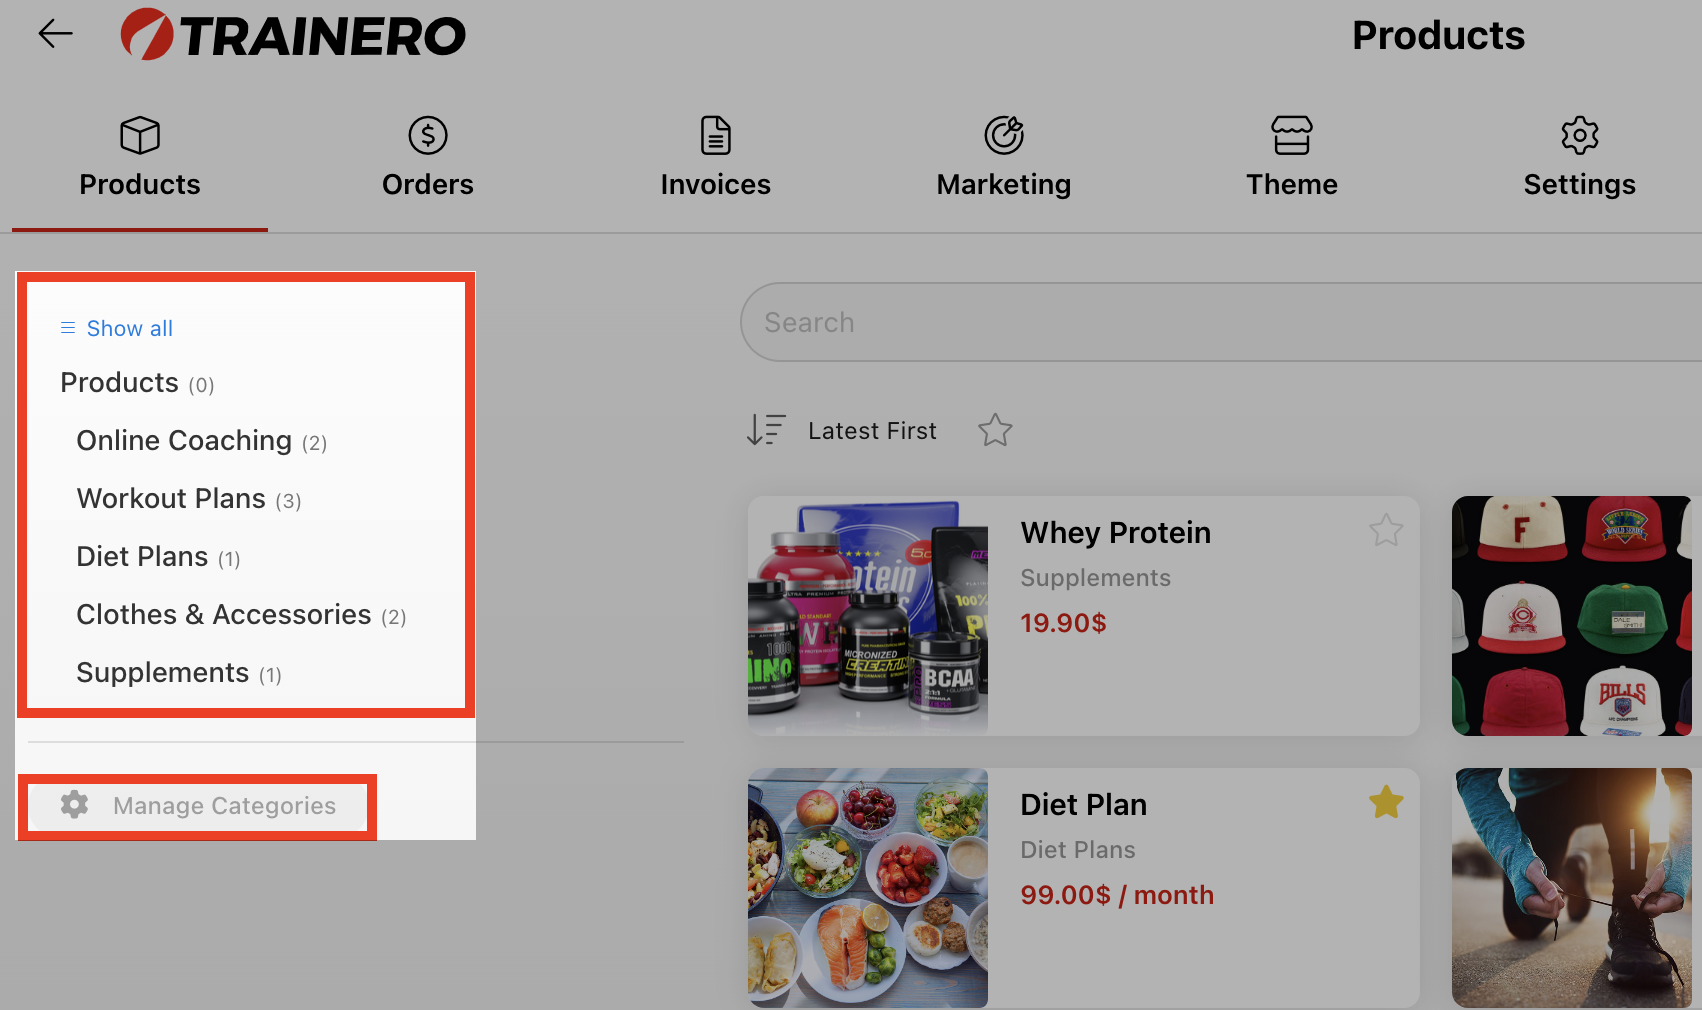
Categories can be viewed and navigated through from the list on the left. To create a new category, select 'Manage Categories'.
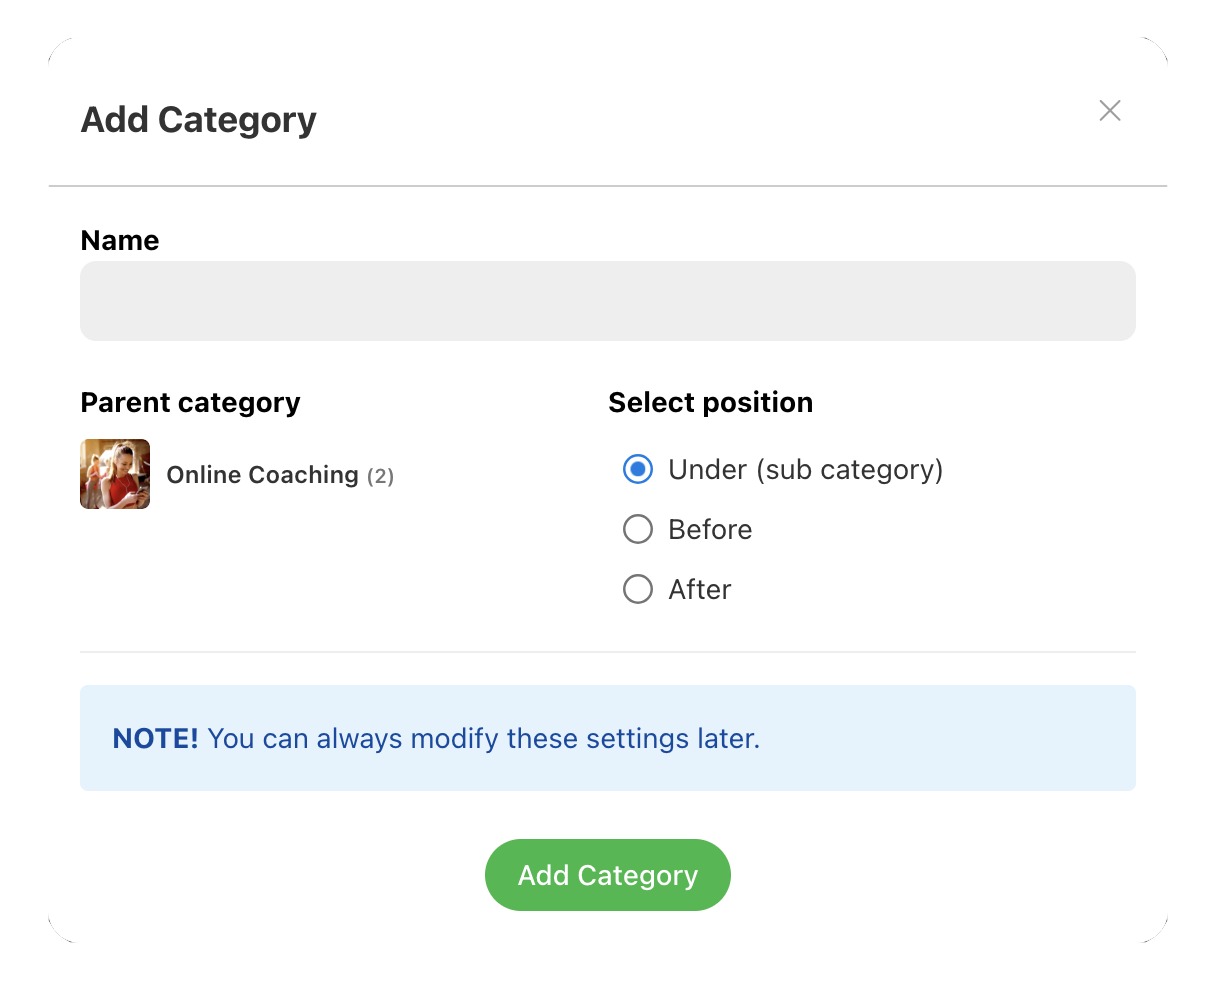
Then select 'Add Category'.

Enter a name for the category. Select a position in the hierarchy by choosing a parent category, and then choosing its position within the parent category.
Manage Categories
From the 'Manage Categories' editor, select 'Move' in the bottom right to rearrange the categories within the list.

Then select a place to relocate the category.
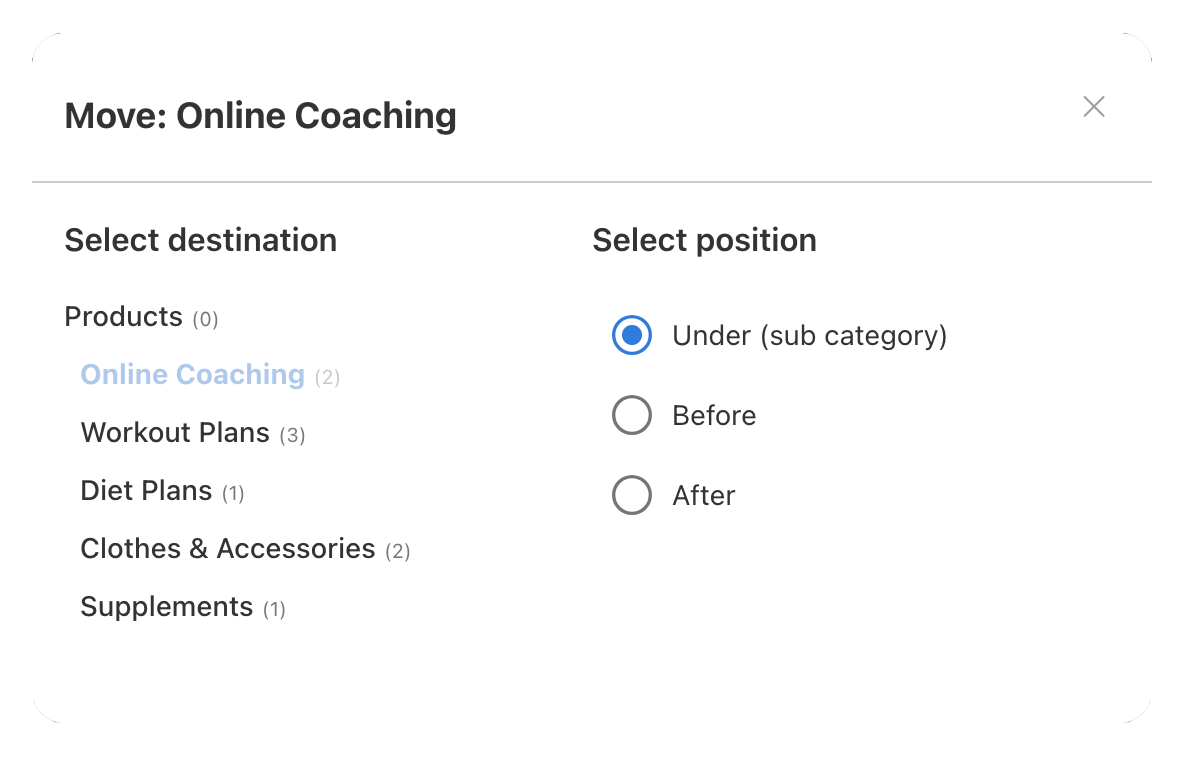
To delete a category, select 'Delete'. You have the option to either move or delete the category permanently.

Re-order Products
To re-order products within categories in the Online Store, select 'Re-order Products' under the list of categories on the left. Then drag and drop products into your desired order, and select 'Done'.

Add Products
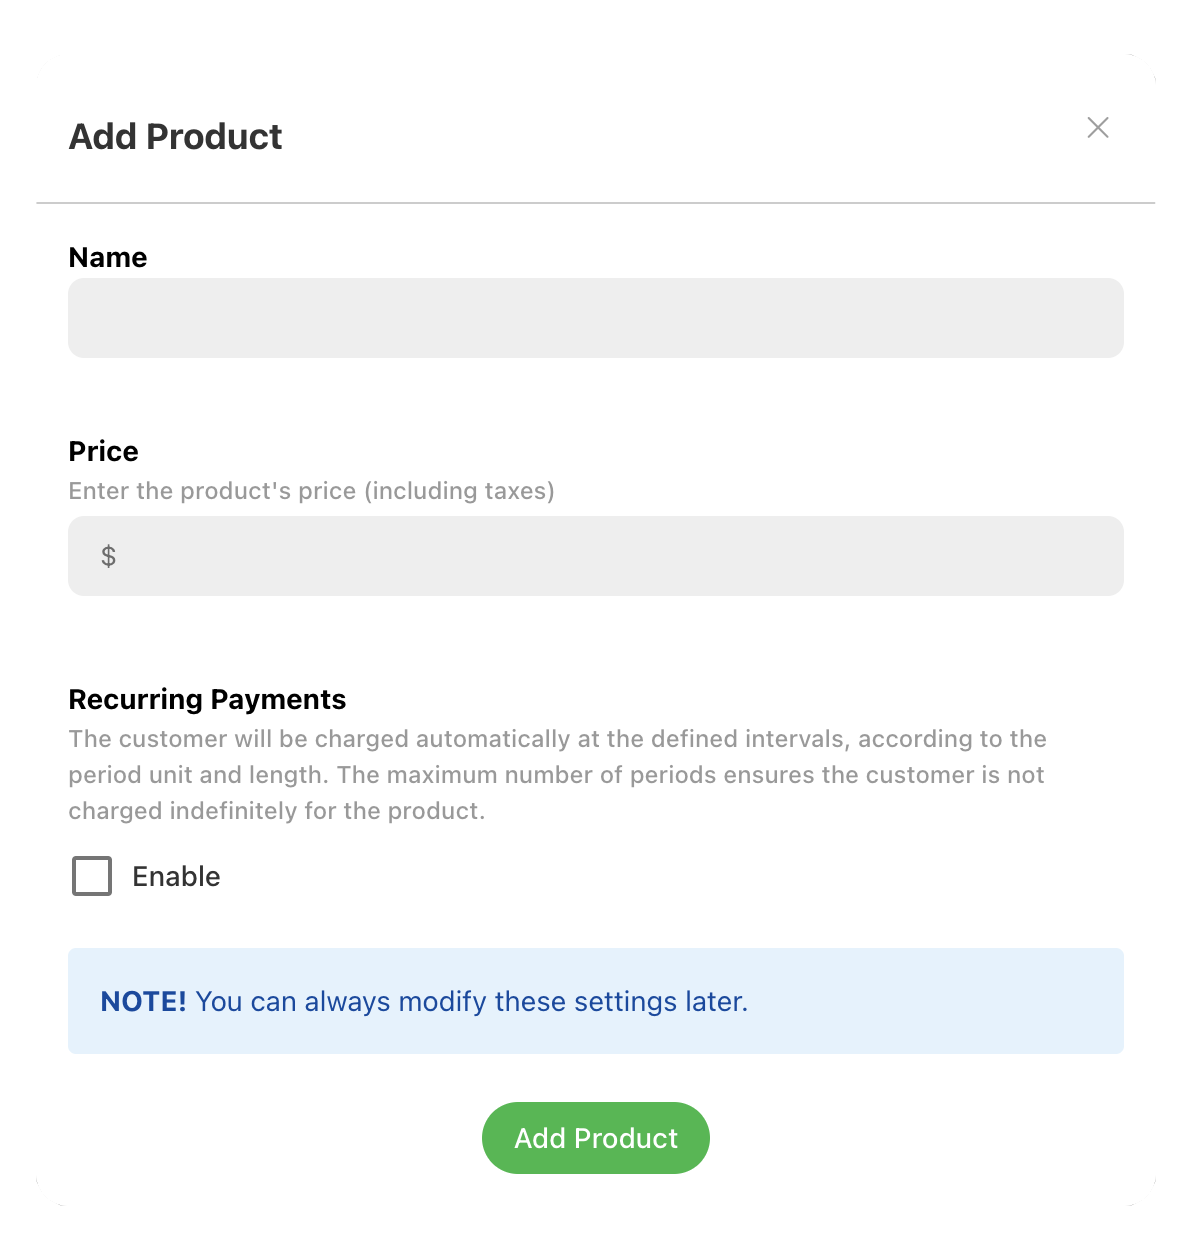
To add products, select 'Add Product'.

Then give the product a name and set a publishing price, with the options of a one-time purchase or subscription-based pricing.
After adding a product, the product editing window enables you to add images to advertise the content of the product and edit the name of the product. You can also relocate the product into a different category under 'Category' and 'Edit', and even move it into the Online Store of another account you may have under 'Account' and 'Edit'.

From the top right corner of the editor you can set the status of the product as 'Published', 'Hidden', 'Draft', or 'Archived'.
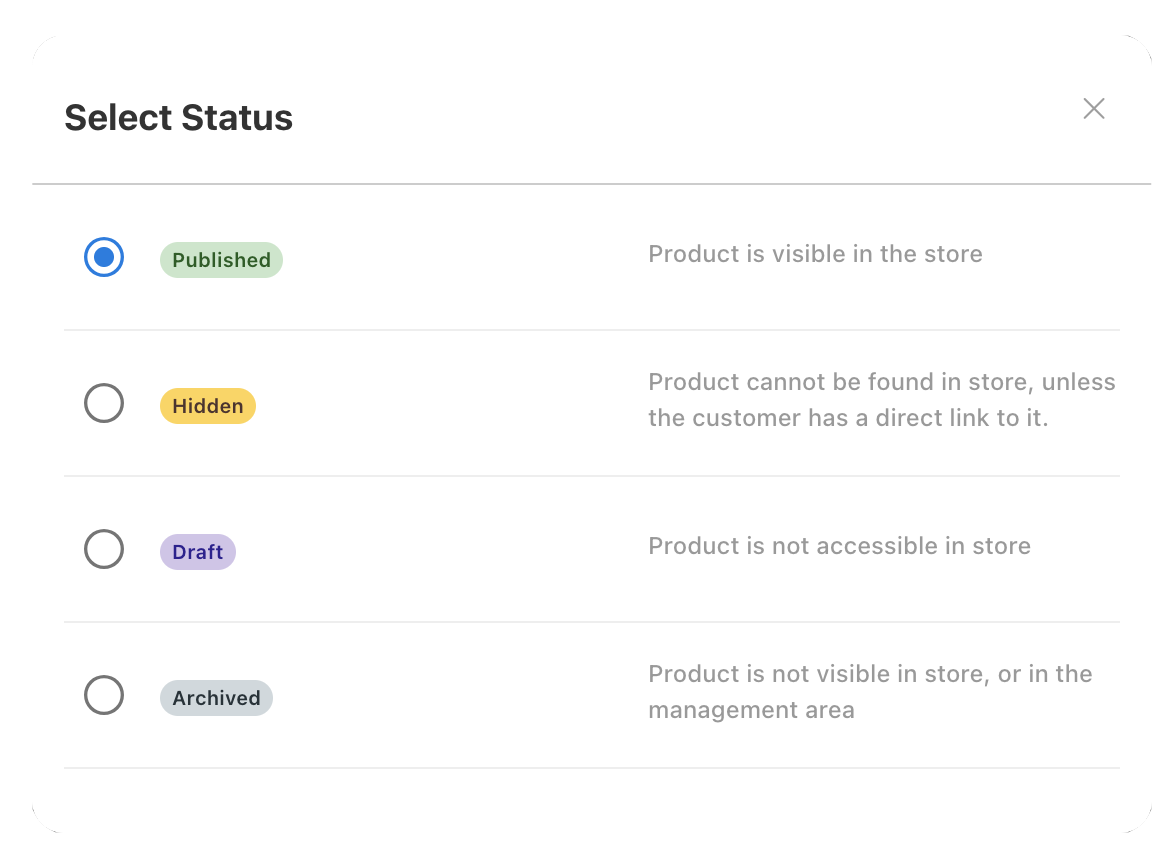
Under 'Links', assign a URL as a landing page for the product. Alternatively, you can create a direct purchase link that can be shared with clients, which complements the option of having a hidden product status giving you total customizable control over the reach and exposure of products you sell.
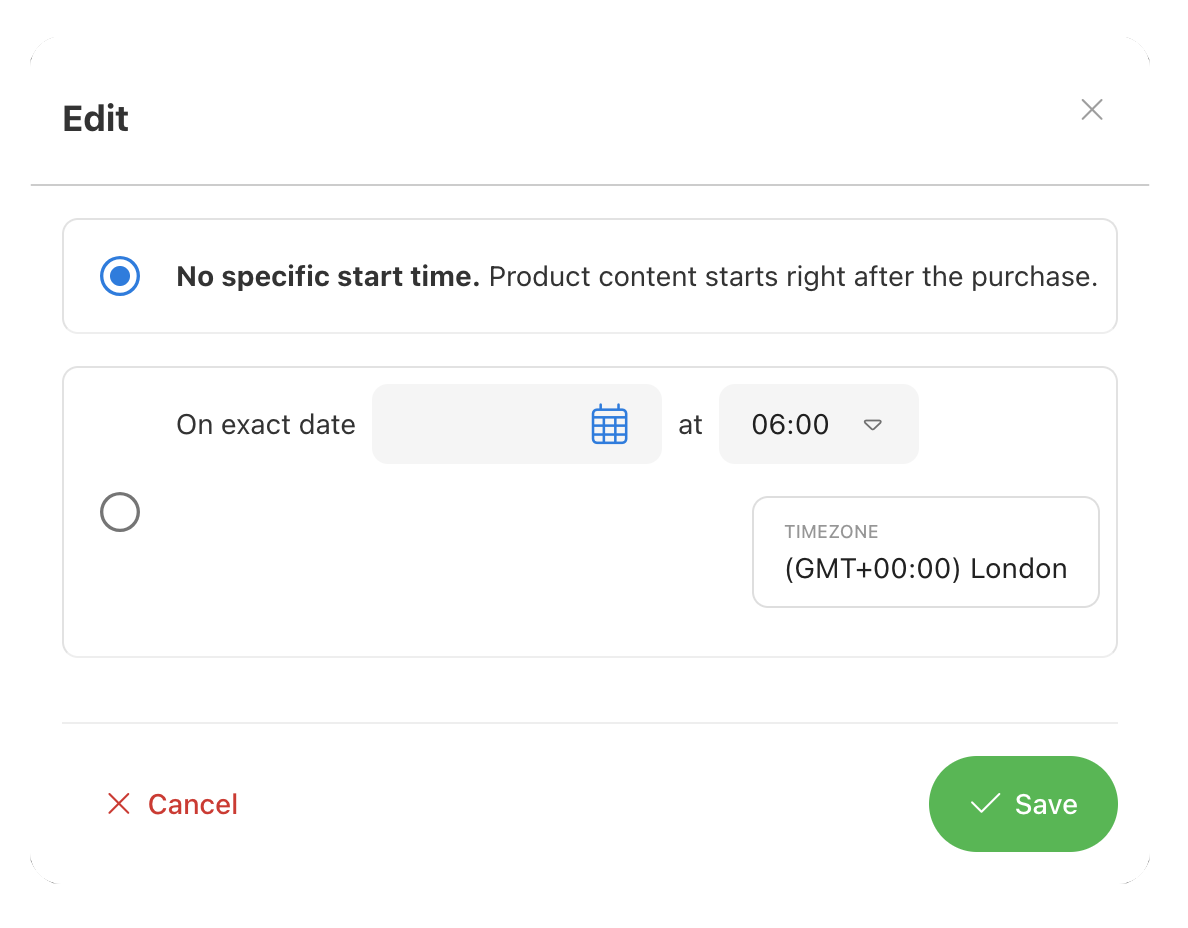
Under 'Main start', you can also specify a starting date on or after the purchase date for the respective product if the product's timing/scheduling is time-sensitive.
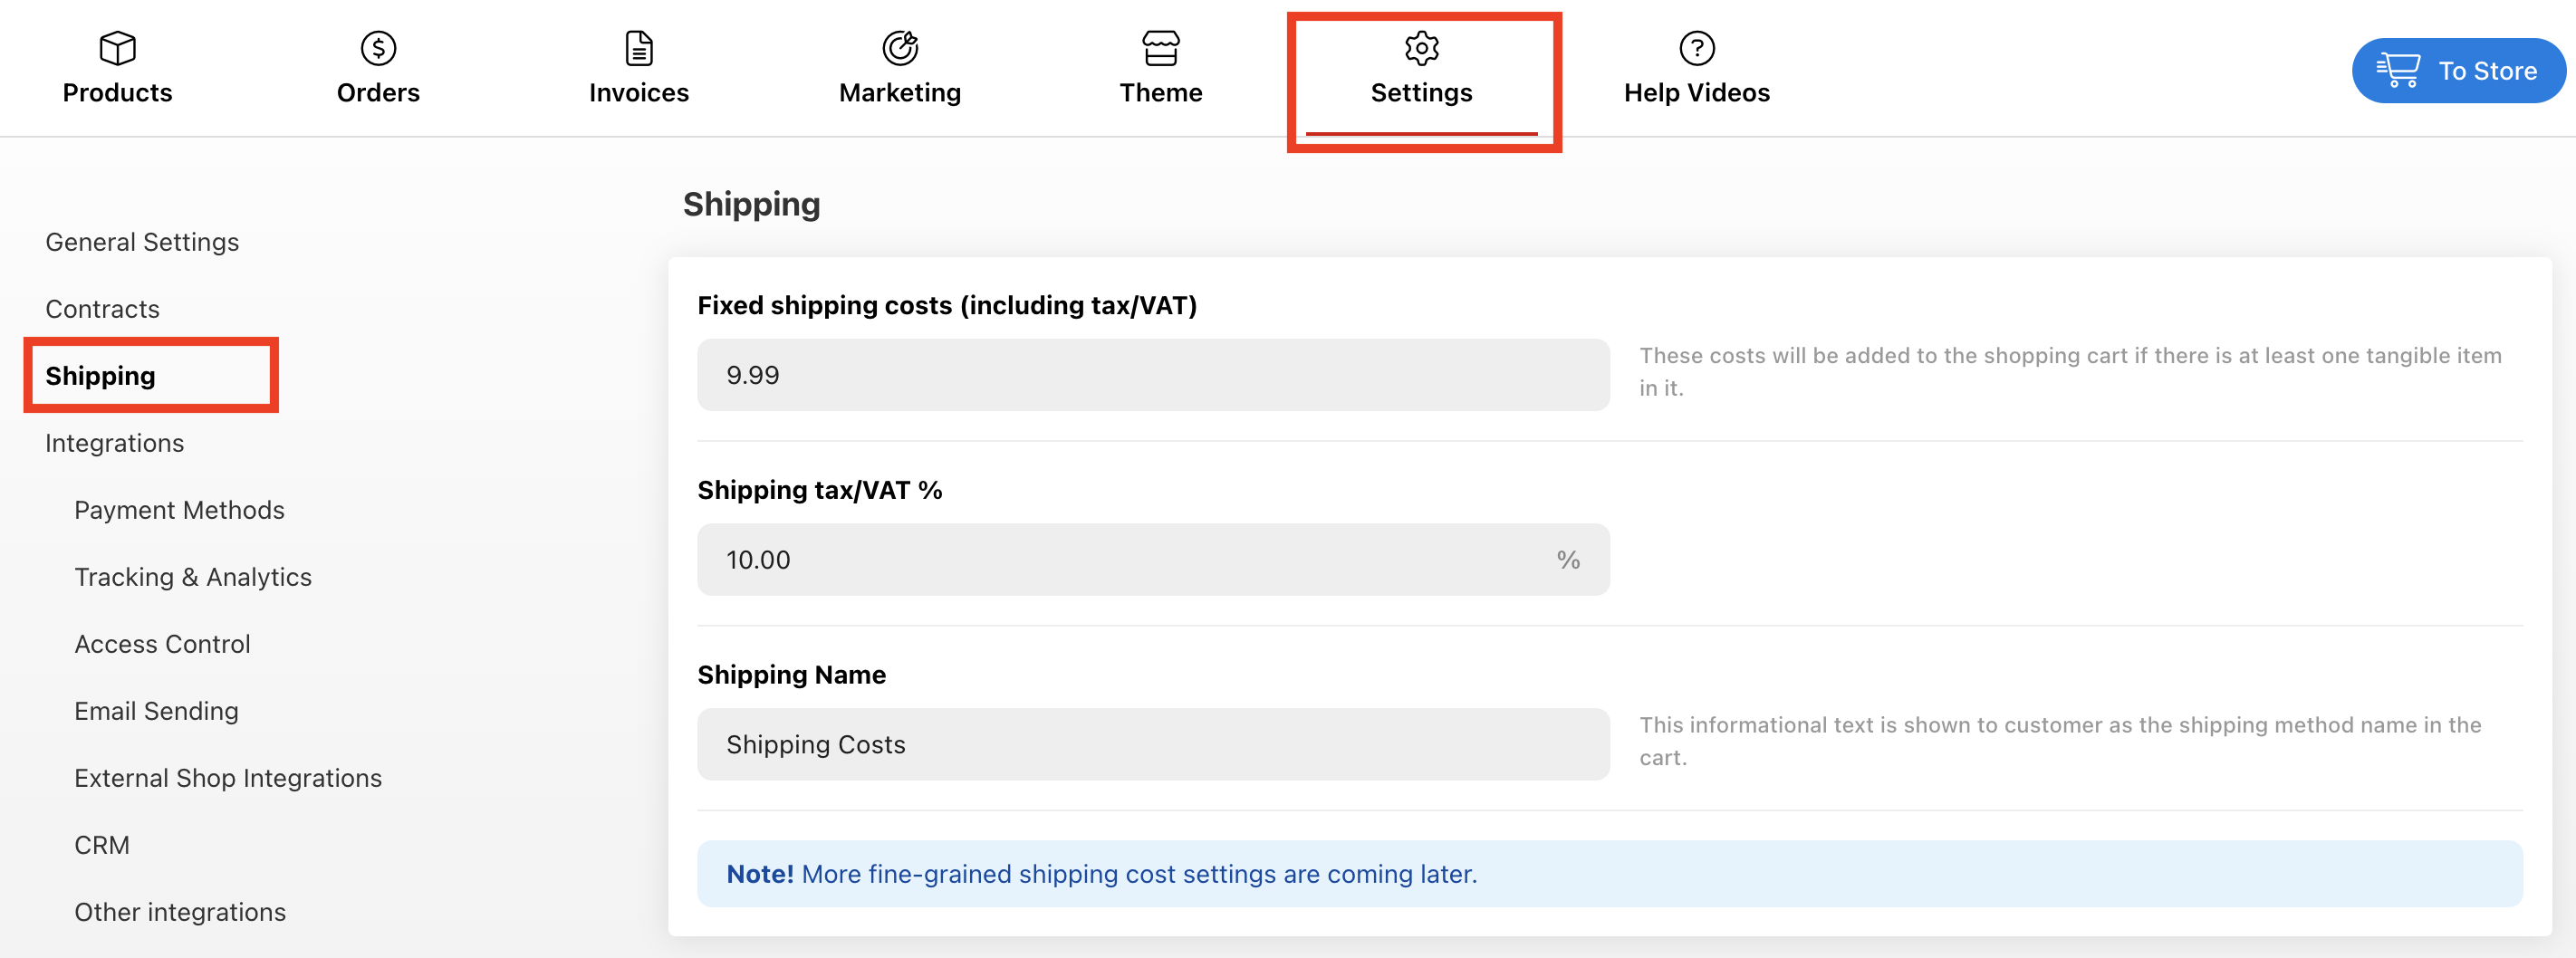
Select 'Click Here' under 'Shipping' to configure the shipping costs of the product in the instance that you are selling a physical product that incurs shipping costs (whereas digital products are sold as digital downloads with no cost). If 'Add shipping costs' is selected, the customer will see a price breakdown with separate product and shipping costs on the receipt. You can also configure the shipping costs directly from your store settings. Note that more advanced shipping cost options are being rolled out imminently.
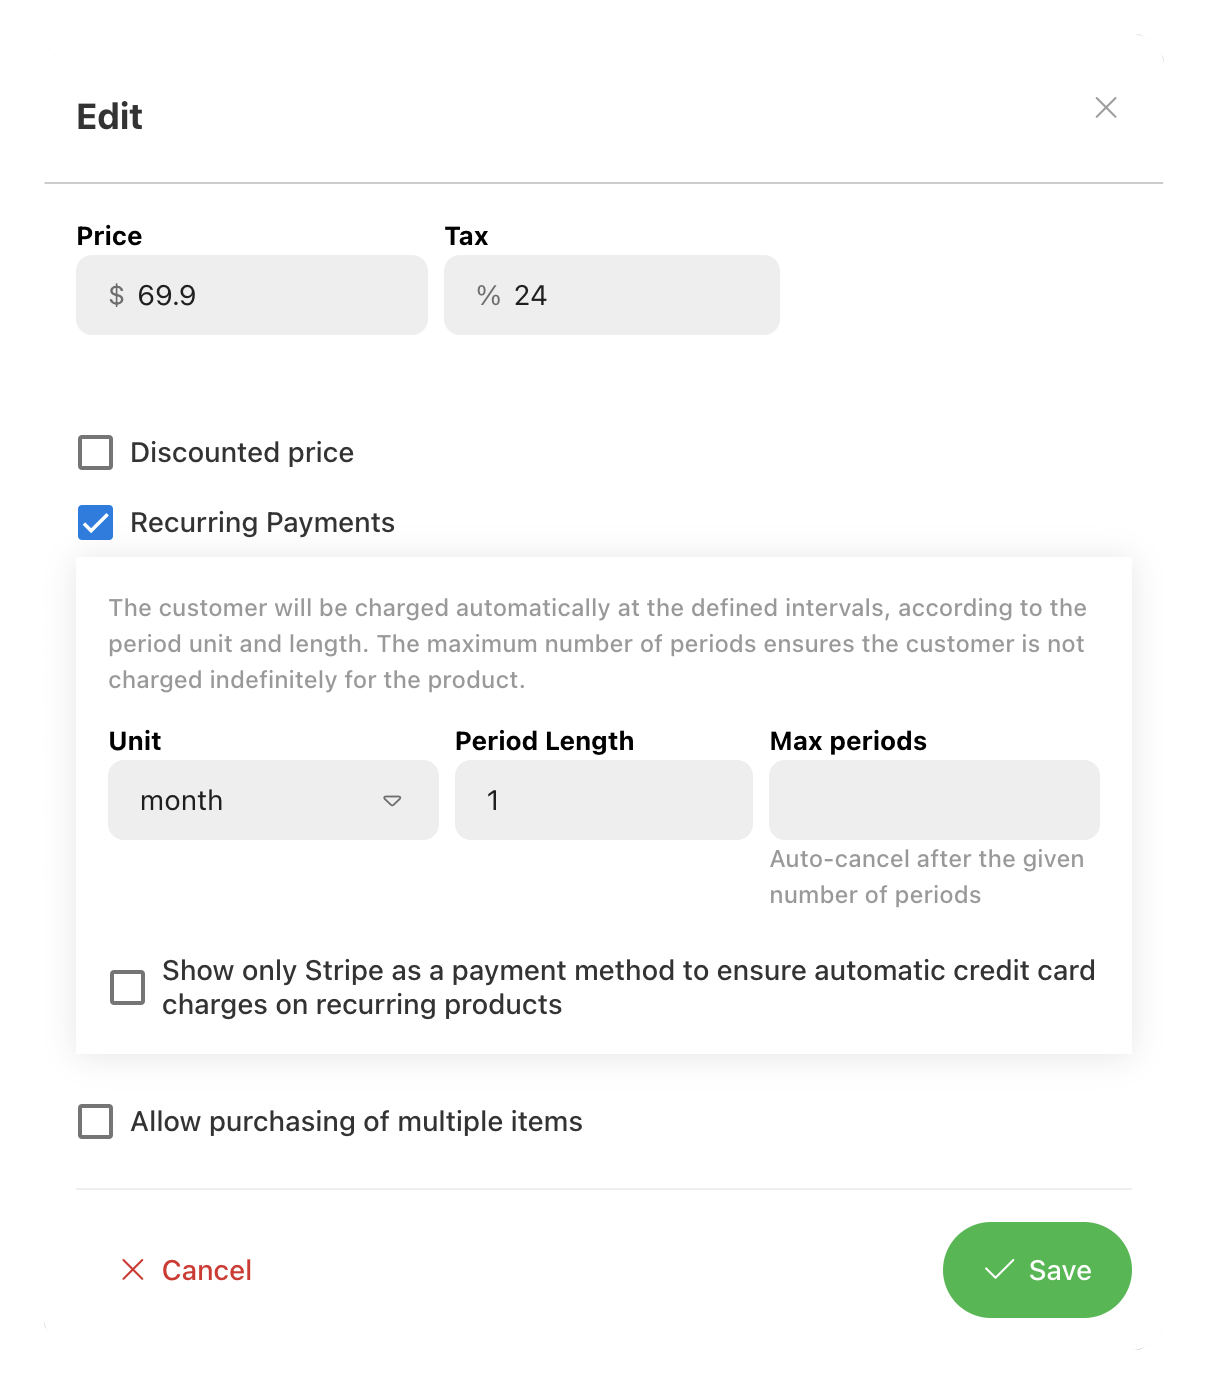
Under 'Pricing', you have the options to set a price, set a tax percentage, activate a discounted price, set a recurring subscription base payment with customizable payment period lengths with an auto-cancel feature, also with the option to use Stripe to charge the clients credit card like a typical subscription automatically. Also, control the option of multiple purchases of a product per customer.
Add Digital Content to Products
Under 'Digital Content', you can choose workout plans, diet plans, groups, forms, chats, or any other content you've created with Trainero to be included in the customer's purchase. The content you select will be enabled and copied alongside the purchase to the client's account so they can begin immediately.
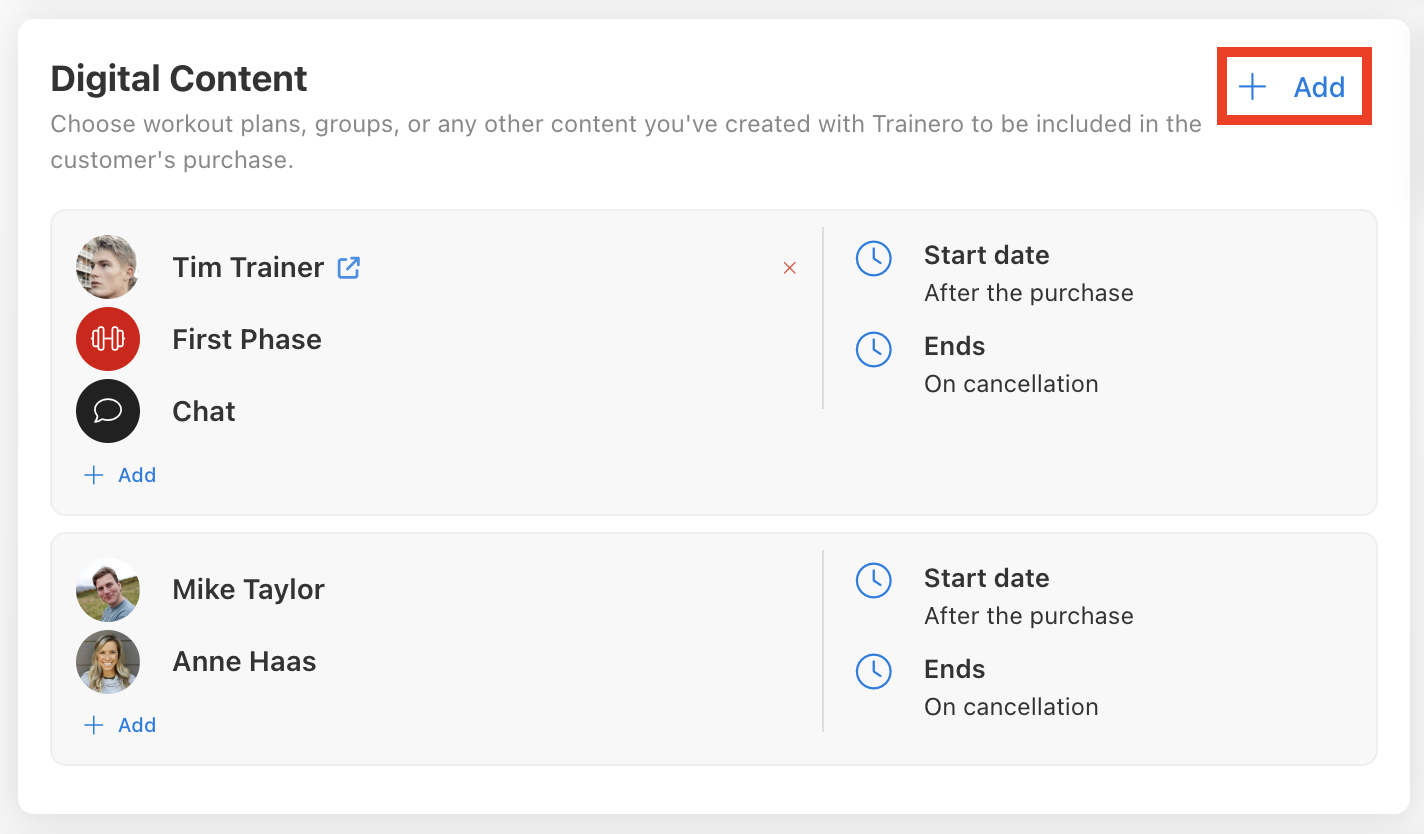
Start by selecting 'Add', then choose your desired content and follow the popup window which prompts you further with what content to copy/enable. To delete content from your product, hover over it until you see a red 'x' and select the 'x'. You also have complete customizability to schedule the release of content alongside the purchase of your product, with distinct scheduling options according to how you have bunched content as seen from the image above where there are two separate bundles of content with separate scheduling buttons. Select the smaller 'Add' button under each individual bundle of content to add more to the subsection.
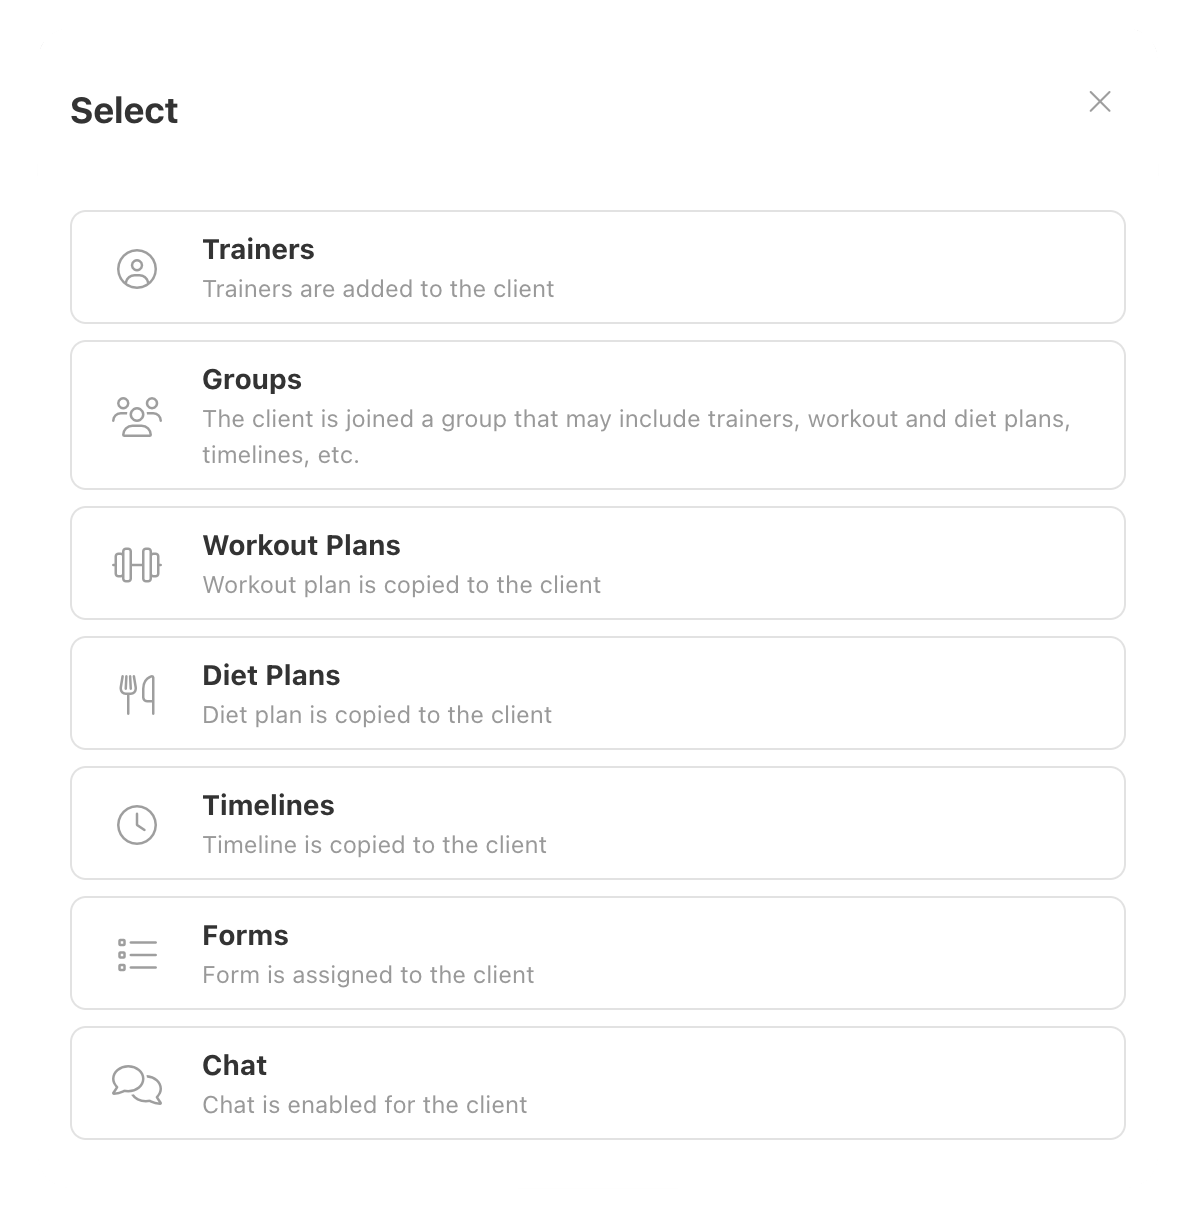
Add Follow-Up Products
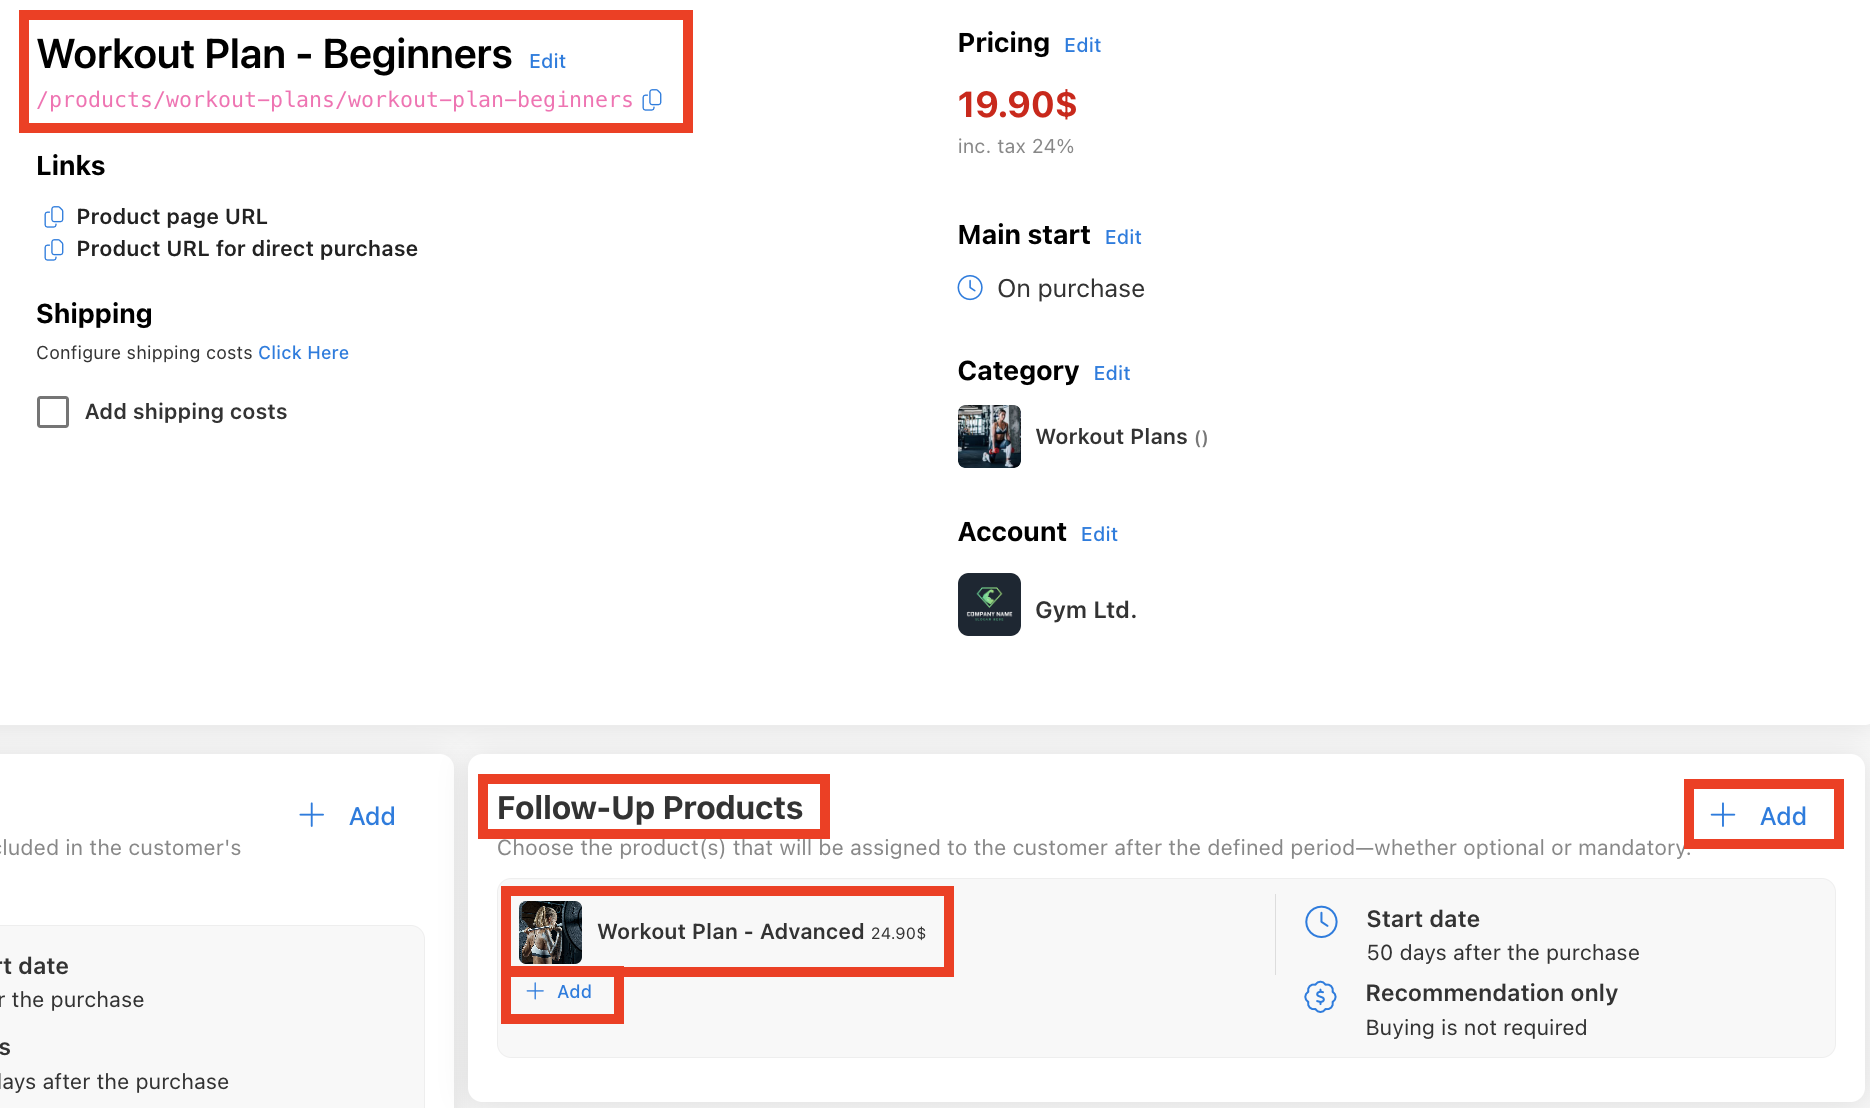
Use this follow-up product feature to automate your upselling services. Select 'Add' from the top right of the Follow-Up Products component to add an upselling product. You will be prompted with a window from your Online Store to select a product to attach as a follow-up. Identically to adding digital content as described above, use the smaller 'Add' to bundle products that you can schedule together.
As an example, below you can see that the product of 'Workout Plan - Beginners' has a follow-up product assigned to it named 'Workout Plan - Advanced'. This is a perfect example of upselling the next level of your customer's fitness journey as another workout plan. You have the option to make this upsell mandatory, or optional. Schedule the upselling of the product with the 'Start date' feature on the right.
Create Variants of a Product
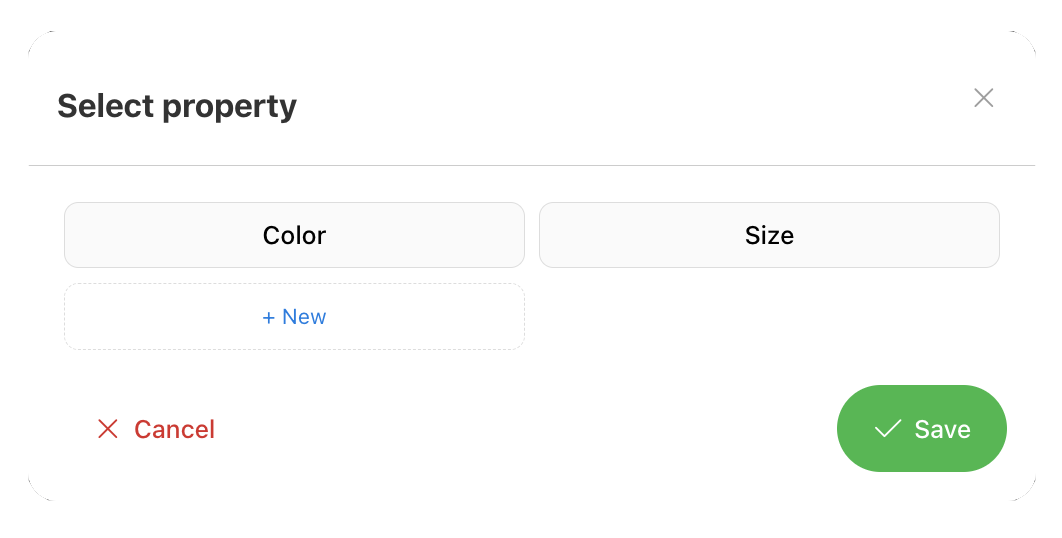
If you are selling physical products in your Online Store such as apparel or supplements, you have the option to create variants of different colors, tastes, and sizes for the same product listing.

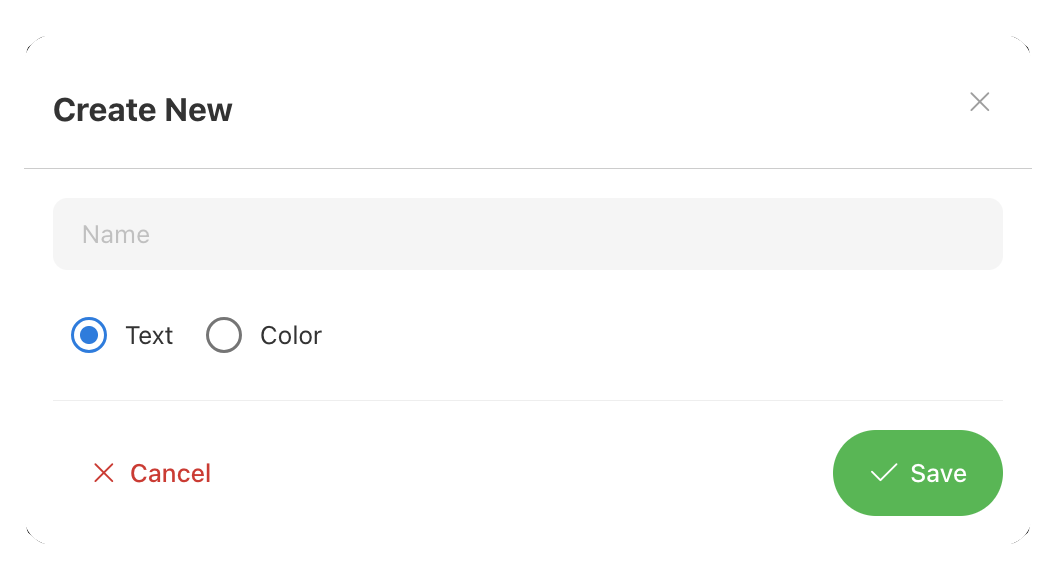
Alternatively, you can also use this variant feature with regards to a client selecting a trainer when purchasing a workout plan; another example of Trainero's simple, easy-to-understand, and multifunctional features for you to get creative with! To create new variants of a product, select 'Add', then 'New' and finally, decide whether it is a color-based or text-based variant and give it a name.
Product Order Specifications
This subsection explains 'Order Confirmation', 'Contracts', 'Required Customer Details', 'Appointments', and 'Integration Settings'.

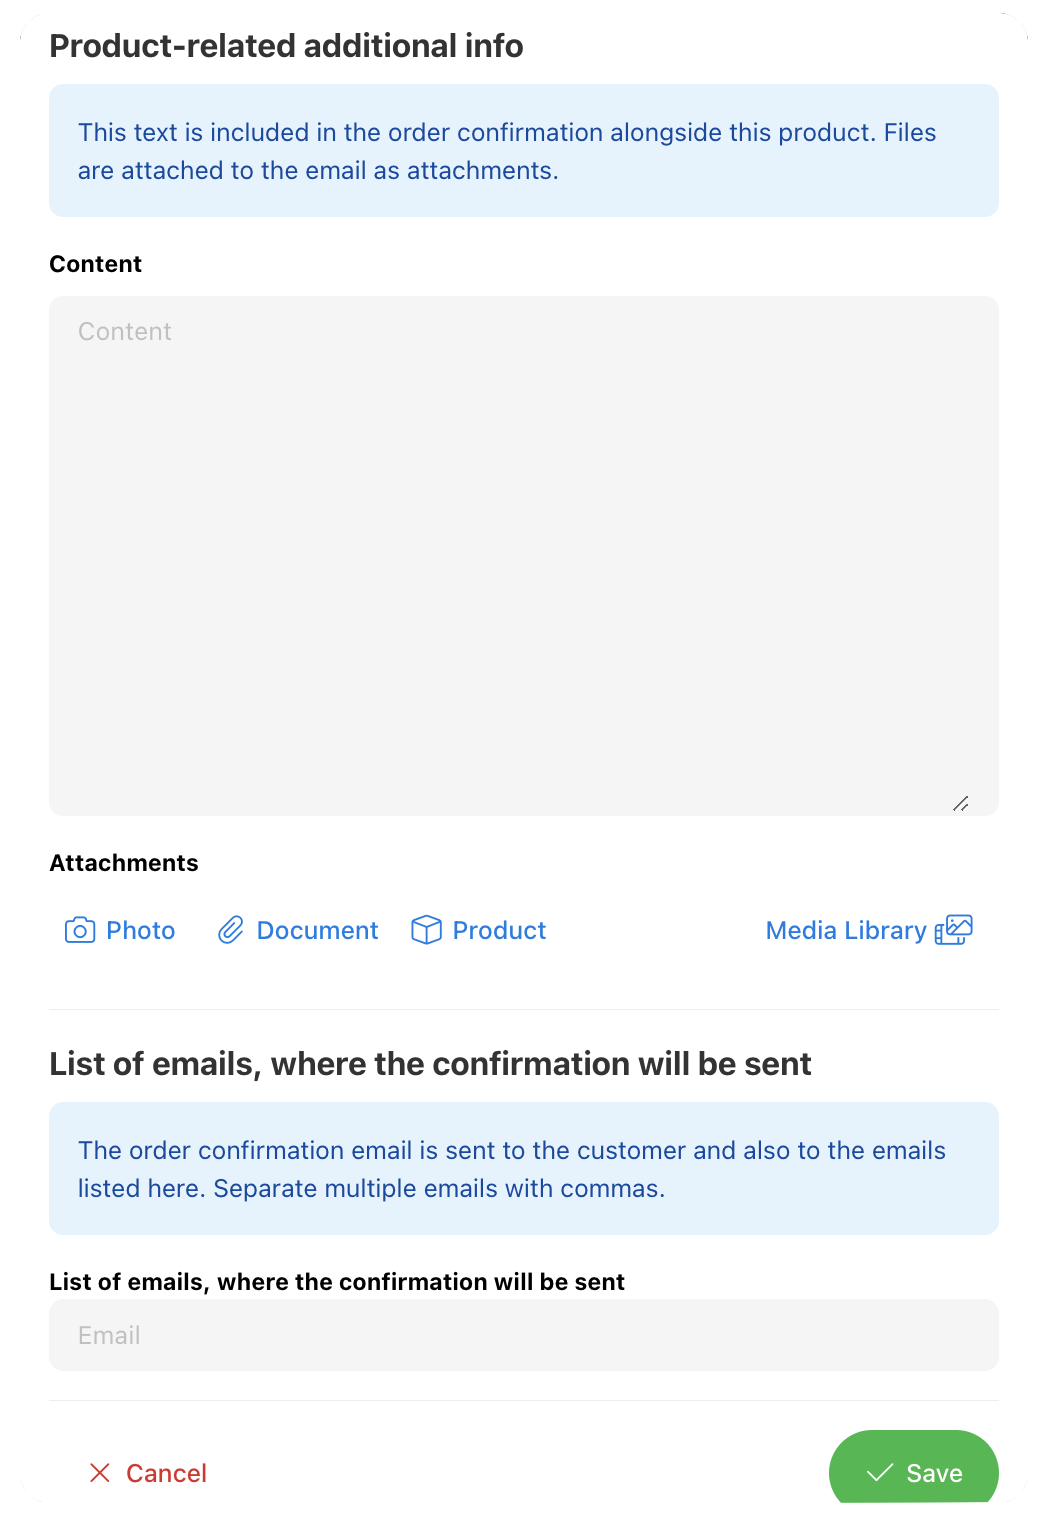
Order Confirmation is a template for you to add content including text and other media attachments including photos, videos, or even a link to a product in your Online Store, which will be sent out as a confirmation email to any clients who purchase the product. You can also specify a list of emails that the order confirmation will be sent to in addition to the purchasing customer. If you do not add any customized order confirmation content, Trainero will send a default confirmation email on your behalf. Note that the Online Store settings have a separate option to enable order confirmation emails on all product purchases.
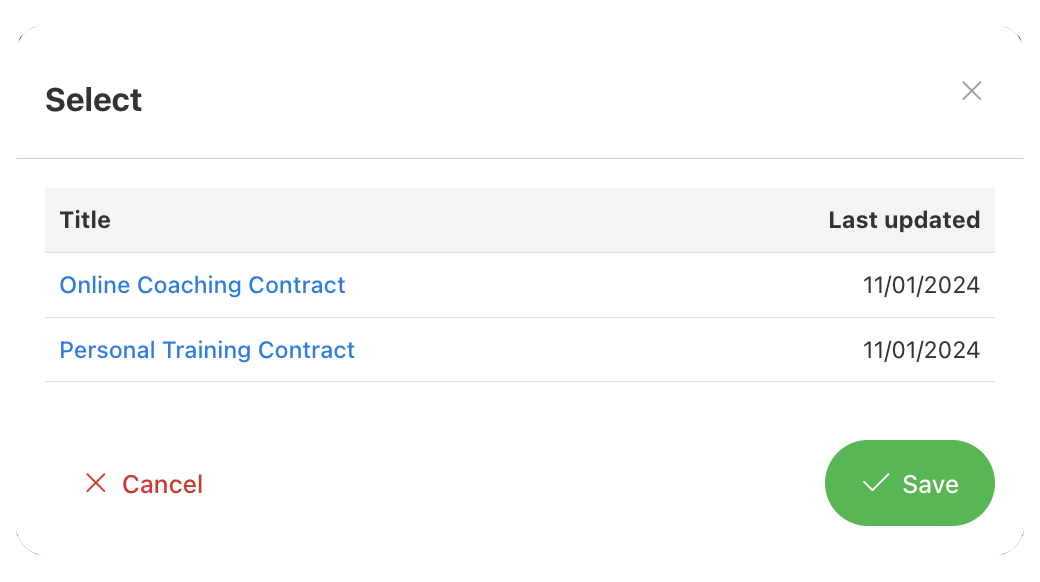
Under 'Contracts', you can attach a contract document to the product. This will require the client to agree to the contract before purchasing. You can create contract documents from the Online Store settings. When configuring a product, you will find a list of all your existing contracts once you select 'Add' under 'Contracts'. There will be an electronic record of when and what the client has agreed to.
'Required Customer Details' demands customers to disclose areas of information of your choosing during the purchase of the product. By default, no details are selected. Once the client fulfills the questionnaire, the information will be populated in the client's profile under background information.

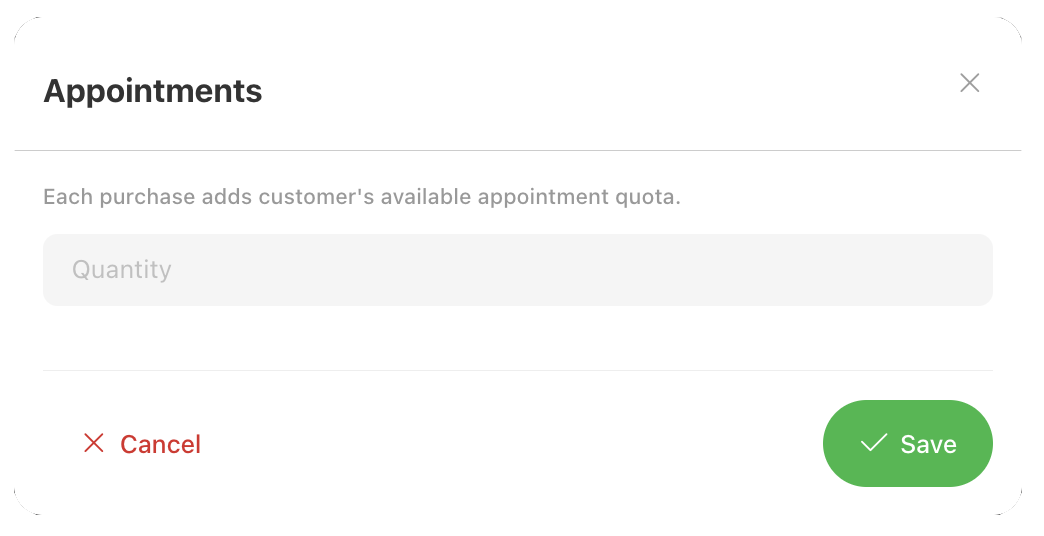
'Appointments' can be sold as a standalone product; alternatively, they can be sold in combination with another product. Once the client has purchased the product, the appointments will be stored in the client's timeline. Subsequently, you will have to manually create a timeline for the client where the remaining number (e.g. 4/5) of appointments will be visible. The client has no permission to mark appointments as used or unused, however, they can cancel appointments.
'Integration Settings' becomes available if you have Access Control settings configured into your account's Online Store Setting - Integrations. This means that you can securely sell and transfer products including membership access cards to your gym, 10 single-use visits to the gym, etc.
Manually Add Product Order
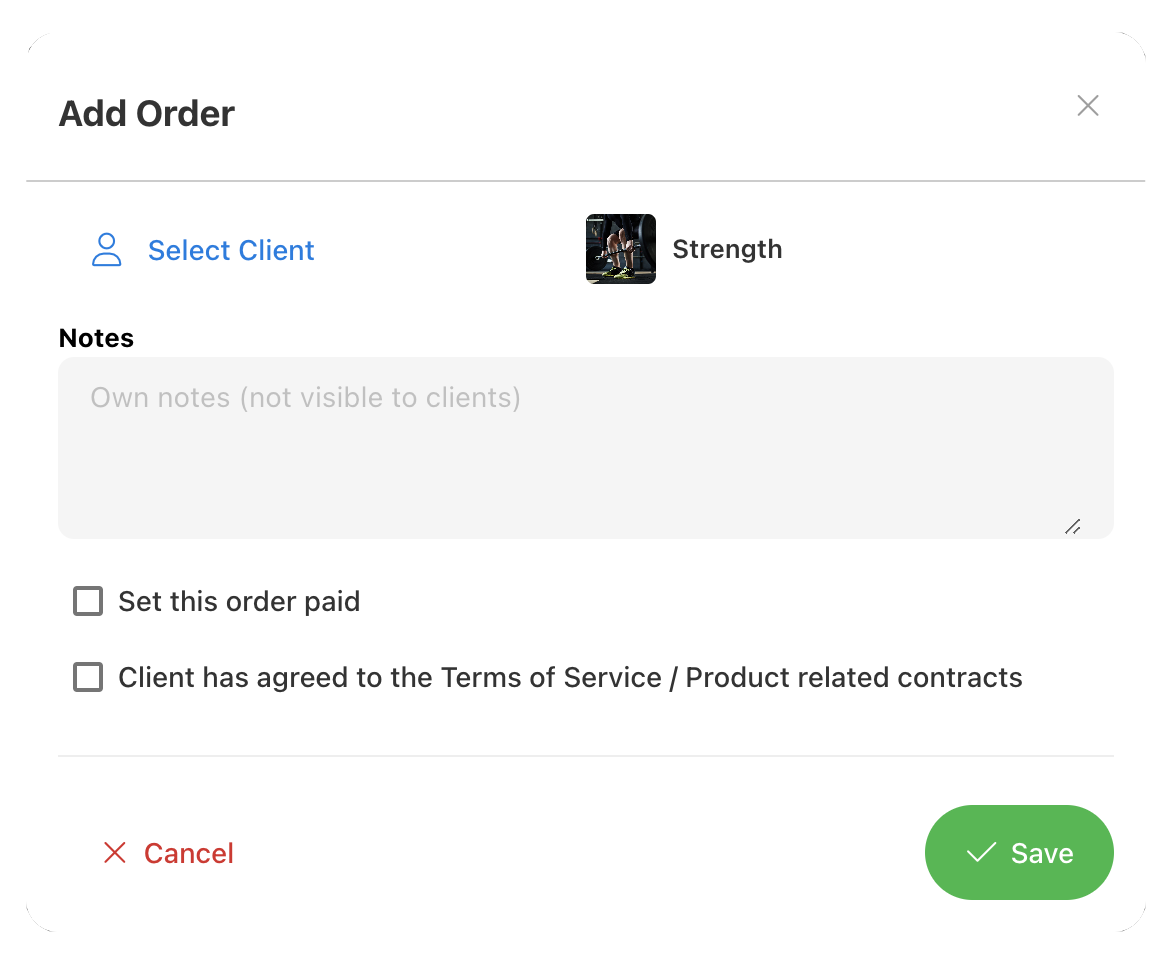
You can manually enter an order instance of your products by selecting 'Add Order' in the top right of a product in the case that you have agreed to handle the order on behalf of a client. You must select a client for the order. You must set the order as paid or not paid. If you set the order as paid the client will not receive an invoice, otherwise the client will receive an invoice for the order. You must also select that the client has agreed to the Terms of Service / Product related contracts.
Delete or Copy a Product
At the bottom of your product configurations page, you will find a button to delete your product entirely from your Online Store on the left. On the the right, you will find a button to copy the product as a new product into your store.

Tips
Conduct tests by creating various products and packages and start selling them in your Online Store. You can then create a client account for yourself - as shown in the section 'Manually Add Product Order' above - and give your client account the product and set it as 'Paid'. This way you can visualize and test the functionality of your products from the perspective of the client, catching any mistakes or potential improvements before going live.
Another wise test to conduct is to run a few test payments using the different payment methods available from your Online Store settings. This way you are verifying that the client will not encounter an error caused by you during their purchase.
